
3ds Max Interior Visualizations 3.0
Online video course for 3ds Max, Corona, and Adobe Photoshop for beginner, intermediate & advanced artists.
The one-core system
Behind EVERY
fabulous image…
For years, we’ve been determined to uncover the secret to creating stunning 3D images. After countless hours of research and experimentation, we’ve finally cracked the code! Our well-honed system has helped us capture the attention of viewers, present our work to the highest standard, and use the software as an artistic tool. This powerful and proven method will help you achieve the incredible results you have always dreamed of. Unlock the potential of your work and make it stand out with our tried-and-tested approach. Get ready to take your 3D artistry to the next level!
Use full potential
How much is it worth to you to finally start using your artistic potential on a higher level?
Beat your competition
Do you want to get the recognition you deserve, become unique, and build your own brand?
Become a professional
Would you like to be perceived as a professional and an authority in your industry?
Make it profitable
How much more can you charge for your images when you’ll be at your highest level?
More opportunities
You will expand your life choices no matter who you work for, you will have more opportunities.
Aim to be the best
It is the shortest way to become a great 3D artist. Don’t waste time trying to learn by yourself.
Take a big leap
Join our training
10 Interior Visualization scenes in Corona Renerer
4 Interior Visualization scenes in V-Ray (bonus)
30 Interior images in total
180 lessons across the entire course
10 Start and Final Scenes
3D Modeling module for interiors
8-Step System explained in theory & in practise
4 scenes include the assets & textures
Final Exam after which you’ll get a certificate.
Lifetime access
599.00€
Join nowLogin details will be sent to your email.
Want to purchase more than 1 seat for your team?
Contact us here.
Learn to create stunning 3D visualizations with Corona Renderer in this comprehensive training, perfect for beginner, intermediate & advanced artists.
Meet the instructors
Agnieszka & Adam
We’ve been perfecting our 3D art for years, honing our techniques and honing our eye for the artistry of visualization. We discard the ones that don’t work and focus on the ones that have had a positive impact on our work. In our training, we share only the most effective methods that we use to create stunning visuals. We also emphasize the importance of viewing 3D images from an artistic point of view, and teach how to apply this knowledge in practice.
Practice does not make perfect
Only perfect practice
makes perfect
Being a 3D artist gives you the chance to create a lifestyle as you wish. Whether you want a full-time job at a studio, become a freelancer, or launch your own business, the possibilities are endless. We’ll teach you the best practices to make sure you don’t waste time learning the wrong techniques. Explore the opportunity to create the lifestyle of your dreams. Let’s take the first step and make your dreams a reality!
8-steps system
Composition
The balance between essentials and minutiae in the image.
Camera setup
Setting up the camera angle that influences the viewer.
Lighting
Affecting emotions through the different lighting scenarios.
Color palette
Using the power of the colors in order to convey the message.
Materials
Creating high-quality and photo-realistic materials.
Assets Placement
Arranging assets to show the character of the place.
Storytelling
Creating additional value through the story.
Post-Production
Enhancing the image as a professional photographer.
We will present these visualizations
From start to finish
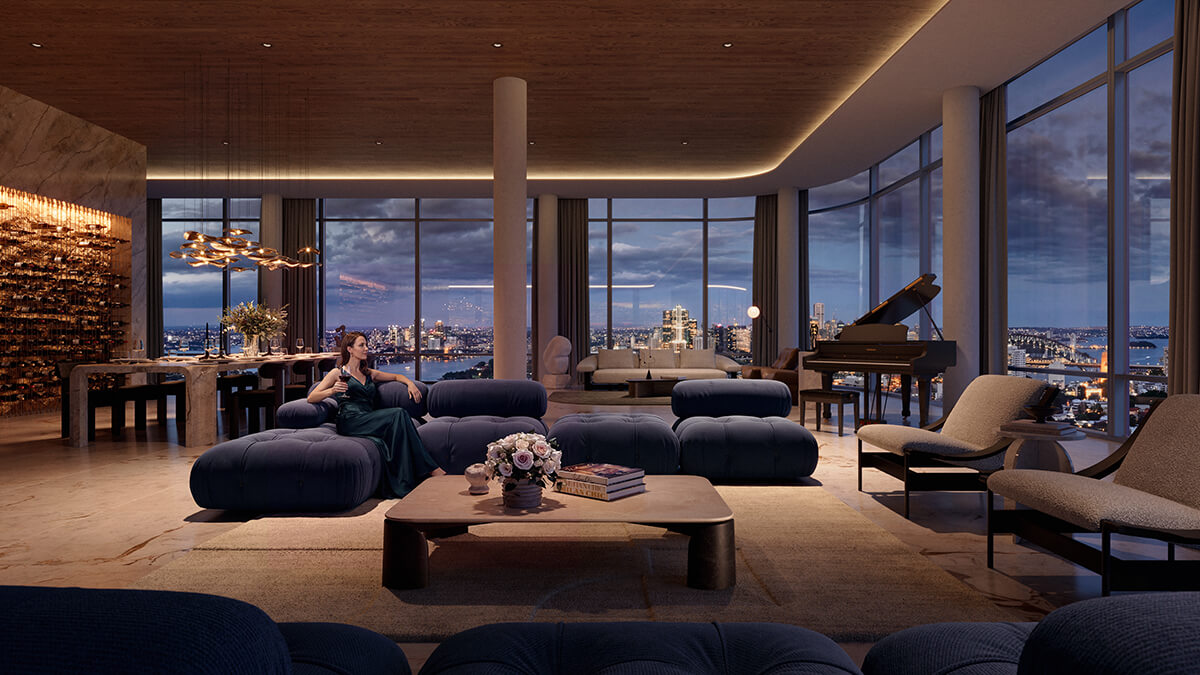
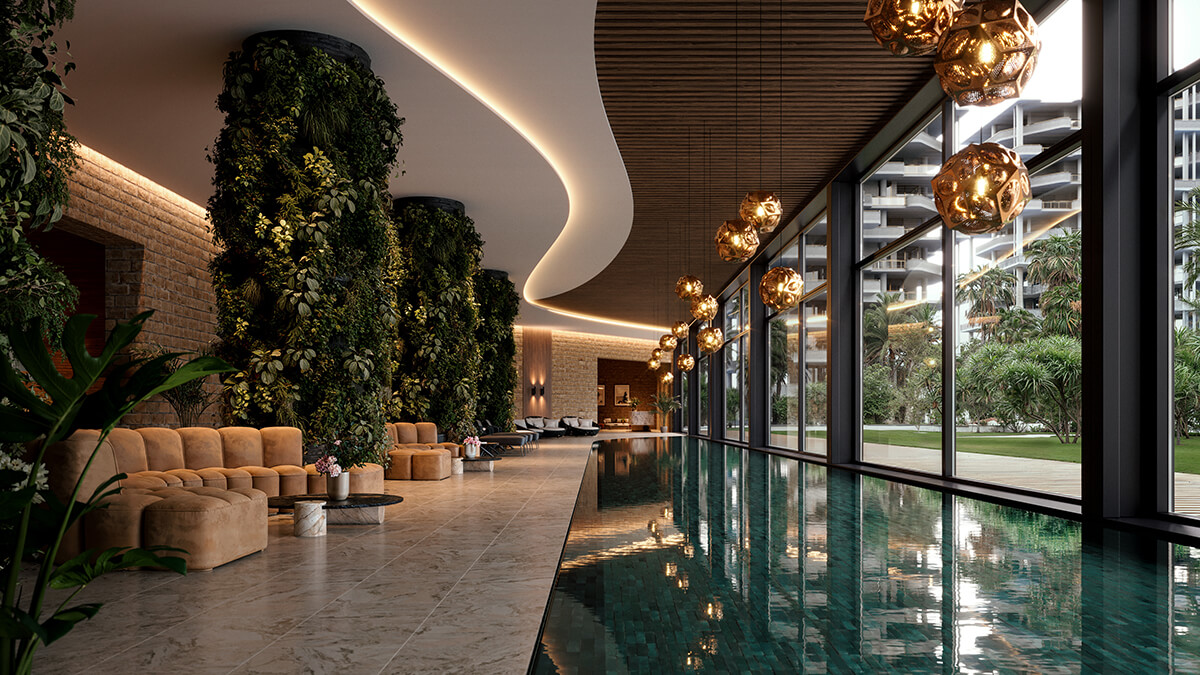
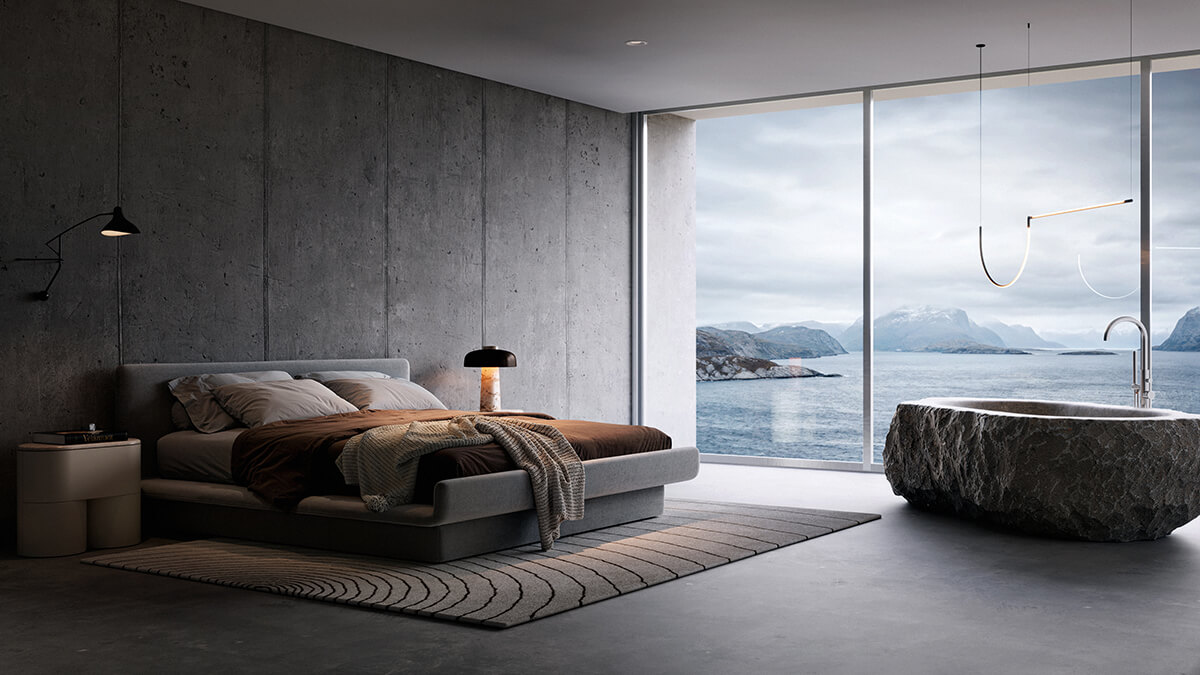
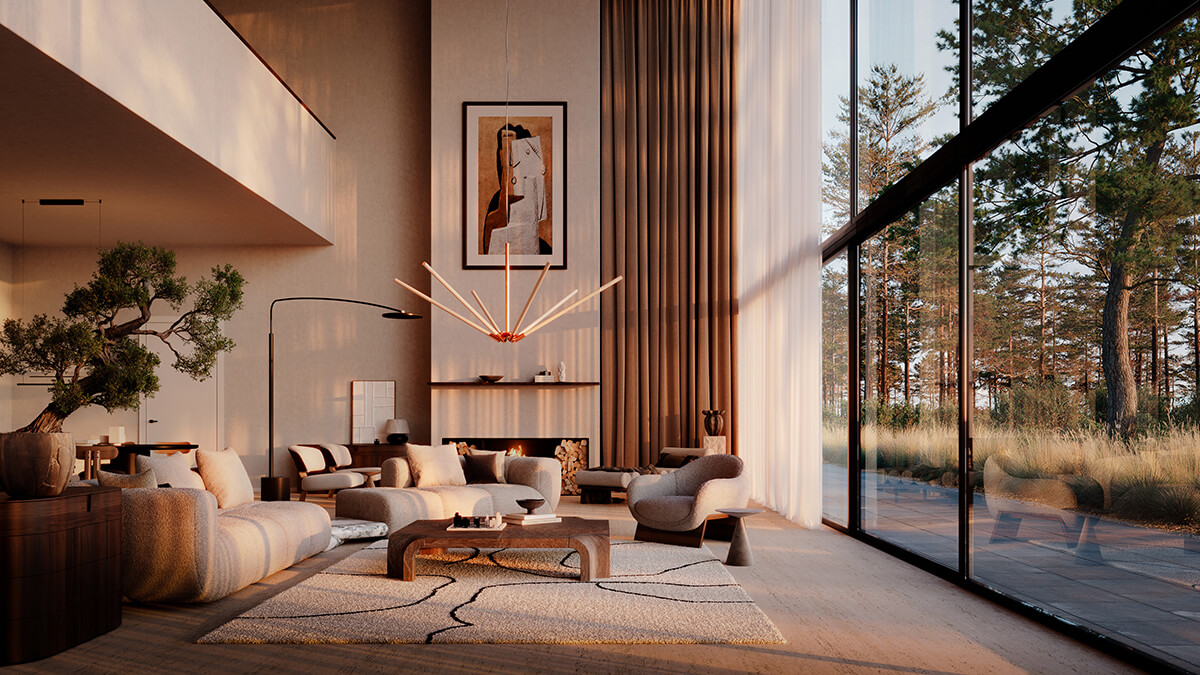
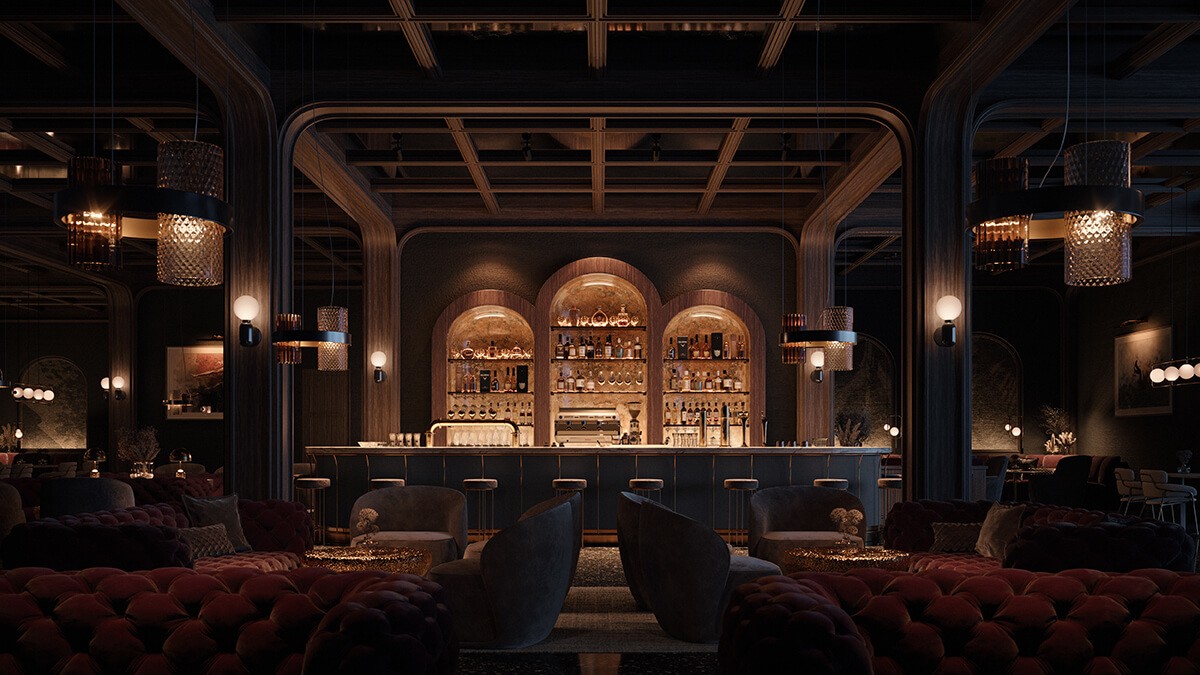
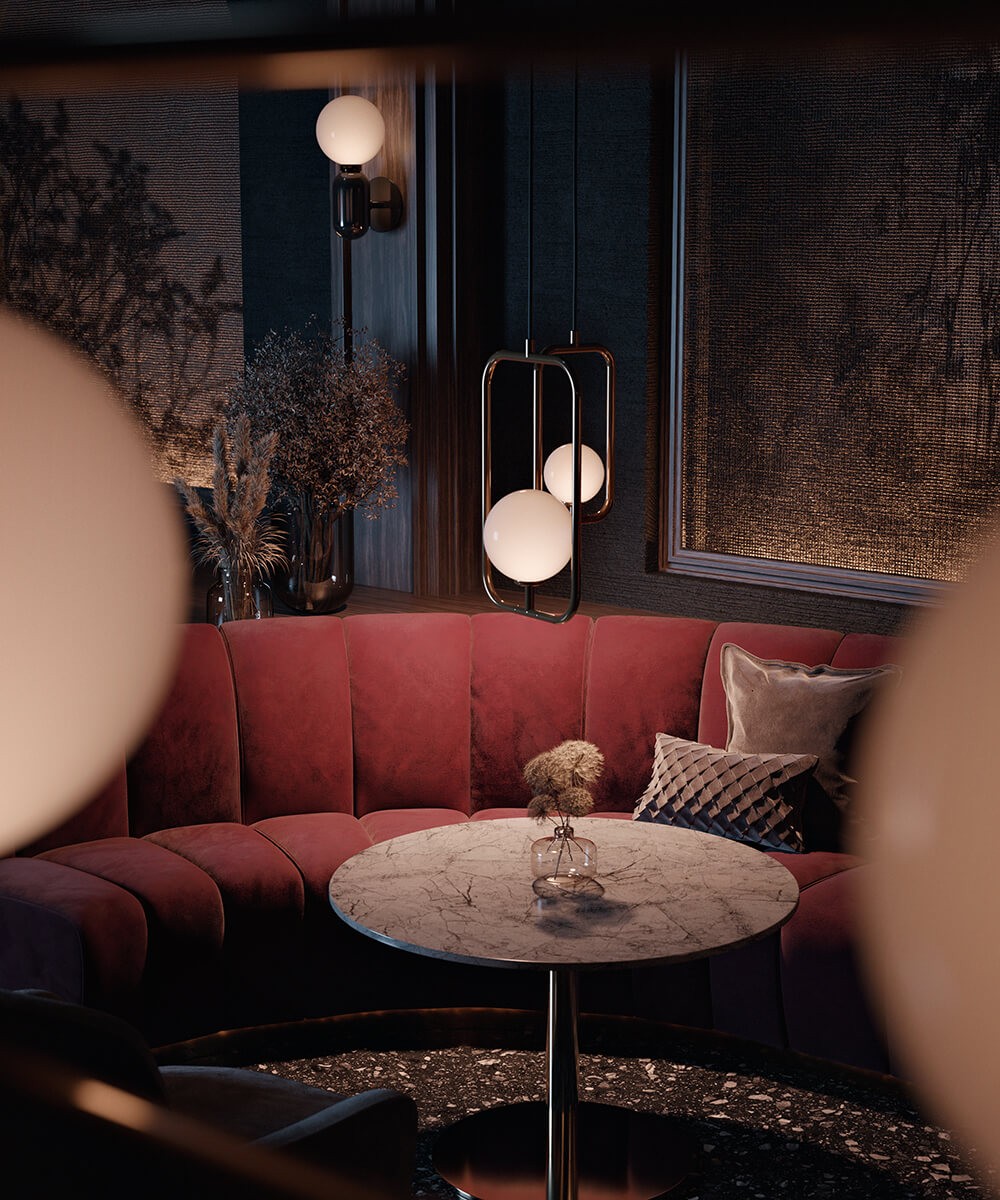
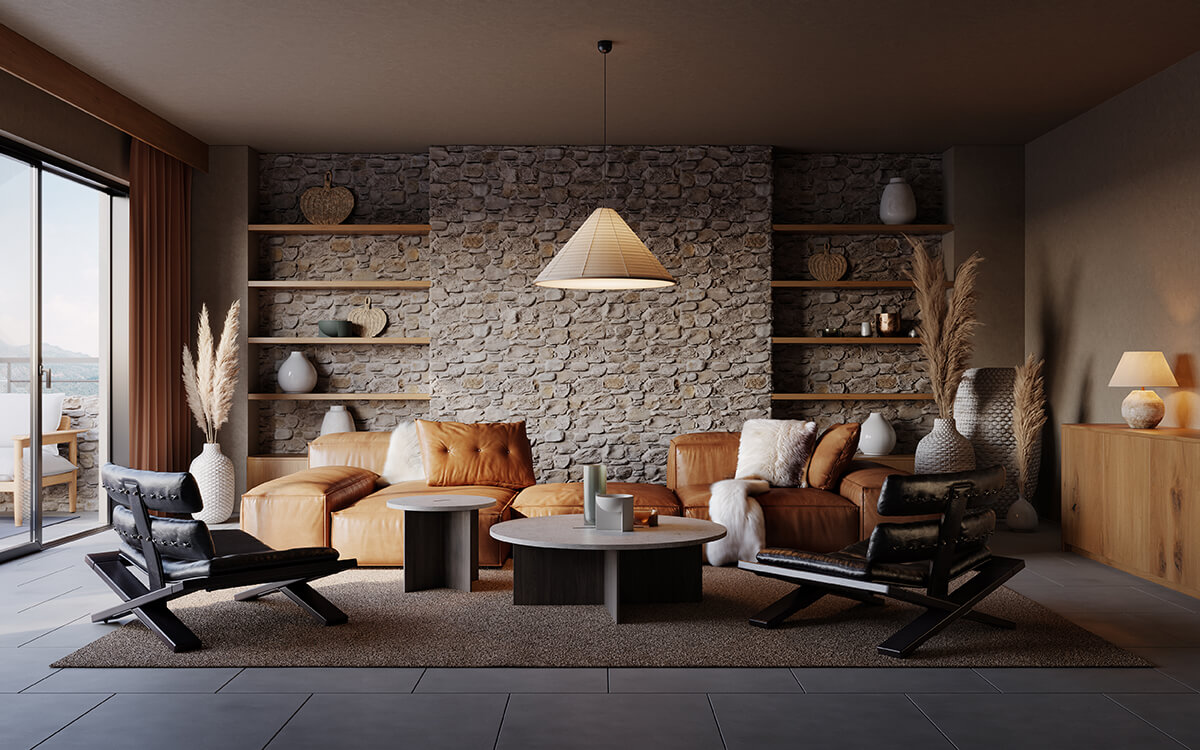
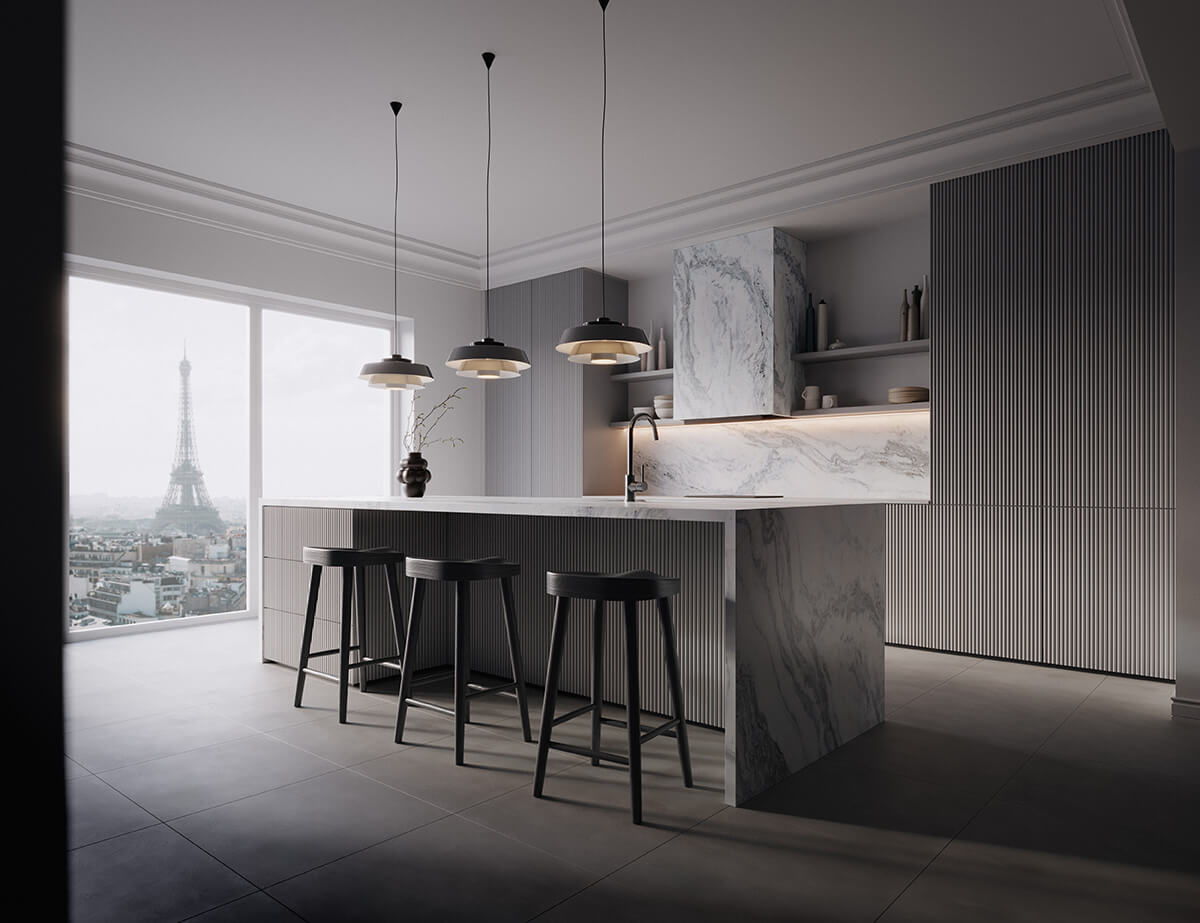
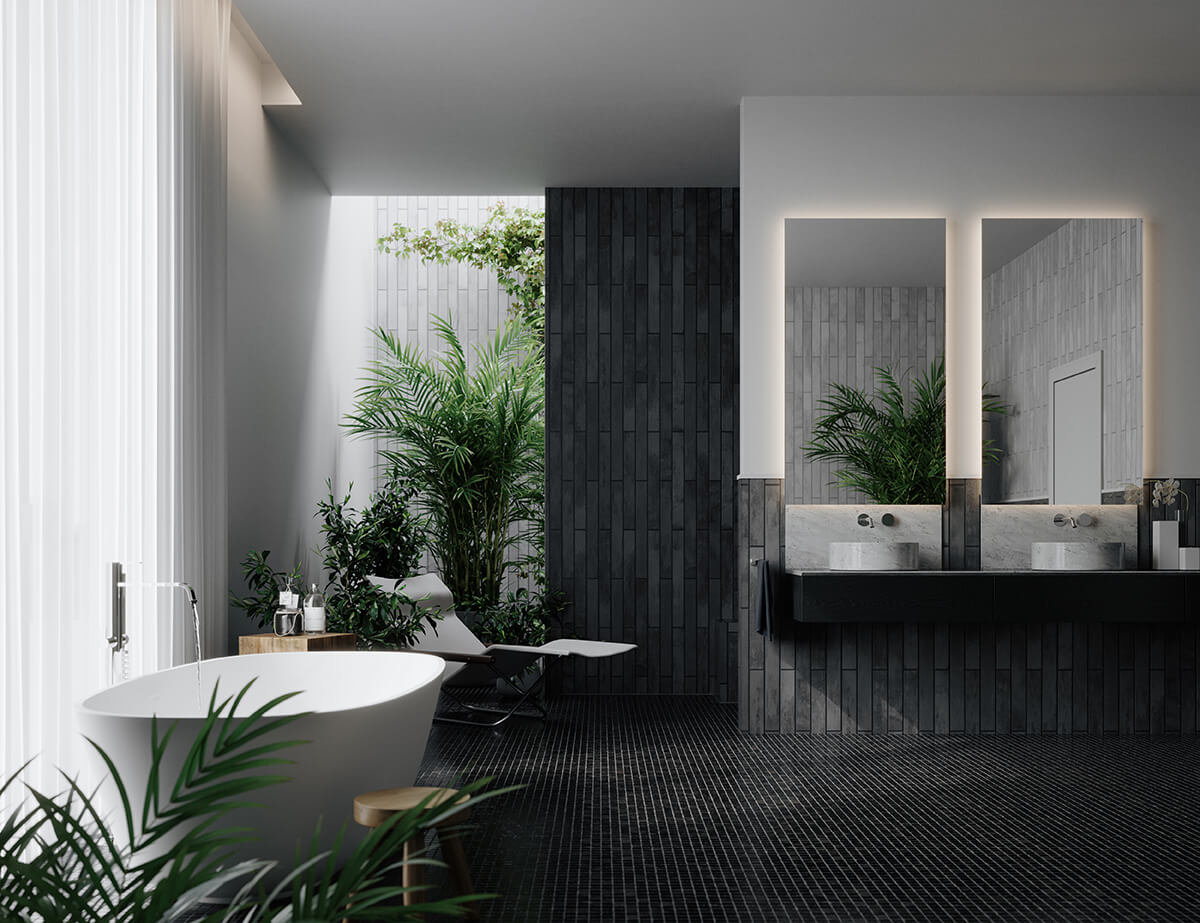
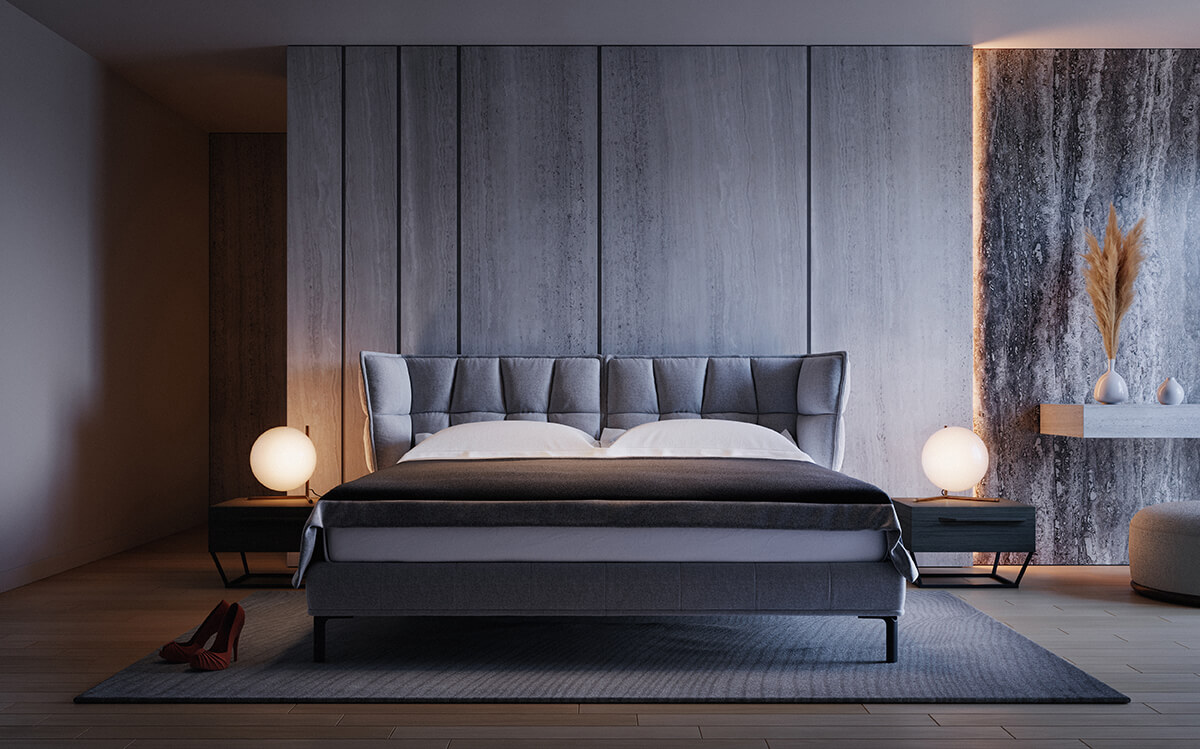

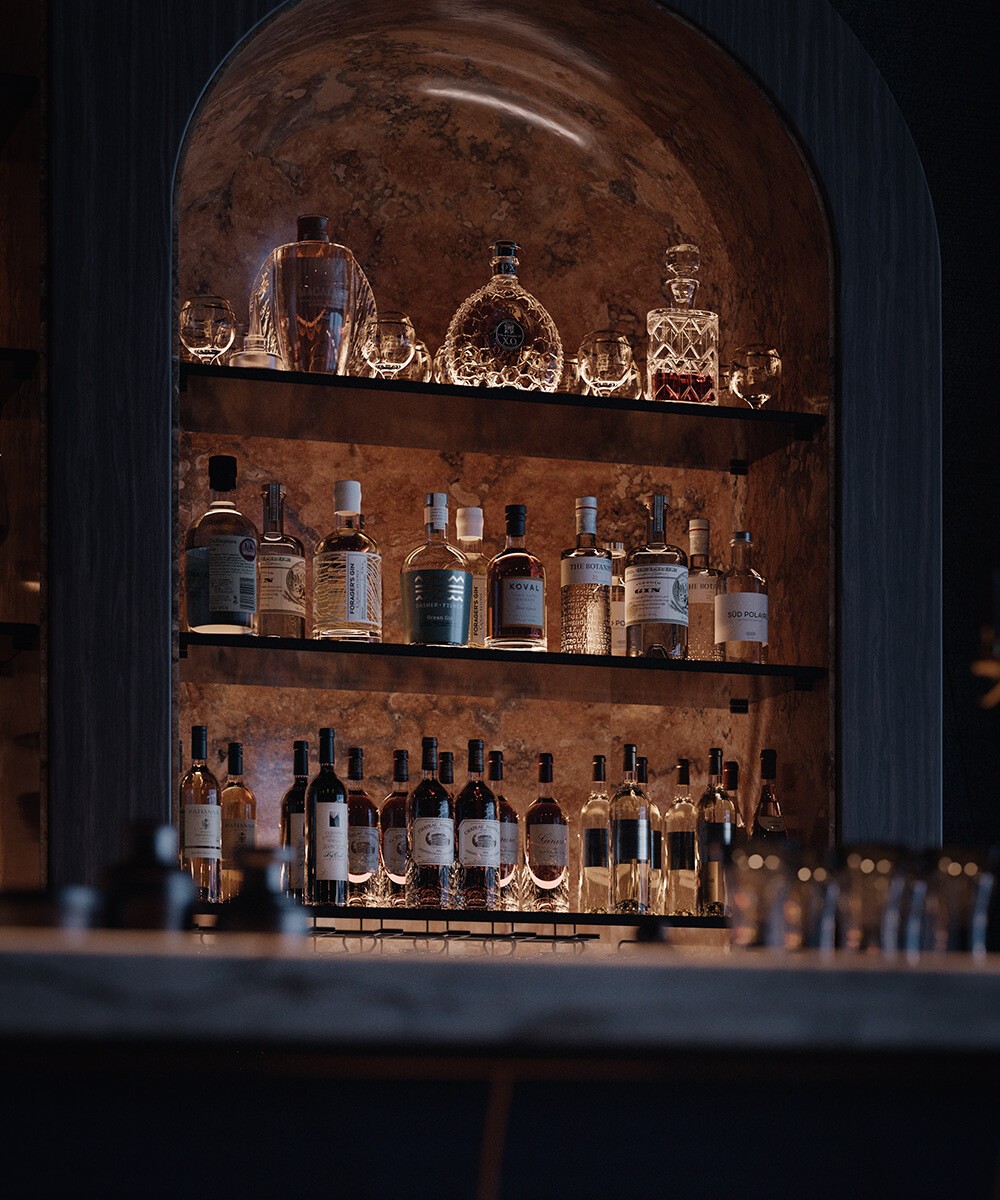
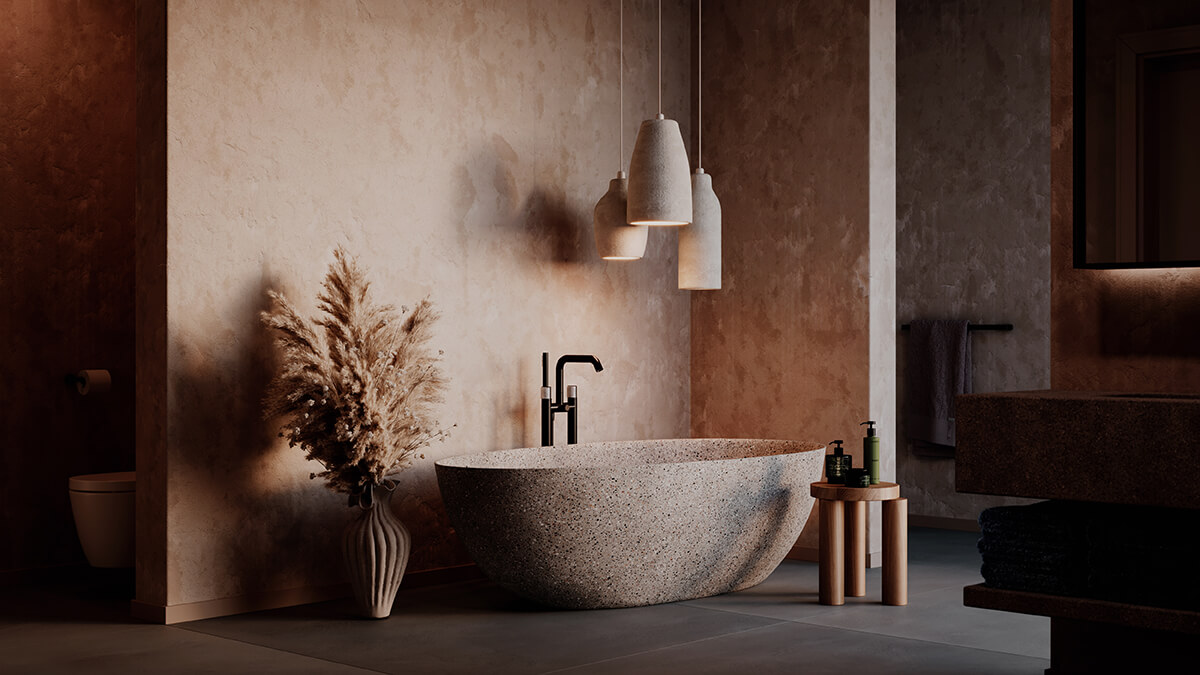
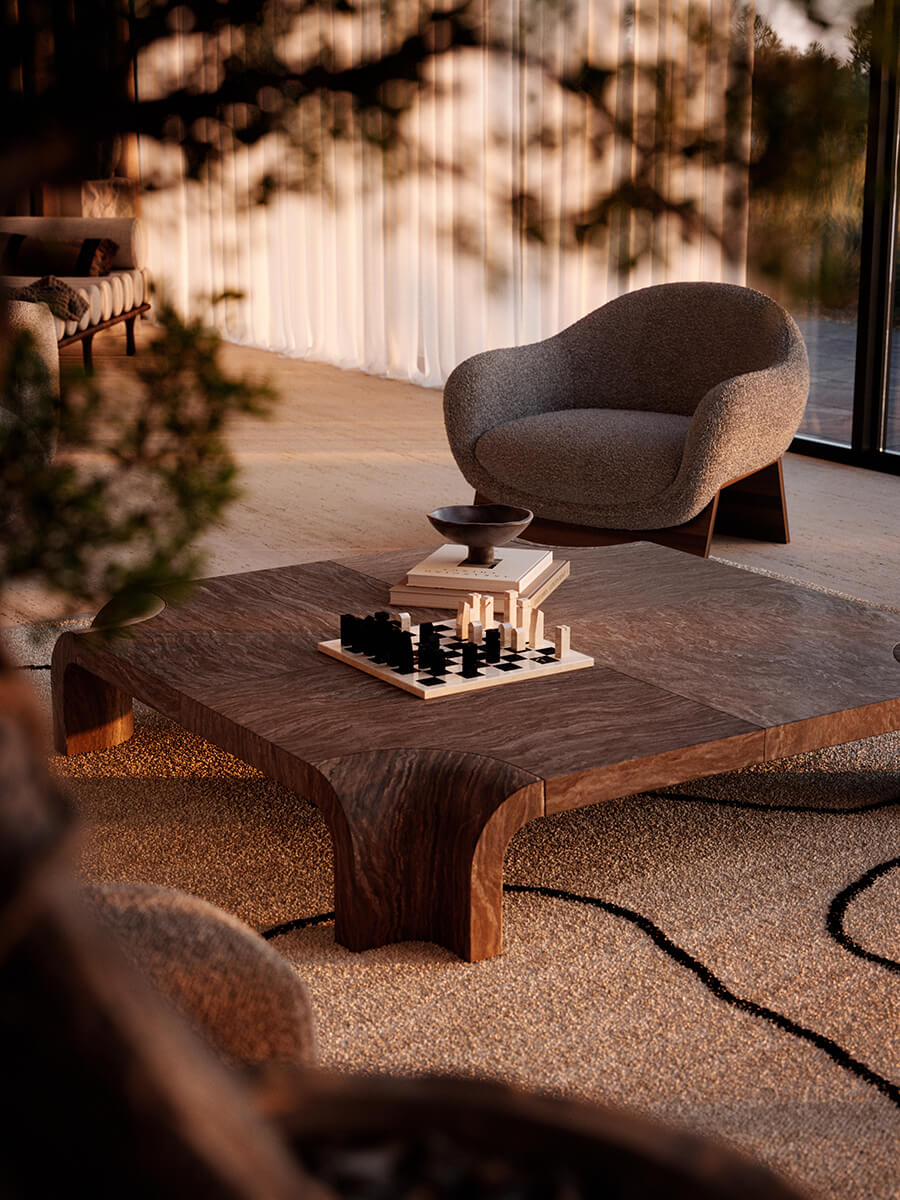
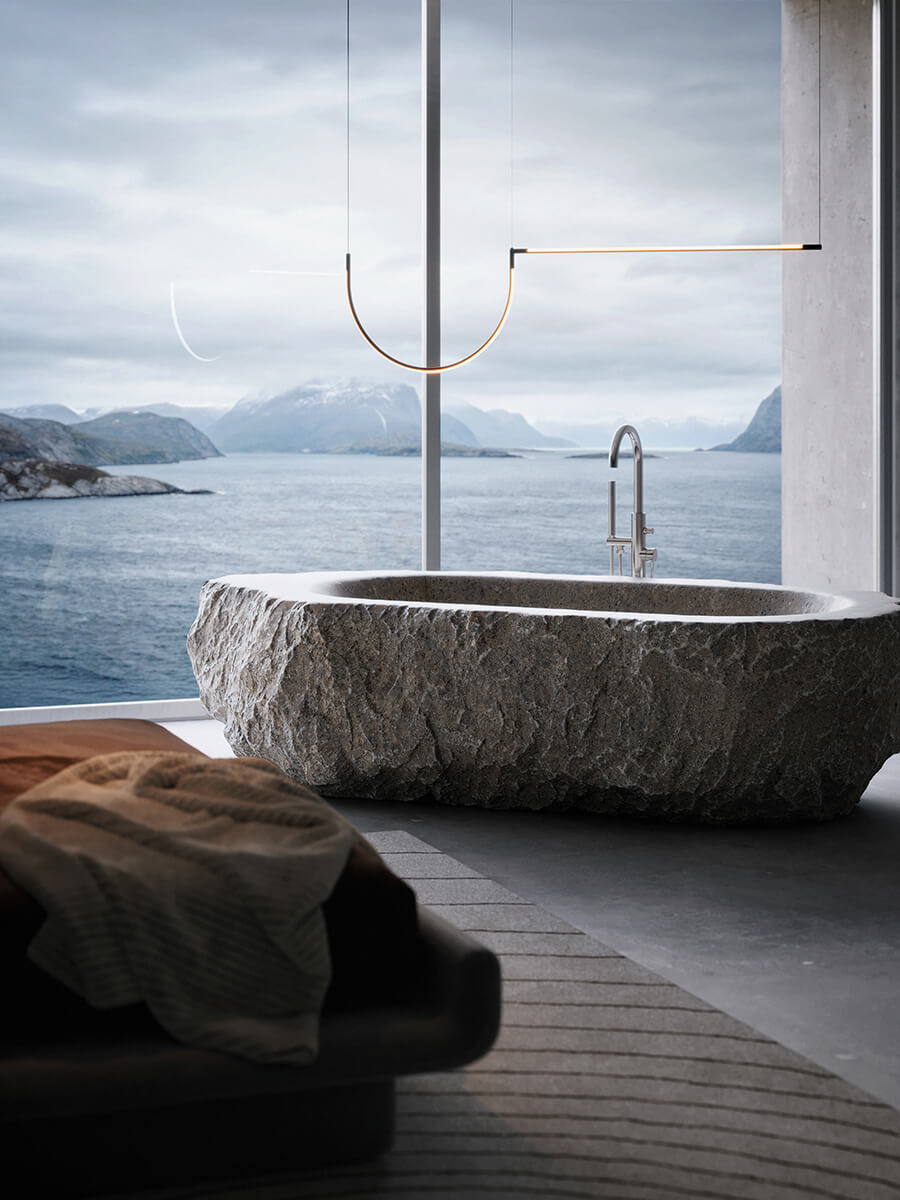
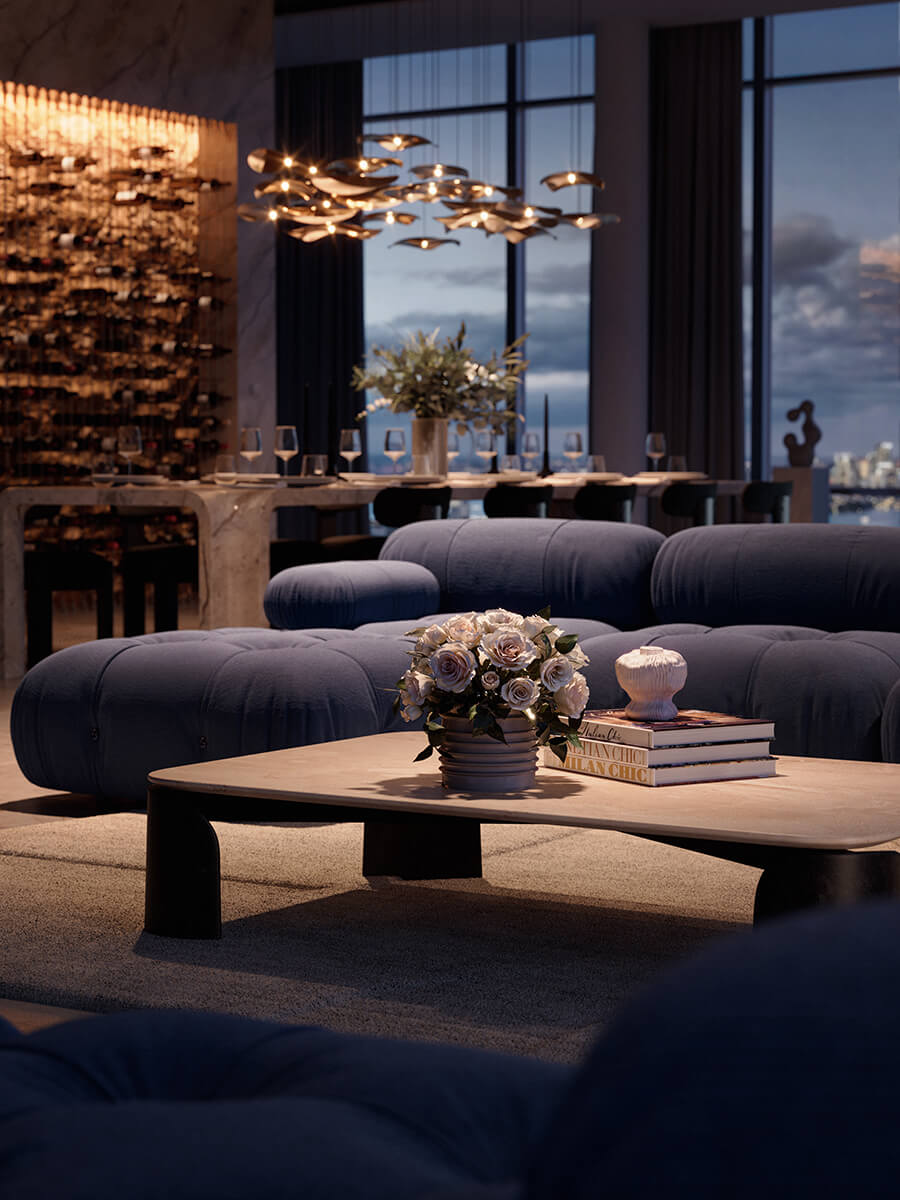
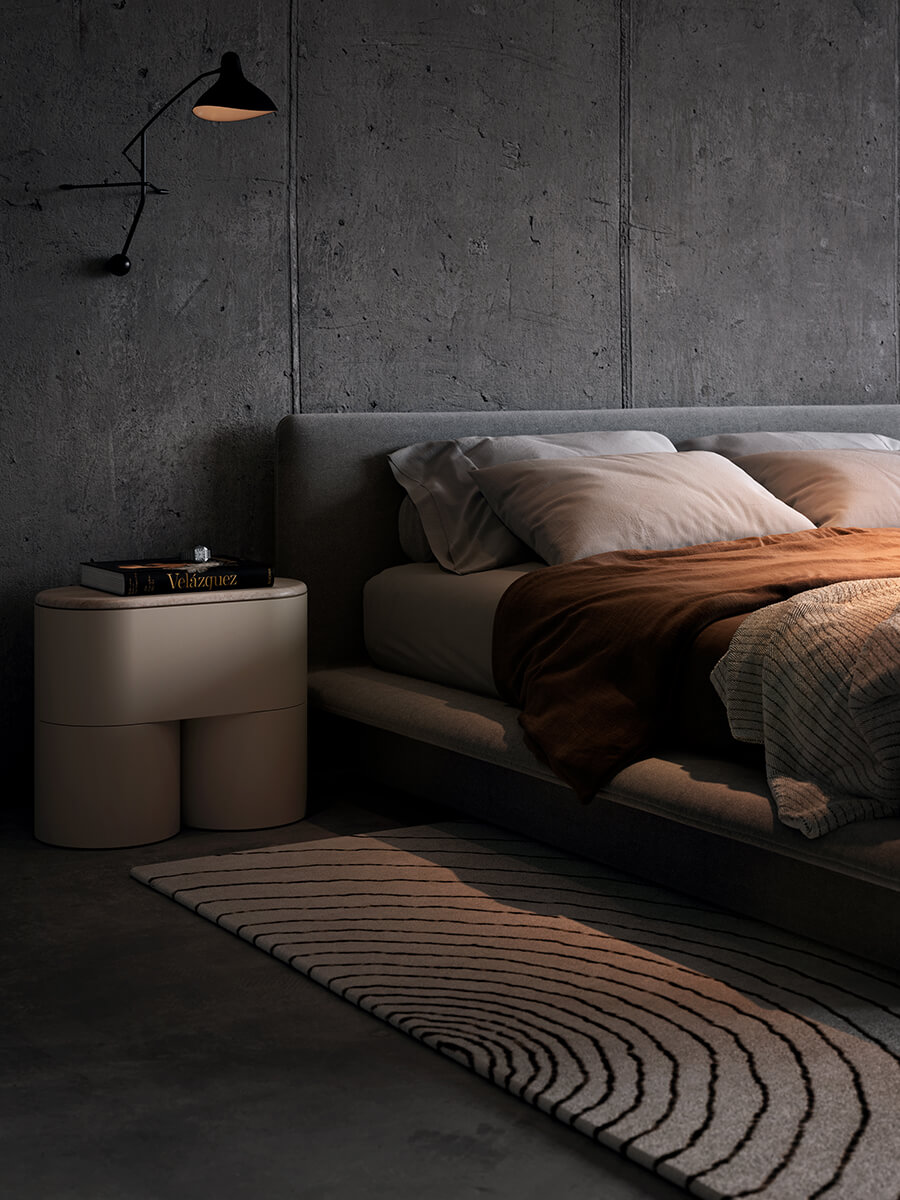
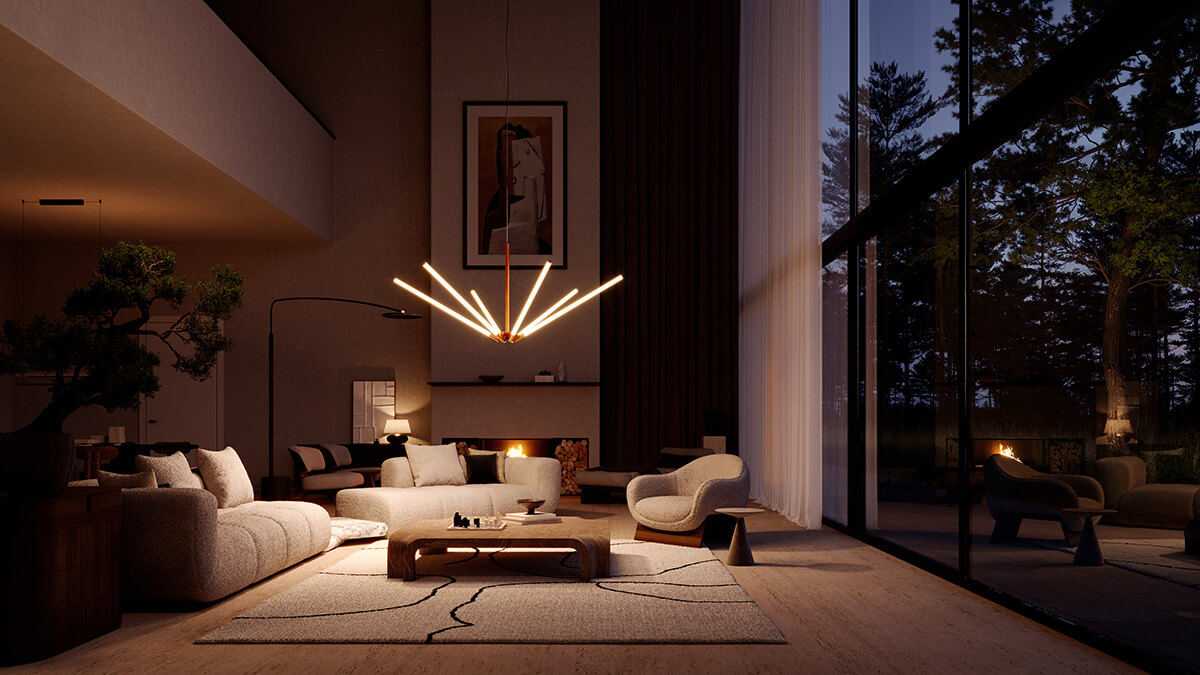
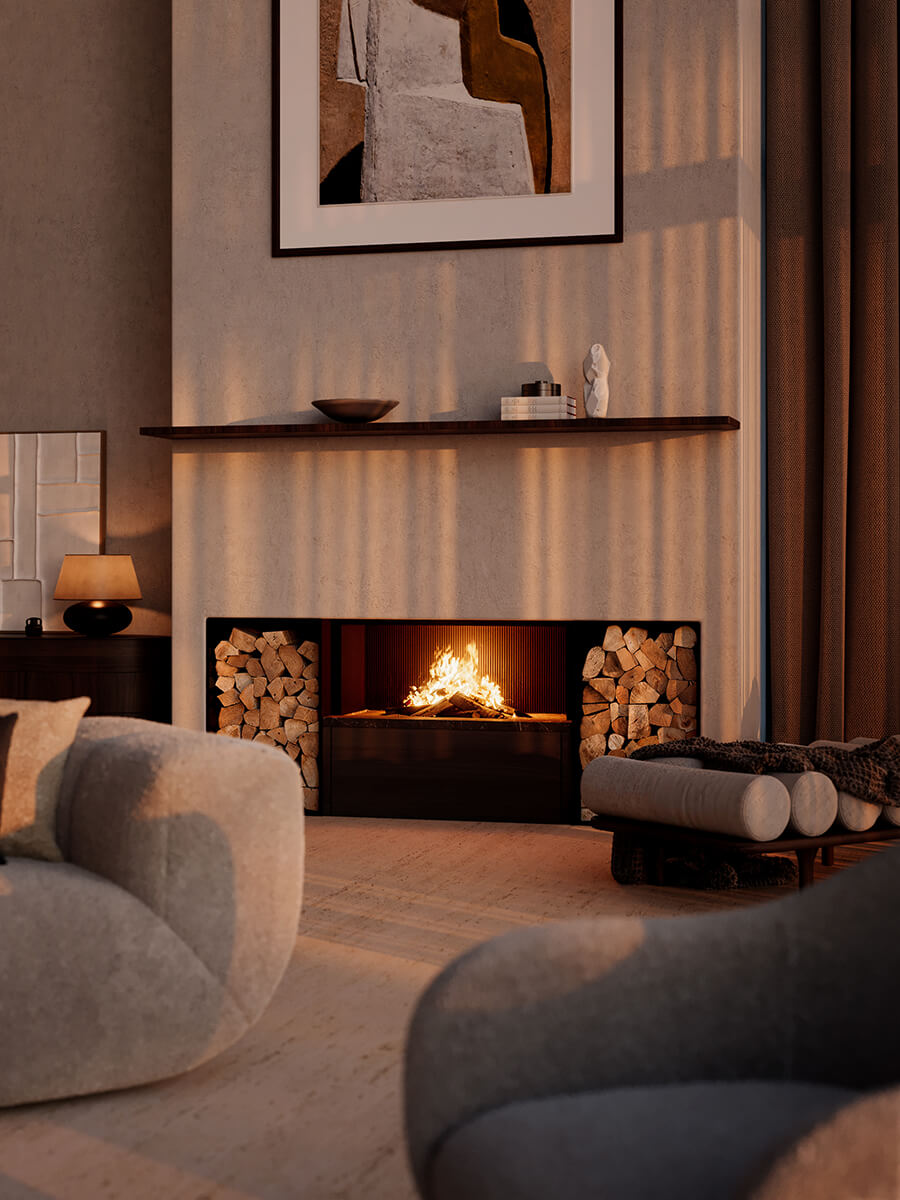
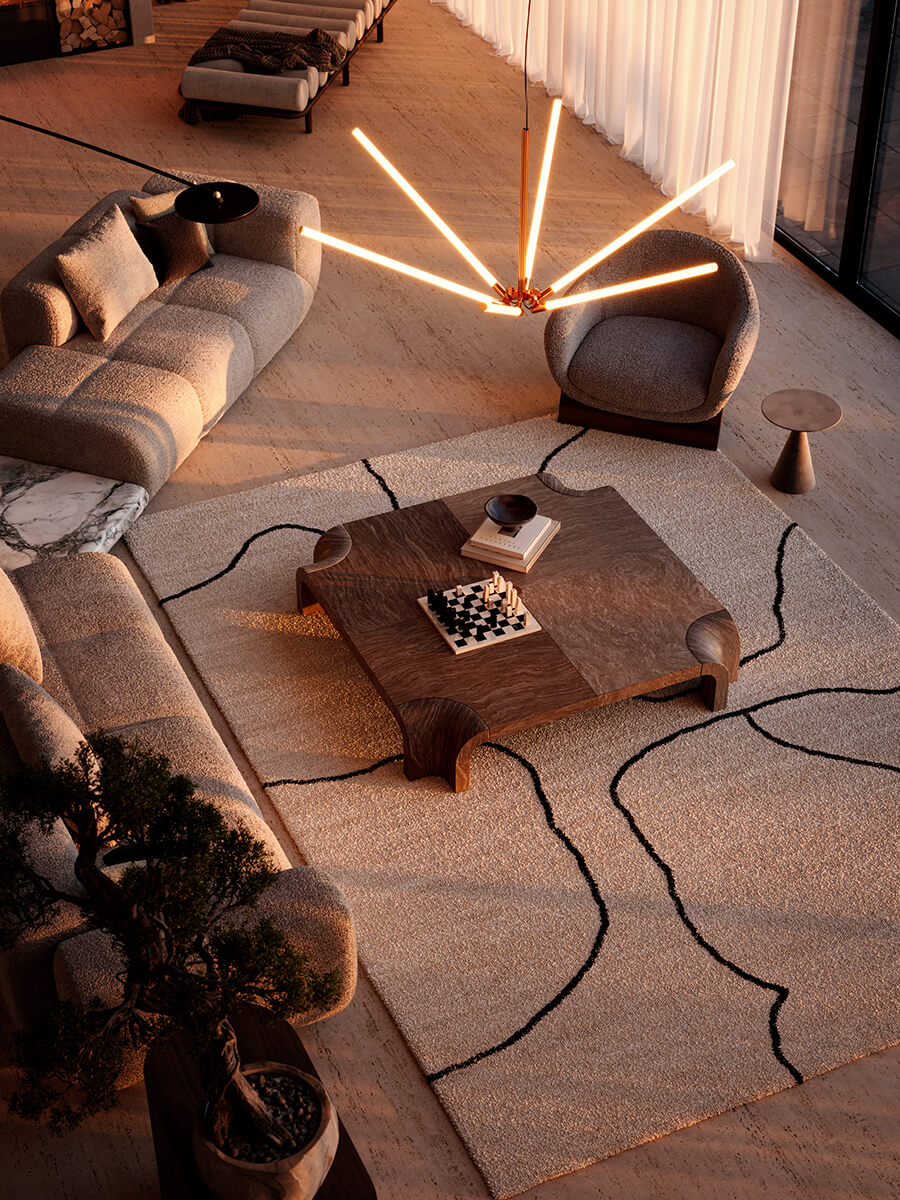
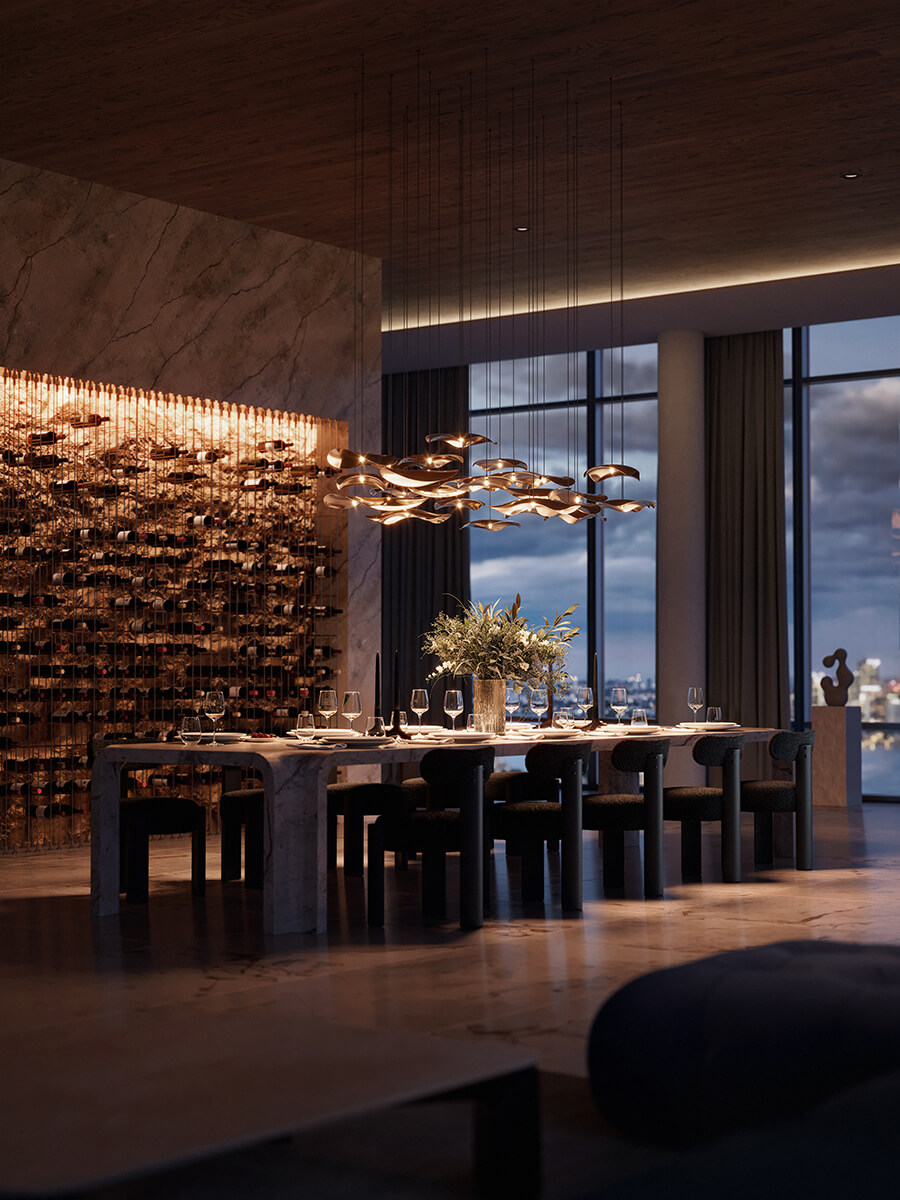
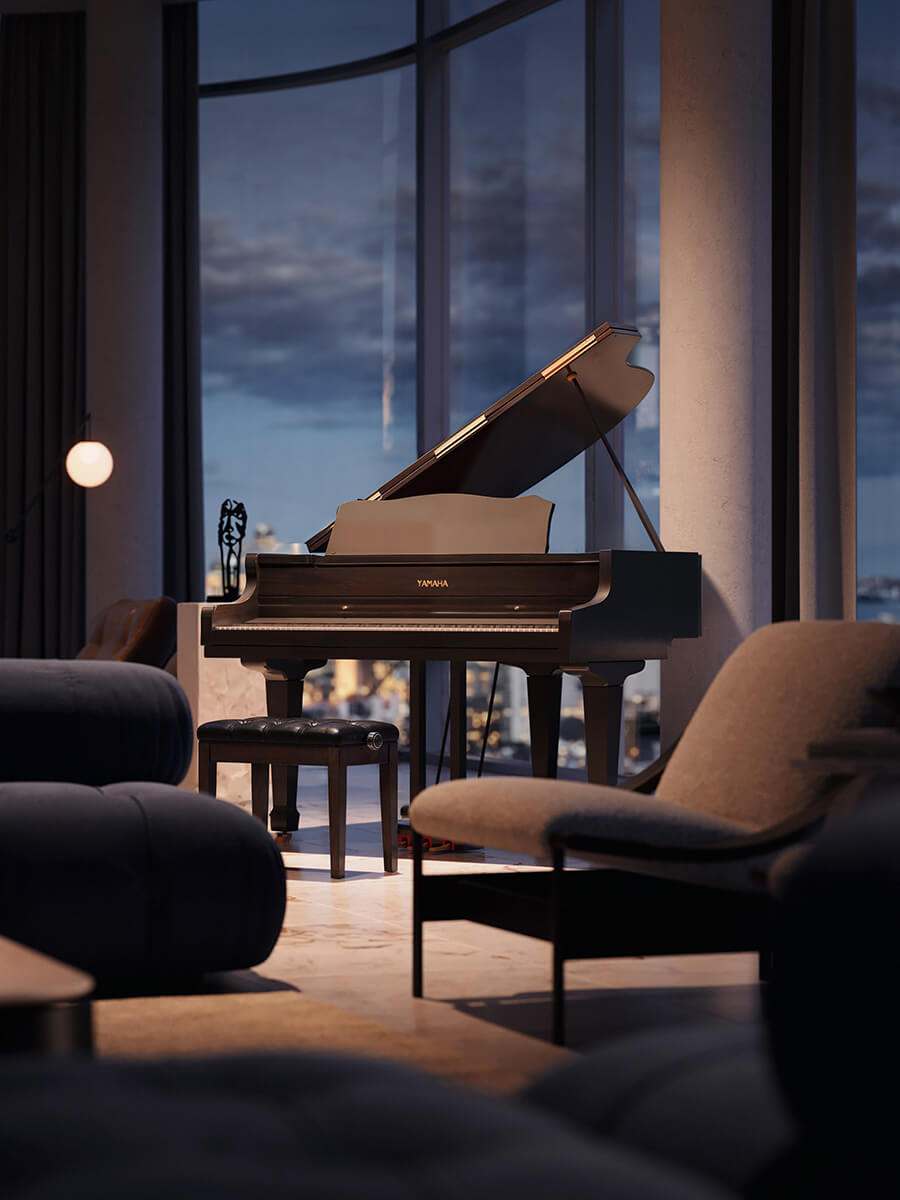
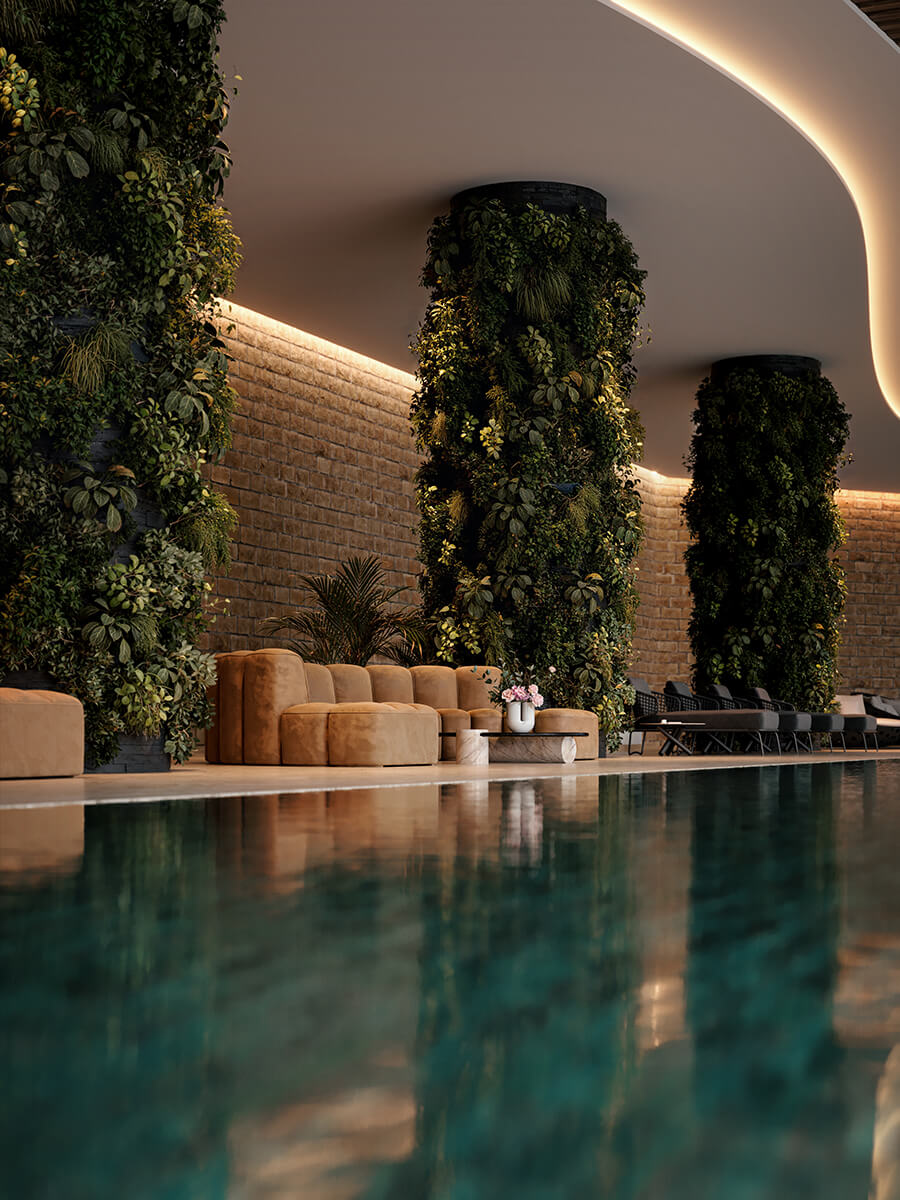

This system will work for you every time!
For who
Who should attend?

Total beginner in arch-viz
Start your 3D journey today with us! We’ll guide you step-by-step through the basics of 3ds Max, Corona Renderer, so you can confidently begin your creative exploration.
Architect / Interior designer
You will master 3D software to showcase your ideas in a professional manner that will capture the attention of viewers. With the right focus, you will be able to present your work to its fullest potential.
In the arch-viz for a while
Take your 3ds Max, Corona Renderer skills to the next level by mastering an artistic approach with 10 practice-based scenario scenes. Improve your image-making and stand out from the crowd.


Features
What will you learn?
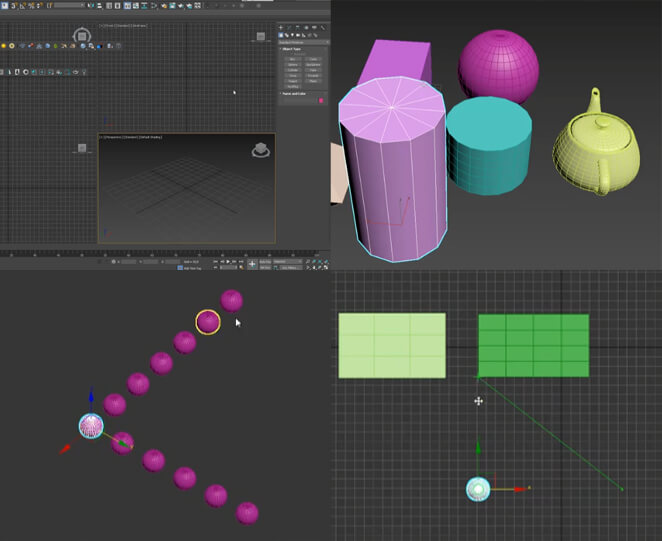
Basics of 3ds Max
Learn 3ds Max from the ground up. Our quick, comprehensive lessons will help you master the program without wasting time on unnecessary information. We’ll also show you the best ways to organize your files and folders, helping you to keep your work tidy and secure. Plus, a good folder structure will save you time and prevent you from misplacing files. Get ready to streamline your workflow, and get the most out of 3ds Max.

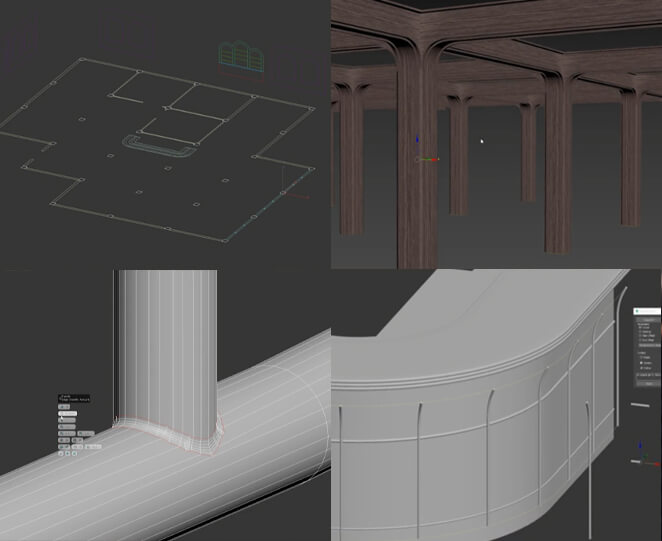
Interior 3D Modeling
Learning 3ds Max modeling is essential for any 3D artist. Even though we don’t usually create models (we receive models from clients and purchase pre-made assets), occasionally, when the need arises, we must swiftly produce or edit an existing model to meet the client’s requirements. In this course, we’ll take you step-by-step through the basics of creating an interior. You’ll learn how to create a complete interior from start to finish, including windows, floor, and doors. We will also show you how to model buildings from exterior scenes.
Camera setup
Choosing the right camera angle is a crucial part of creating compelling visuals. It can be the most challenging part of the process. The details, architectural highlights, and surrounding context change the perception of the image based on the camera angle. By learning the composition rules and best ways of setting up cameras in 3ds max, you can ensure that your visuals have the desired impact.
Lighting setup
Lighting is a key element in capturing emotions and setting the tone of any image. With the right lighting, we can change the atmosphere, mood, and sense of depth. We will take you through the basics of various lighting scenarios for interior shots. Learn how to master the power of light to bring your images to life.
Materials
If you want to create photo-realistic materials, you must be an attentive observer of the world around you. This is a fundamental skill in creating stunning visuals that will wow your viewers. We’ll show you how to create materials that look and feel real, so your work will never be doubted. Get ready to craft materials that will make your image stand out!
Storytelling
Adding story to visualizations is essential if you want your image to stand out and capture attention. In this course, we’ll cover the concept and demonstrate various methods of incorporating story into images. You’ll learn how to incorporate storytelling elements to engage your audience and create a compelling narrative. By the end of the course, you’ll understand how to effectively communicate your message through visuals, and be able to create stunning, attention-grabbing visuals that will engage your audience.
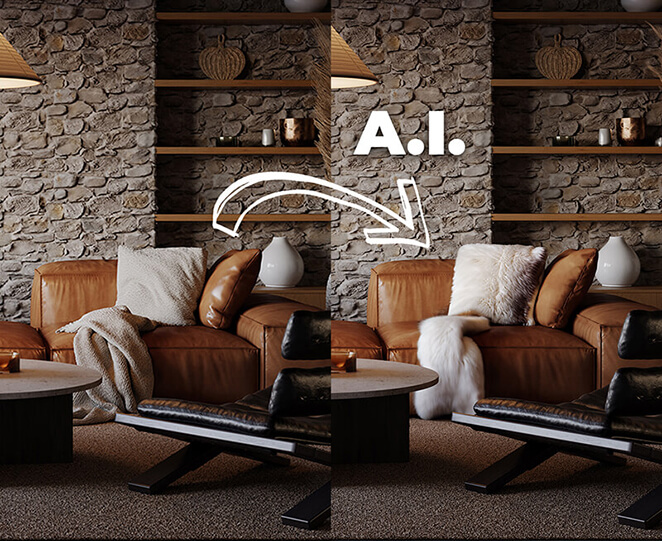
A.I.
The course also covers simple AI enhancements, such as improving vegetation, material details, and other visual elements. However, everything is created in 3D, with AI used only as a tool to refine and enhance the final images.
Post-production
As 3D artists, we understand the importance of post-processing to get the best results – which is why we are here to show you how. We strive to create the best image in the 3D software and only give it subtle improvements in post-production for the best results. We’ll teach you how to use Photoshop to enhance your visuals, as well as how to save time and post-process your images directly in 3ds Max. Learn how to save time and perfect your images in post-production by using our step-by-step instructions.
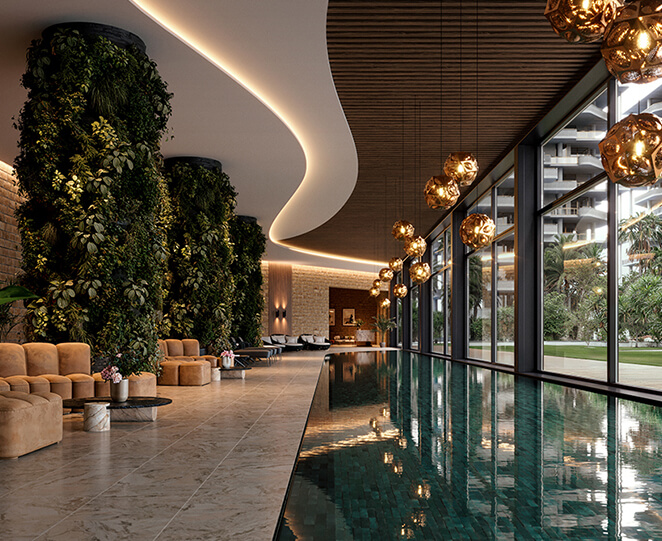
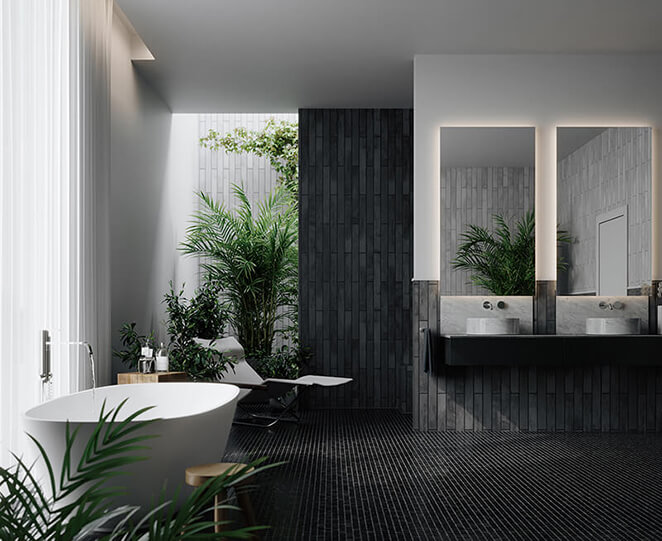
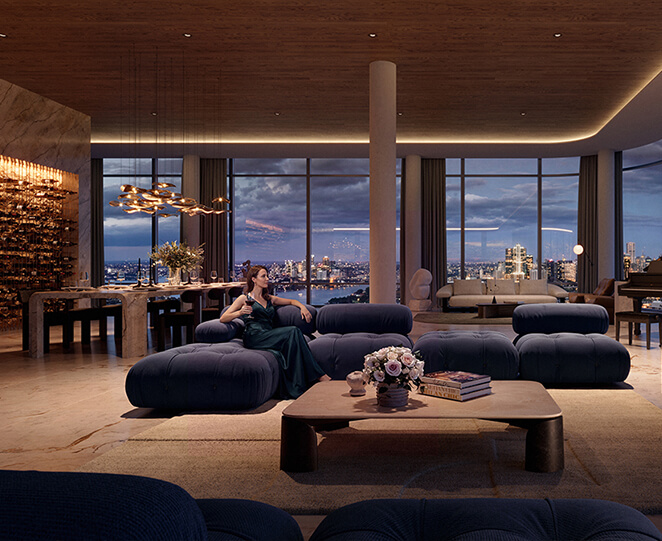
Learn this
in just
few weeks
or spend years trying to learn it by yourself
Get there in just 4 weeks!
You can do it faster or slower depending on your needs and desires.
-
Day 1 – You have software basics in your finger tip, as well as you know how to manage your files.
Day 2 – You know the modeling basics and you’ve already modeled an interior.
Day 3 – You have modeled more advanced objects, like windows and kitchen and you have compelted the base model.
Day 4 – You take this day to practise camera setup.
Day 5 – Lighting
Day 6 – Day 7 –
Curriculum
The training program
Part 1 – Basics
- First steps in 3ds Max
- Lesson 1 – Introduction to the training 00:02:38
- Lesson 2 – Viewport explained (how to move around) 00:03:32
- Lesson 3 – Adjusting the Viewport 00:06:20
- Lesson 4 – Preferences 00:03:37
- Lesson 5 – Create Objects in 3ds Max 00:03:59
- Lesson 6 – Transform, Rotate, Scale… 00:06:06
- Lesson 7 – Selections, Groups, Hiding… 00:05:45
- Lesson 8 – 3ds Max Snaps Toggle 00:05:54
- Lesson 9 – Arrays, Aligns & Other Tools 00:07:29
- Lesson 10 – Modifiers 00:01:39
- Lesson 11 – Slate Material Editor 00:14:58
- Lesson 12 – Layers Explained 00:06:50
- Lesson 13 – Project Folder Structure 00:02:13
- Lesson 14 – Import and Export 00:02:53
- Interior Modeling
- Lesson 15 – Poly modeling basics 00:05:35
- Lesson 16 – Modeling interior walls 00:10:29
- Lesson 17 – Chamfer edges 00:02:06
- Lesson 18 – Floor Generator 00:03:39
- Lesson 19 – Modeling windows 00:18:07
- Lesson 20 – Modeling balcony windows 00:11:18
- Lesson 21 – Modeling doors 00:10:13
- Lesson 22 – Modeling skirting 00:08:24
- Lesson 23 – Modeling railing 00:14:23
- Lesson 24 – Modeling kitchen 00:15:54
- Lesson 25 – Modeling kitchen island 00:07:36
- Lesson 26 – Modeling kitchen sink 00:08:23
Part 2 – Theory
- 8-Step System
- Lesson 1 – Composition – Theory 00:07:16
- Lesson 2 – Composition – Balance 00:04:23
- Lesson 3 – Composition – Framing 00:04:01
- Lesson 4 – Camera – Exposure Triangle 00:03:25
- Lesson 5 – Camera – Depth of Field 00:02:03
- Lesson 6 – Camera – Examples Analysis 00:04:06
- Lesson 7 – Camera – Focal Length 00:04:50
- Lesson 8 – Lighting – Types of Lighting 00:03:35
- Lesson 9 – Lighting – Characteristics 00:03:43
- Lesson 10 – Lighting – Balance 00:03:13
- Lesson 11 – Lighting – Global Illumination 00:01:35
- Lesson 12 – Colors – Theory 00:02:36
- Lesson 13 – Colors – Emotions 00:03:00
- Lesson 14 – Colors – Harmonies 00:07:52
- Lesson 15 – Materials 00:14:16
- Lesson 16 – Materials V-Ray 00:15:55
- Lesson 17 – Assets 00:04:20
- Lesson 18 – Storytelling 00:06:31
- Lesson 19 – Postproduction 00:02:58
Part 3 – Practise
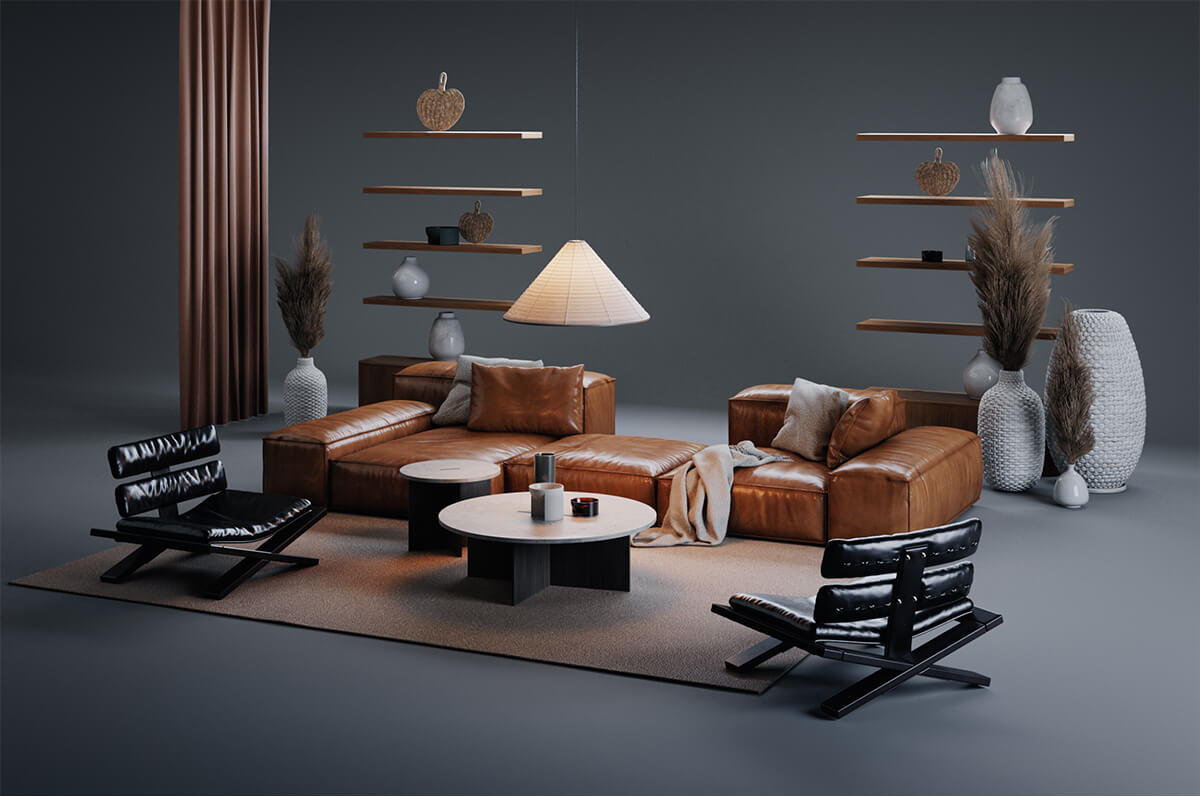
- Interior 1 – Rustic Living Room
- Lesson 1 – Camera Setup 00:05:02
- Lesson 2 – Lighting 00:09:28
- Lesson 3 – Materials 00:17:33
- Lesson 4 – Assets 00:04:53
- Lesson 5 – Postproduction 00:16:50
- Lesson 6 – Camera Setup V-Ray 00:05:13
- Lesson 7 – Lighting V-Ray 00:09:19
- Lesson 8 – Materials V-Ray 00:20:24
- Lesson 9 – Assets V-Ray 00:07:06
- Lesson 10 – Postproduction V-Ray 00:17:29
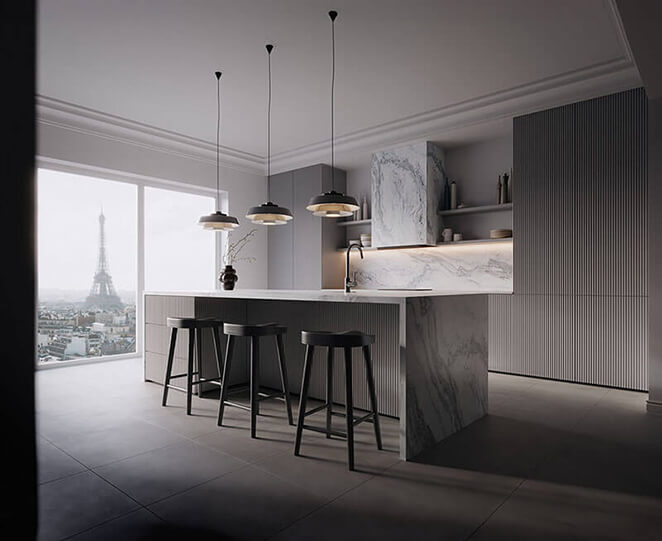
- Interior 2 – Parisian Kitchen
- Lesson 11 – Camera Setup 00:05:02
- Lesson 12 – Lighting 00:09:28
- Lesson 13 – Materials 00:17:33
- Lesson 14 – Assets 00:04:53
- Lesson 15 – Postproduction 00:16:50
- Lesson 16 – Camera Setup V-Ray 00:05:13
- Lesson 17 – Lighting V-Ray 00:09:19
- Lesson 18 – Materials V-Ray 00:20:24
- Lesson 19 – Assets V-Ray 00:07:06
- Lesson 20 – Postproduction V-Ray 00:17:29
- Interior 3 – Modern Tropical Bathroom
- Lesson 21 – Camera Setup 00:03:48
- Lesson 22 – Lighting 00:08:22
- Lesson 23 – Materials 00:16:13
- Lesson 24 – Assets 00:06:40
- Lesson 25 – Postproduction 00:07:07
- Lesson 26 – Camera Setup V-Ray 00:04:04
- Lesson 27 – Lighting V-Ray 00:08:25
- Lesson 28 – Materials V-Ray 00:13:21
- Lesson 29 – Assets V-Ray 00:05:40
- Lesson 30 – Postproduction V-Ray 00:06:50
- Interior 4 – Contemporary Bedroom
- Lesson 31 – Camera Setup 00:03:56
- Lesson 32 – Lighting 00:22:26
- Lesson 33 – Colors & Materials 00:13:43
- Lesson 34 – Assets & Storytelling 00:03:36
- Lesson 35 – Postproduction 00:11:05
- Lesson 36 – Camera Setup V-Ray 00:03:22
- Lesson 37 – Lighting V-Ray 00:17:48
- Lesson 38 – Colors & Materials V-Ray 00:10:32
- Lesson 39 – Assets & Storytelling V-Ray 00:01:52
- Lesson 40 – Postproduction V-Ray 00:10:11
Part 4 – Further Practice
- Interior 1 – Warm Organic Bathroom
- Lesson 1 – Modeling 00:15:05
- Lesson 2 – Assets 00:04:03
- Lesson 3 – Camera Setup 00:05:57
- Lesson 4 – Lighting 00:07:45
- Lesson 5 – Materials 00:12:24
- Lesson 6 – Postproduction 00:03:34
- Interior 2 – Forest Living Room
- Lesson 7 – Assets 00:10:07
- Lesson 8 – Camera Setup 00:04:56
- Lesson 9 – Lighting 00:12:24
- Lesson 10 – Materials 00:08:44
- Lesson 11 – Vegetation 00:15:01
- Lesson 12 – Postproduction 00:10:01
- Lesson 13 – Night Lighting 00:10:46
- Lesson 14 – Extra Shots 00:05:00
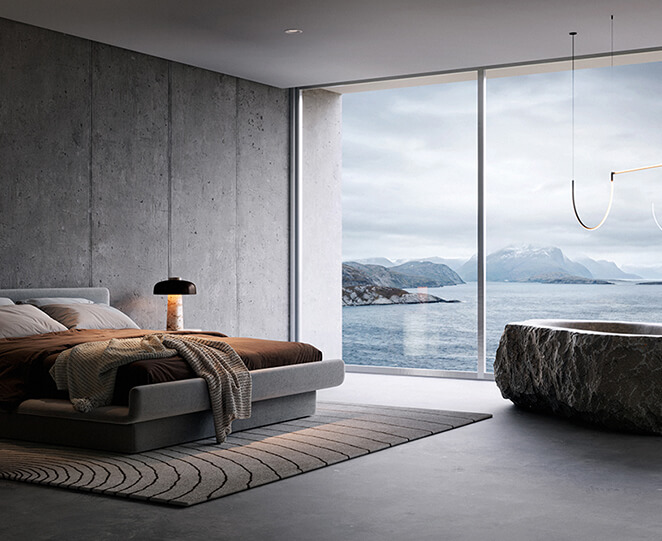
- Interior 3 – Coastal Brutalist Bedroom
- Lesson 15 – Camera Setup 00:05:50
- Lesson 16 – Lighting 00:07:48
- Lesson 17 – Background Image 00:05:03
- Lesson 18 – Materials 00:09:37
- Lesson 19 – Postproduction 00:06:09
- Lesson 20 – Extra Shots 00:04:52
- Interior 4 – Luxury Penthouse
- Lesson 21 – Model & Camera Setup 00:04:22
- Lesson 22 – Exterior Lighting & Background 00:02:41
- Lesson 23 – Interior Lighting 00:10:28
- Lesson 24 – Lighting Adjustments 00:08:29
- Lesson 25 – Materials 00:09:01
- Lesson 26 – Postproduction 00:06:23
- Lesson 27 – Additional Shots 00:05:43
- Interior 5 – Biophilic Luxury Spa
- Lesson 28 – Modeling 00:07:11
- Lesson 29 – Camera Setup 00:03:36
- Lesson 30 – Lighting 00:09:03
- Lesson 31 – Materials 00:07:52
- Lesson 32 – Green Wall 00:12:27
- Lesson 33 – Lighting Adjustment 00:06:41
- Lesson 34 – Postproduction 00:03:00
Part 5 – Advanced Scene
- Modeling
- Lesson 1 – Modeling overview 00:00:59
- Lesson 2 – Modeling columns 00:29:14
- Lesson 3 – Modeling windows 00:28:02
- Lesson 4 – Modeling ceiling 00:16:16
- Lesson 5 – Modeling walls 00:23:34
- Lesson 6 – Modeling doors 00:07:30
- Lesson 7 – Modeling bar 00:28:08
- Lesson 8 – Modeling bar counter 00:36:41
- Lesson 9 – Remodeling bar sofa 00:39:25
- Lesson 10 – Final adjustments to the base model 00:05:14
- Cameras & Lighting
- Lesson 11 – General idea of the bar space 00:03:53
- Lesson 12 – Storytelling and color analysis 00:05:48
- Lesson 13 – Main furniture setting 00:13:12
- Lesson 14 – Main cameras setting 00:13:36
- Lesson 15 – Overall lighting setup 00:06:16
- Lesson 16 – Adding light features 00:07:33
- Lesson 17 – Adding lights to light features 00:20:13
- Materials
- Lesson 18 – Creating wood material 00:07:40
- Lesson 19 – Creating wall material 00:07:57
- Lesson 20 – Creating floor material 00:11:35
- Lesson 21 – Creating ceiling material 00:06:07
- Lesson 22 – Creating marble material 00:04:01
- Lesson 23 – Creating metal material 00:09:52
- Lesson 24 – Creating bar fabric material 00:07:34
- Lesson 25 – Creating the rest of the bar materials 00:05:29
- Lesson 26 – Creating linen material 00:14:59
- Lesson 27 – Creating velvet material 00:07:11
- Lesson 28 – Editing furniture materials 00:12:47
- Lesson 29 – Adjusting 2nd version of the velvet material 00:03:52
- Finalizing & Postproduction
- Lesson 30 – Adding bar accessories 00:19:33
- Lesson 31 – Adjusting alcohol materials 00:10:56
- Lesson 32 – Placing alcohol models 00:03:18
- Lesson 33 – Lighting bar area 00:11:50
- Lesson 34 – Adding extra lighting 00:12:46
- Lesson 35 – Placing main accessories 00:13:29
- Lesson 36 – Positioning decorations 00:32:07
- Lesson 37 – Render Setting & Render Elements 00:02:41
- Lesson 38 – Post-production 00:07:24
- Detailed Images Creation
- Lesson 39 – Vertical bar image – Adjusting the lighting 00:02:46
- Lesson 40 – Vertical bar image – Postproduction 00:04:01
- Lesson 41 – Seating image – Setting up the lighting 00:12:26
- Lesson 42 – Seating image – Postproduction 00:01:50
- Lesson 43 – Sofa detail – Setting up the camera 00:05:39
- Lesson 44 – Sofa detail – Setting up the lighting 00:03:18
- Lesson 45 – Sofa detail – Postproduction 00:03:30
- Lesson 46 – Canva detail – Setting up the camera 00:05:00
- Lesson 47 – Canva detail – Setting up the lighting 00:04:21
- Lesson 48 – Canva detail – Postproduction 00:02:45
- Lesson 49 – Alcohol Details View 1 – Setting up the camera 00:05:28
- Lesson 50 – Alcohol Details View 1 – Setting up the lighting 00:05:28
- Lesson 51 – Alcohol Details View 1 – Postproduction 00:02:45
- Lesson 52 – Alcohol Details View 2 – Setting up the camera 00:03:42
- Lesson 53 – Alcohol Details View 2 – Setting up the lighting 00:02:21
- Lesson 54 – Alcohol Details View 2 – Postproduction 00:02:28
- Lesson 55 – Bar Detail View 1 – Setting up the camera 00:04:17
- Lesson 56 – Bar Detail View 1 – Setting up the lighting 00:11:02
- Lesson 57 – Bar Detail View 2 – Setting up the camera 00:02:58
- Lesson 58 – Bar Detail View 2 – Setting up the lighting 00:04:16
- Lesson 59 – Bar Detail View 3 – Setting up the camera 00:02:22
- Lesson 60 – Bar Detail View 3 – Setting up the lighting 00:03:52
- Lesson 61 – Bar Details – Postproduction 00:02:19






What do our students say?
Trusted by 2,000+ artists
from all over the world
Numbers
There’s a lot of it
…more than you think.
14
Visualizations will be shown from start to finish during this training including interiors and exteriors.
86
Video Lessons that will teach you everything you need to know to create amazing visualizations.
2
Render engines. Each lesson is presented in Corona & V-Ray versions. You will get 147 lessons in total.
100 +
Lifetime access! Your access will never expire because you might forget something along the way.
Assets & Textures included
Provided by our
amazing partners







All in one package
Everything you need to get started on 4 scenes
By joining this course, you’ll gain access to a wide range of 3D assets, textures, and HDRI maps provided by our amazing partners.
For four of the course projects, all the required resources will either be included or available to download for free, so you won’t need to source anything yourself. Other projects will require more independent work, giving you the opportunity to develop your skills and make progress on your own.
Software
Why do we teach 3ds max?
Architectural visualization studios generally rely on 3ds Max, a powerful program that offers a variety of options to create stunning visuals. With its vast capabilities and access to great plugins, models, and material libraries, the possibilities for creating stunning visuals are virtually limitless. With all of the resources available, 3ds Max is the obvious choice for your visualizations. You can learn other software as well but this, in our opinion, should be the core of your 3D skills.
English is not your first language?
We have dubbing & subtitles in selected languages
English
(Original Audio + Subtitles)
Spanish
(Dubbing+ Subtitles)
French
(Dubbing + Subtitles)
Italian
(Dubbing + Subtitles)
Polish
(Dubbing + Subtitles)
Portuguese
(Dubbing + Subtitles)
Arabic
(Subtitles)
Bengali
(Subtitles)
Chinese
(Subtitles)
German
(Subtitles)
Hindi
(Subtitles)
Hungarian
(Subtitles)
Indonesian
(Subtitles)
Japanese
(Subtitles)
Korean
(Subtitles)
Russian
(Subtitles)
Turkish
(Subtitles)
Want to learn even more?
Check out our
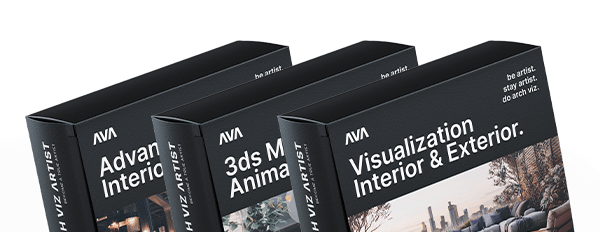
bestseller bundles!

With Advanced Exteriors & Animation Training
3-pack bundle
1,797.00€ 1,497.00€ Save 300€
Buy this bundleWith Advanced Interiors & Animation Training
3-pack bundle
1,797.00€ 1,497.00€ Save 300€
Buy this bundle
FAQ
See if you can discover the answer
here to your question!
-
This course is for anyone who wants to create architectural visualizations. The 3ds Max basic knowledge is not required as we will explain to you the basics of the software (Part 1 -Basics). This intense course will show you how to become a true artist and the knowledge from this will become the foundation of your future work.
-
The course consists of multiple parts.
Part 1,2,3:
3ds max version 2024
Chaos Corona 9
Chaos V-Ray 6 (bonus lessons)
Chaos Scatter
Adobe Photoshop
Files are saved down to the 3ds max 2018 version. If you have an older 3ds max, you can download a trial and save it down on your own.
Part 4:
3ds max version 2026
Chaos Corona 13
Adobe Photoshop
Files are saved down to the 3ds max 2023 version. If you have an older 3ds max, you have to save it down on your own.
Part 5:
3ds max version 2022
Corona Renderer version 7 (the whole course is in Corona but we will include the bonus module where we will explain the main differences between the Corona Renderer version 7 and V-Ray Renderer 5).
Adobe Photoshop
Files are saved down to the 3ds max 2019 version. If you have an older 3ds max, you have to save it down on your own.
This is a principle-based course, versions of the software don’t matter at all. You will be able to follow the training using any version of the above software. -
Unfortunately, you won’t be able to download the files. However, you will be able to watch the tutorials on our website.
-
By joining this course, you’ll gain access to a wide range of 3D assets, textures, and HDRI maps provided by our amazing partners.
You will get the scenes prepared in the starting and final versions for all interior scenes.
For Parts 1, 2, and 3 of the course, all the assets and textures will be included or available to download for free.
You will be able to start working along with the videos as well as check your progress.
However, other projects (Part 4, and 5 of the course) will require more independent work, allowing you to develop your skills and make progress on your own.
We advise you to follow the tutorials and try not to use the final scenes to get the most out of the training. -
You will get lifetime access so you can learn at your own pace without any worries.
If we ever remove it from the platform in the future, you will receive ample notice and have the opportunity to download all videos and files in advance. -
A refund is not possible, in accordance with European Union Consumer Rights (art. 38, point 13).
In our business, the product is knowledge, and once learned something is learned, it cannot be returned. If we give refunds, it would be like simply giving our product away for free. Consider that if you go to a movie and don’t like it, you can’t get your money back. You’ve already consumed the service. You can’t “un-see” the film. If you go to a restaurant and don’t enjoy the meal, you don’t refuse to pay. Hope you understand. -
The entire video lessons in Unreal Engine course have a total duration of around 26 hours. You can find the full course program above in the “The full course program” section. It includes a complete list of modules, lessons, and the duration of each video.
To complete the course effectively, we recommend the following approach:
1. Watch the video carefully to understand the techniques being demonstrated.
2. Try to follow along and recreate the steps using the video as a guide.
3. Rebuild the lesson entirely on your own, using the same techniques, but without the video – this will reinforce your learning and help you apply the knowledge independently.
Please note that while the video content totals around 26 hours, you should plan at least double that time to complete the course effectively – and in some cases, even three times as much, depending on your pace and experience level.
We did all the heavy lifting for you
Just watch the tutorials & practice
Don’t worry about anything else, the results will come naturally.
Buy Now