System Requirements
Your system needs to meet the following requirements:
- Windows 10 or higher
- Discrete Nvidia video card (GPU) with at least 4 GB VRAM
- 16GB of RAM
- At least 10GB of disk space
Installation
Step 1: Install python
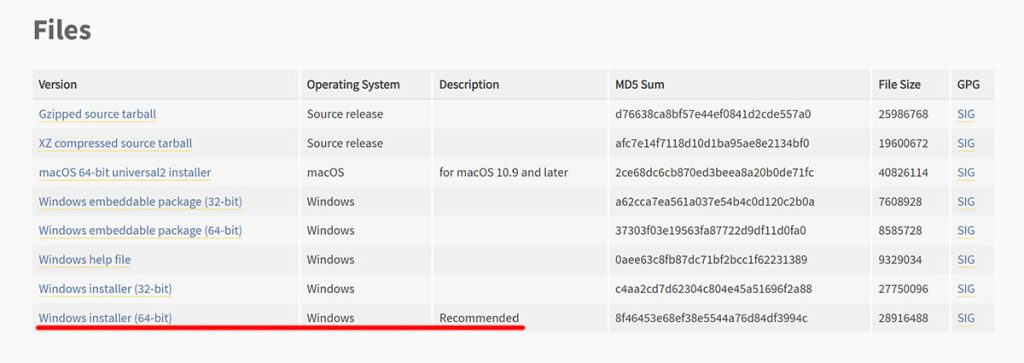
First, you have to install Python 3.10.6. (DON’T use Python 3.11 or newer).
Visit the Python website and download the Windows installer (64-bit).
Make sure to select “Add Python to 3.10 to PATH“!
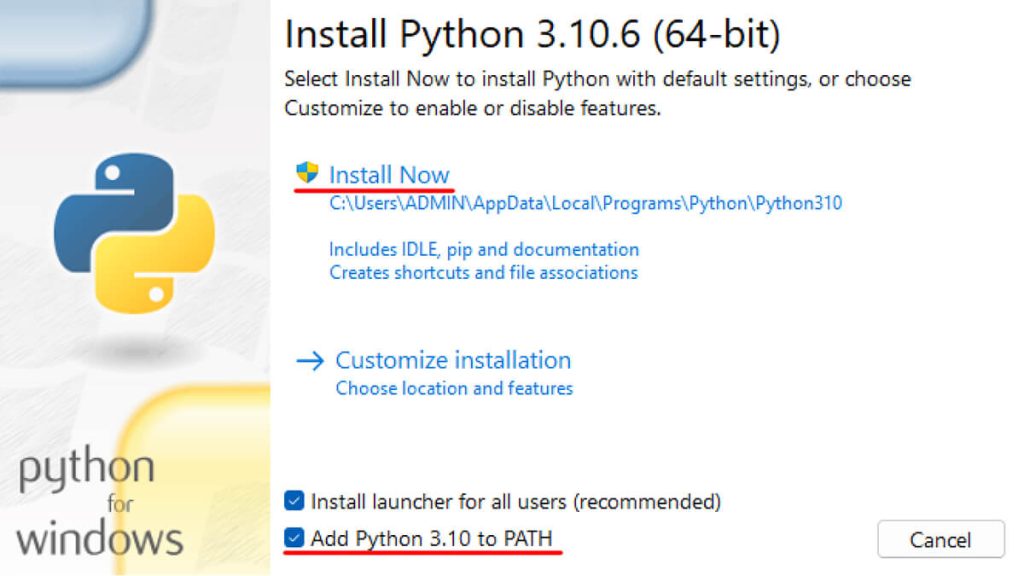
Go through the installation process.
Once the installation is finished, you will see a message “Setup was successful”.
Step 2: Install git
Git is a free and open-source distributed version control system designed to handle everything from small to very large projects with speed and efficiency.
You will need it to install and update AUTOMATIC1111.
You can download it from this website.
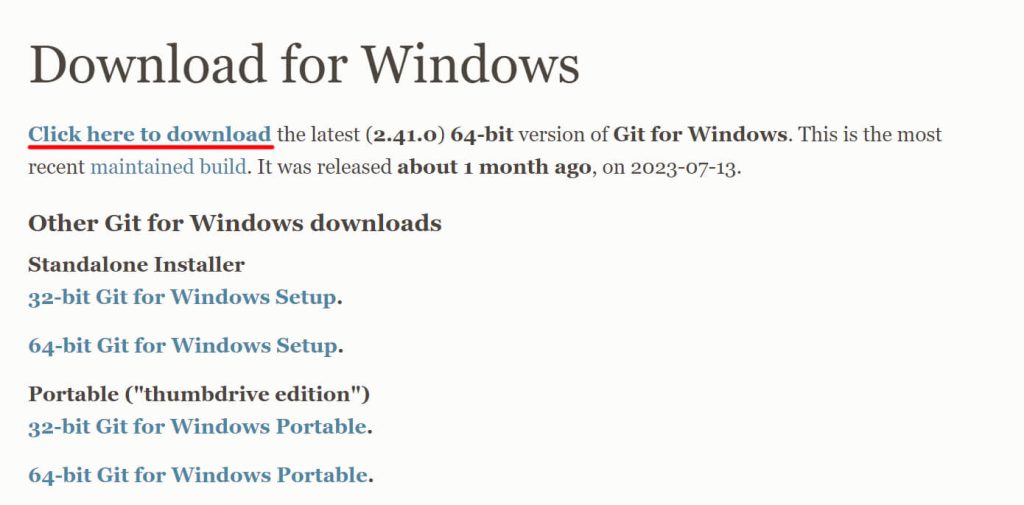
Open the installer and click “Install“
Follow the instruction to complete the installation (use the recommended settings).

Step 3: Download the Stable Diffusion (AUTOMATIC1111)
Download to your home folder:
Open the Command Prompt
- Click the Windows Key
- Type “cmd”
- Open Command Prompt App
Make sure you are in your home folder. To be sure you can copy and paste this code:
cd %userprofile%
You should see something like this:
C:\Users\YOUR_NAME>
Download to any other location:
Download process:
Copy and paste this code, then click enter:
git clone https://github.com/AUTOMATIC1111/stable-diffusion-webui.git
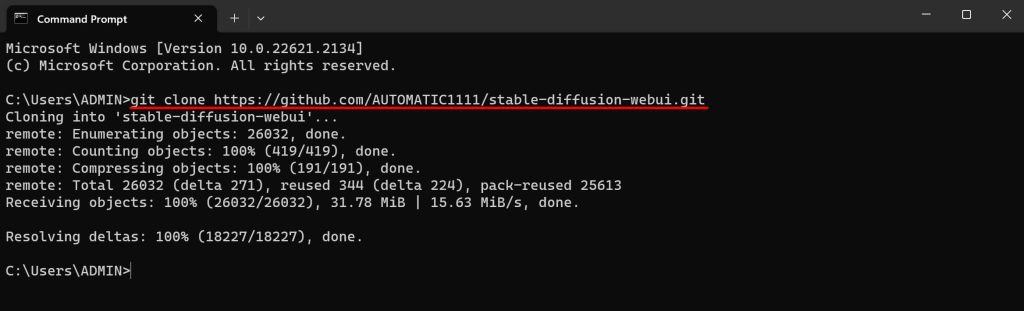
It should look like the image above.
A folder called stable-diffusion-webui should be created in your home directory.
Step 4: Download a checkpoint model
Download the Stable Diffusion v1.5 model checkpoint from this website.
Navigate to this folder:
%userprofile%\stable-diffusion-webui\models\Stable-diffusion

Place the downloaded model in this folder.
Step 5: Run webui-user.bat file
Almost there, let’s go to the stable-diffusion folder and run the webui-user.bat file.
Folder location:
%userprofile%\stable-diffusion-webui

This will take a while (about 15 minutes).
After it’s done you should see something like this.
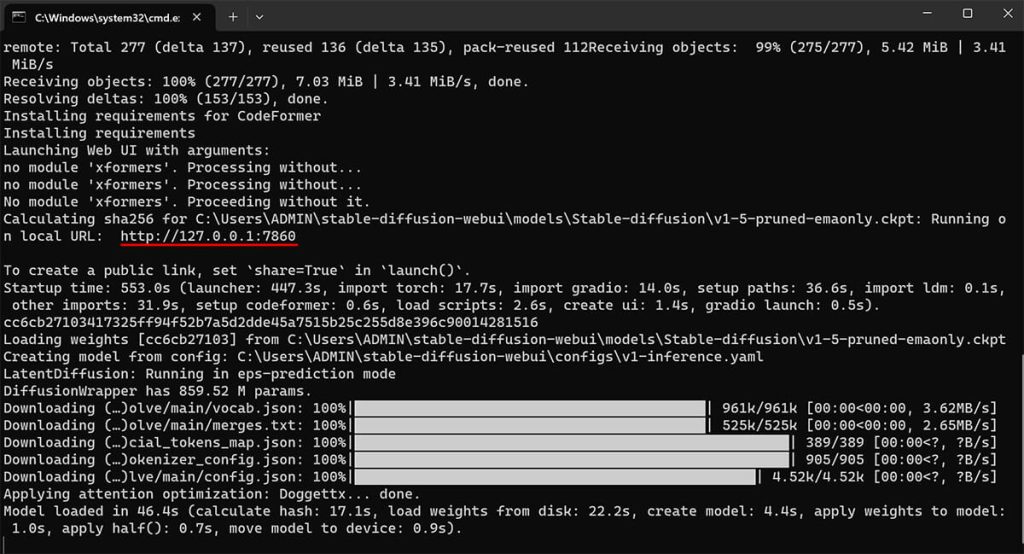
Step 6: Test if it’s working
Go to this URL in your web browser:
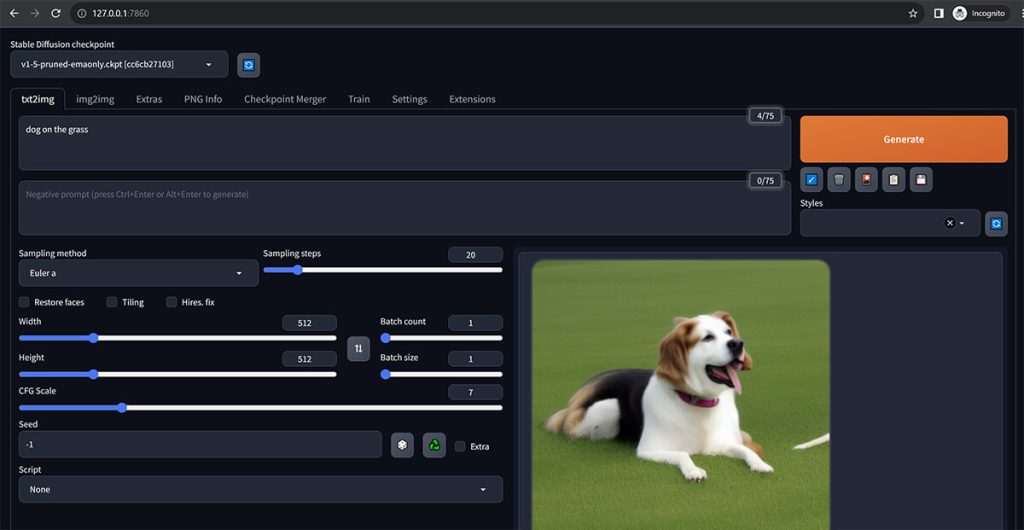
AUTOMATIC1111 webui should appear.
Write some prompt (e.g. “dog on the grass”) and hit Generate to test if Stable Diffusion is working.
Step 7: Edit the webui-user.bat file
Edit the file in a notebook (right-click on the file, and click edit).
Replace the code inside with this code:
@echo off

set PYTHON=
set GIT=
set VENV_DIR=
set COMMANDLINE_ARGS= --api --xformers

#automatic updates each time you run
git pull

call webui.bat
What does it do?
- –api – allows access to the Photoshop plugin and other extensions
- –xformers – will increase speed
- “git pull” – updates SD every time you run
Installing Models
To install the Checkpoint model, you have to download it to this folder:
%userprofile%\stable-diffusion-webui\models\Stable-diffusion
Here are popular websites with Models: