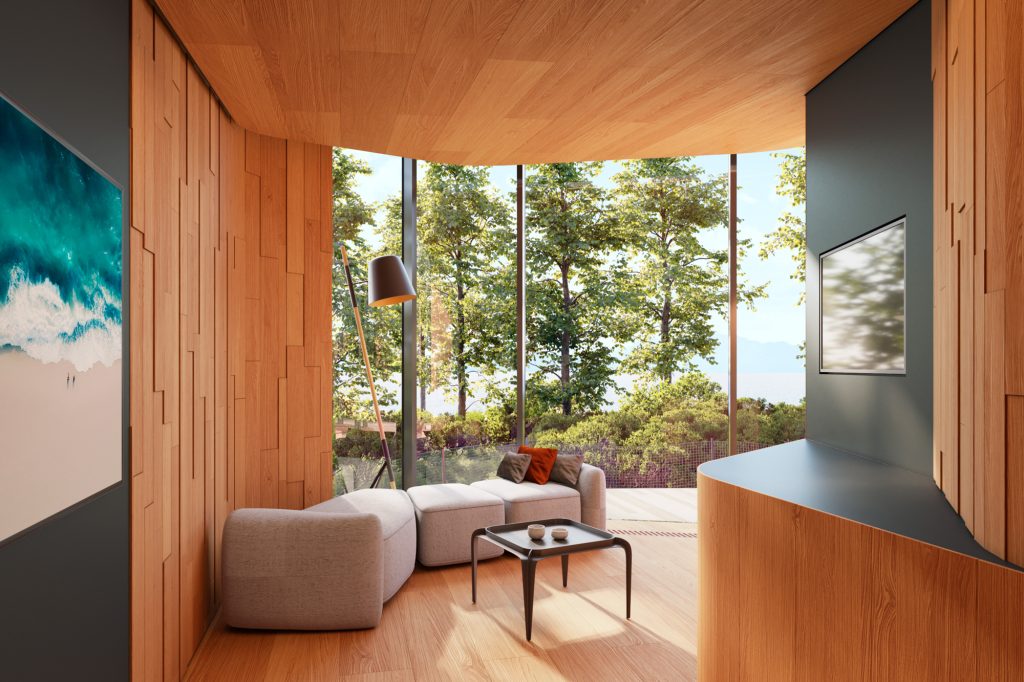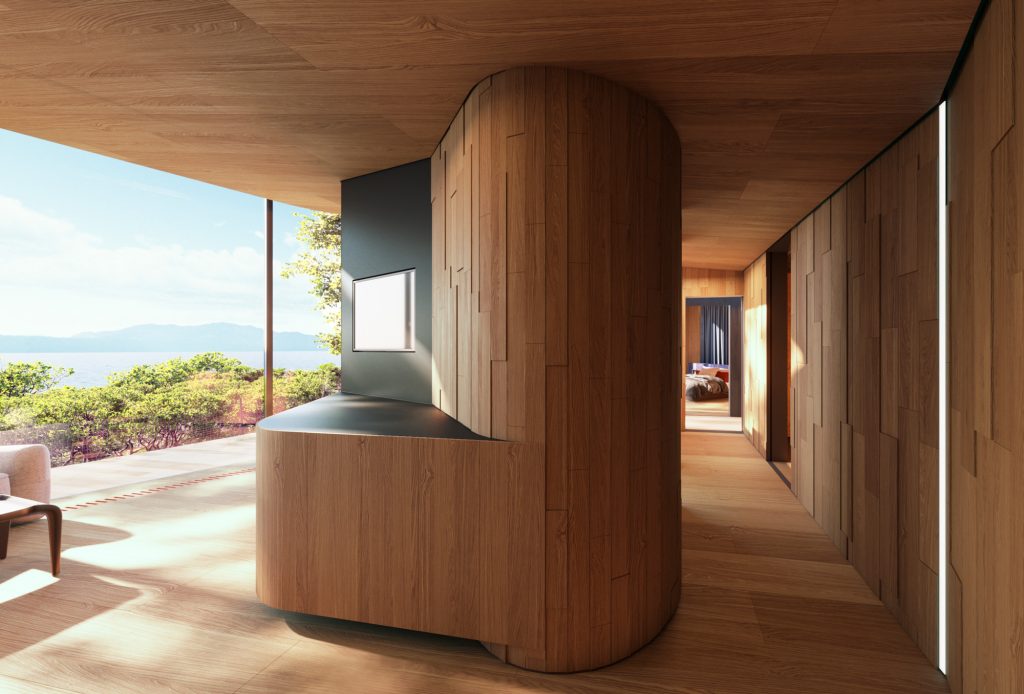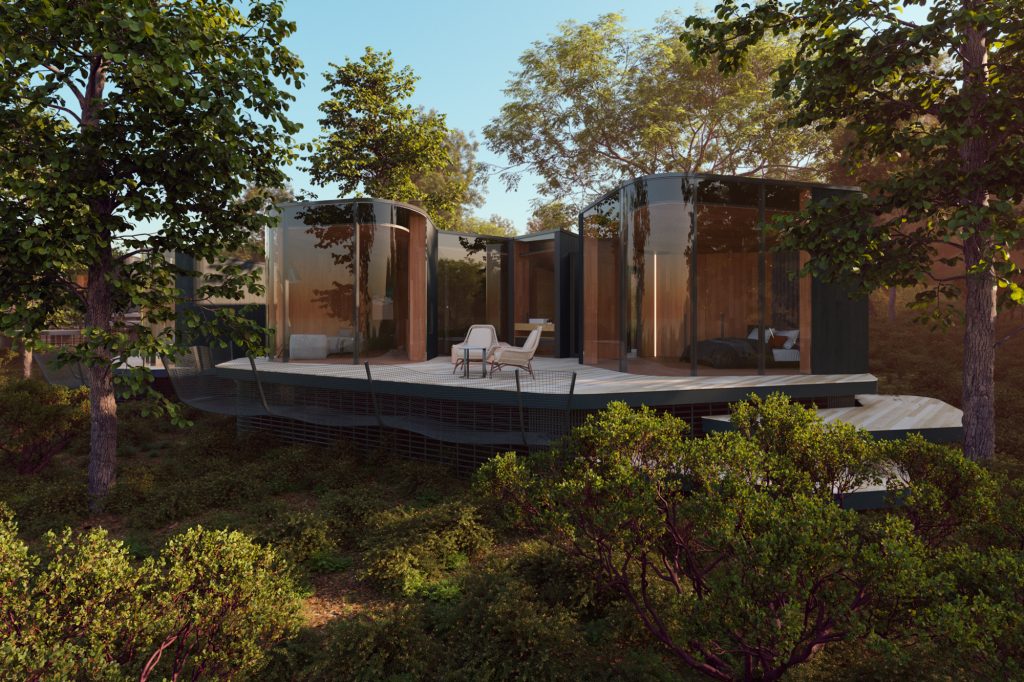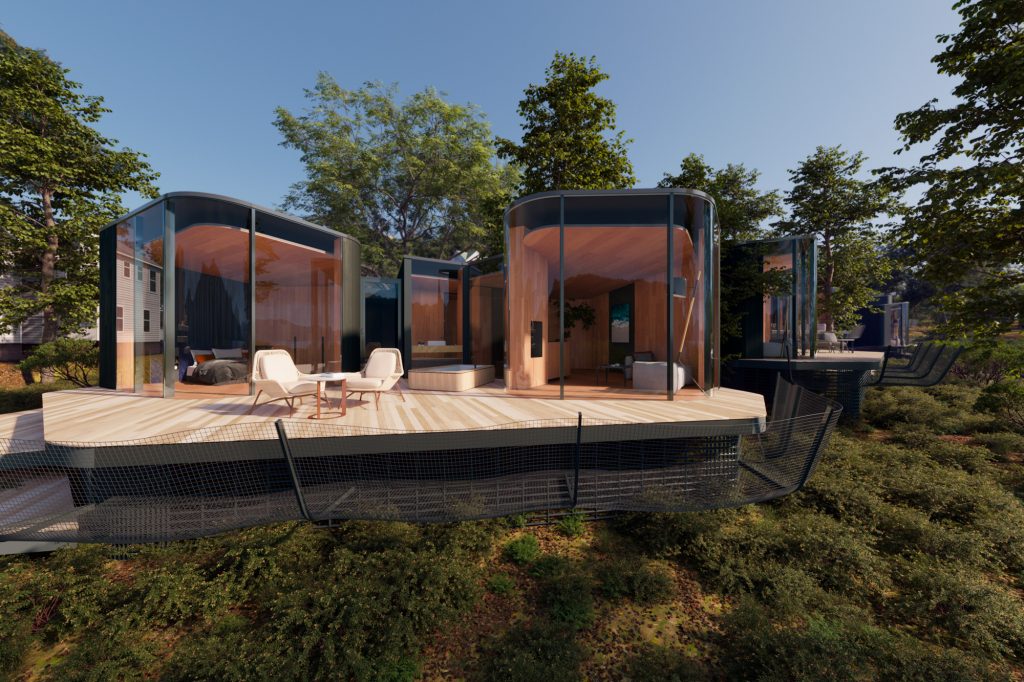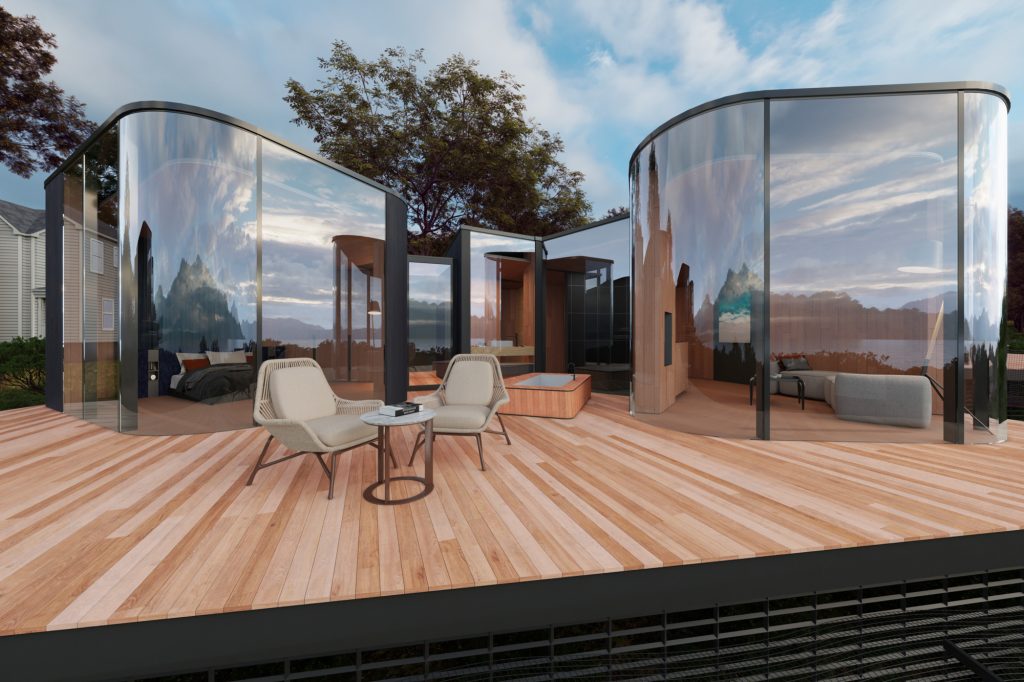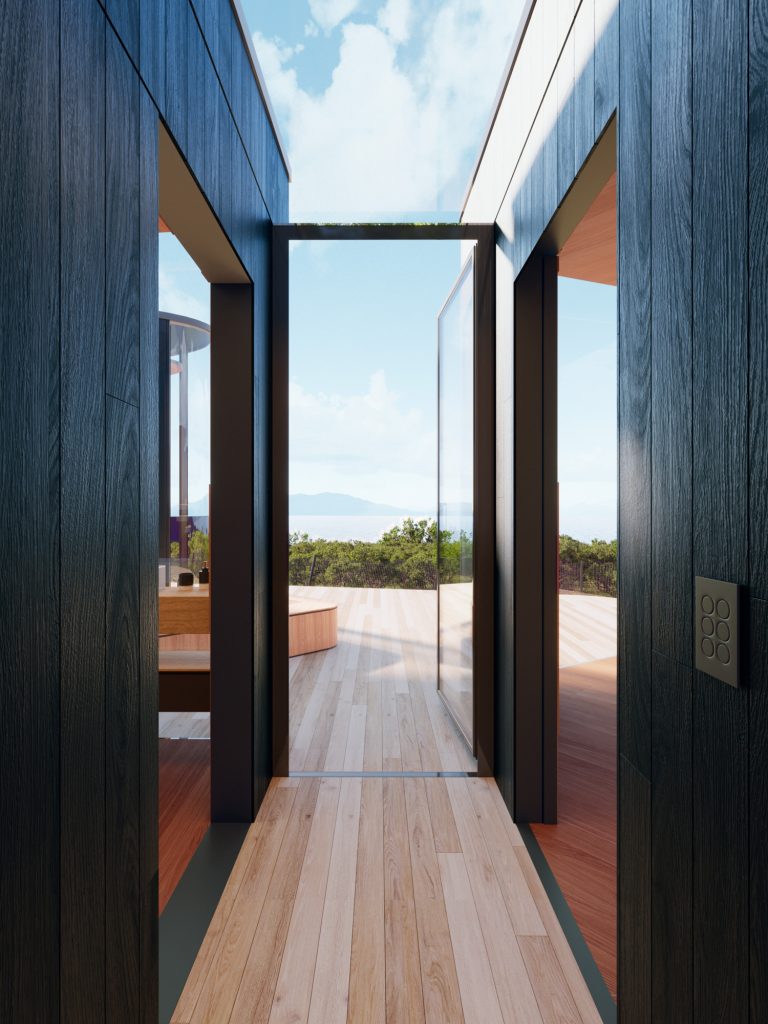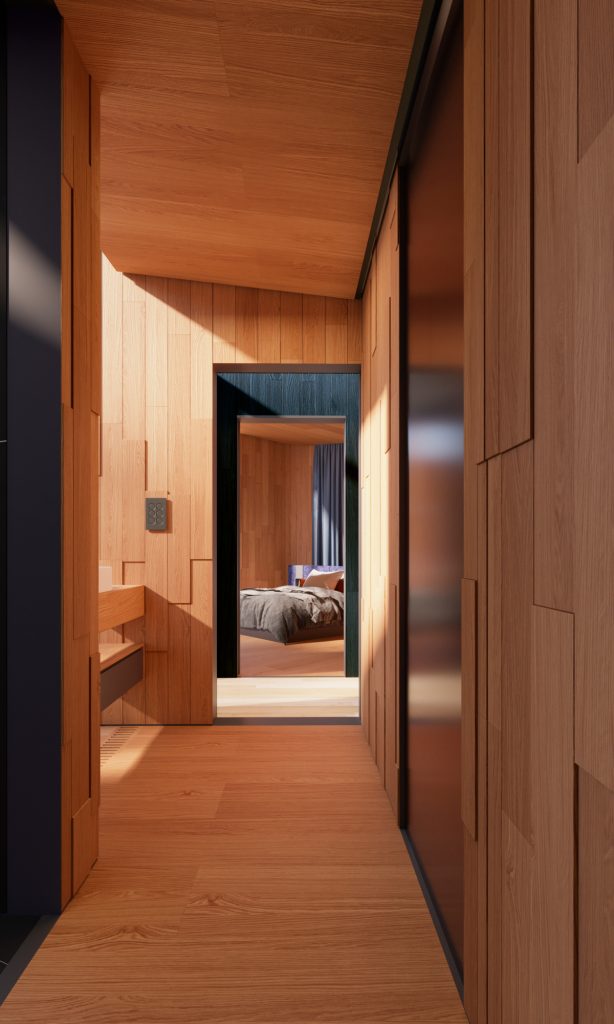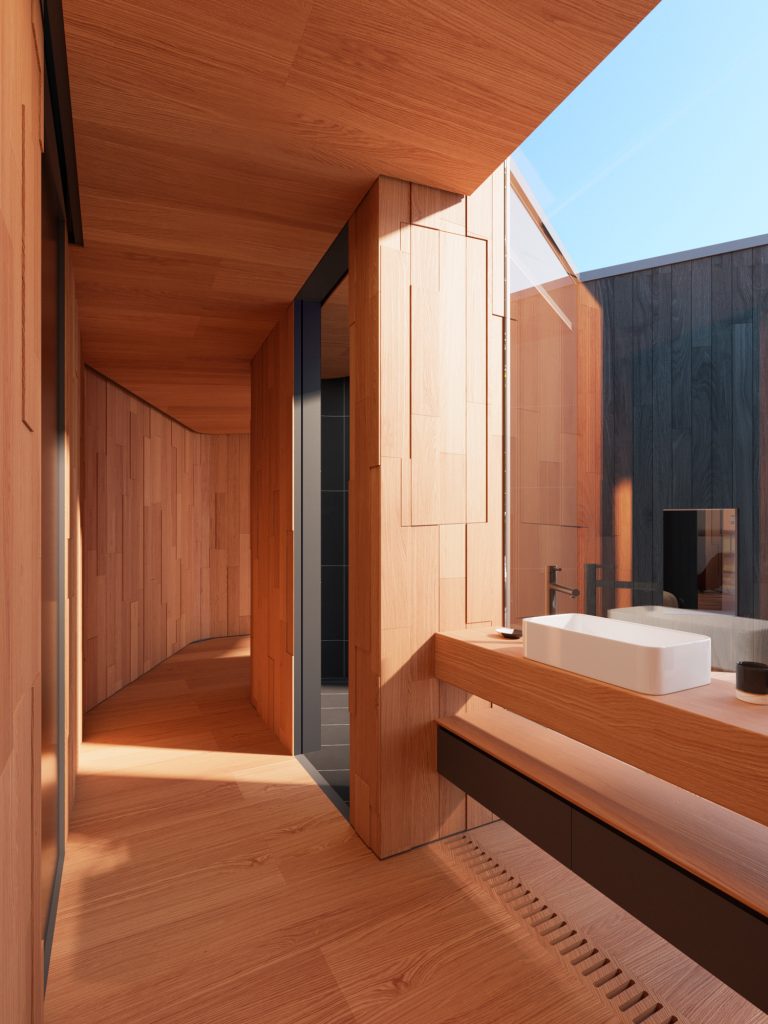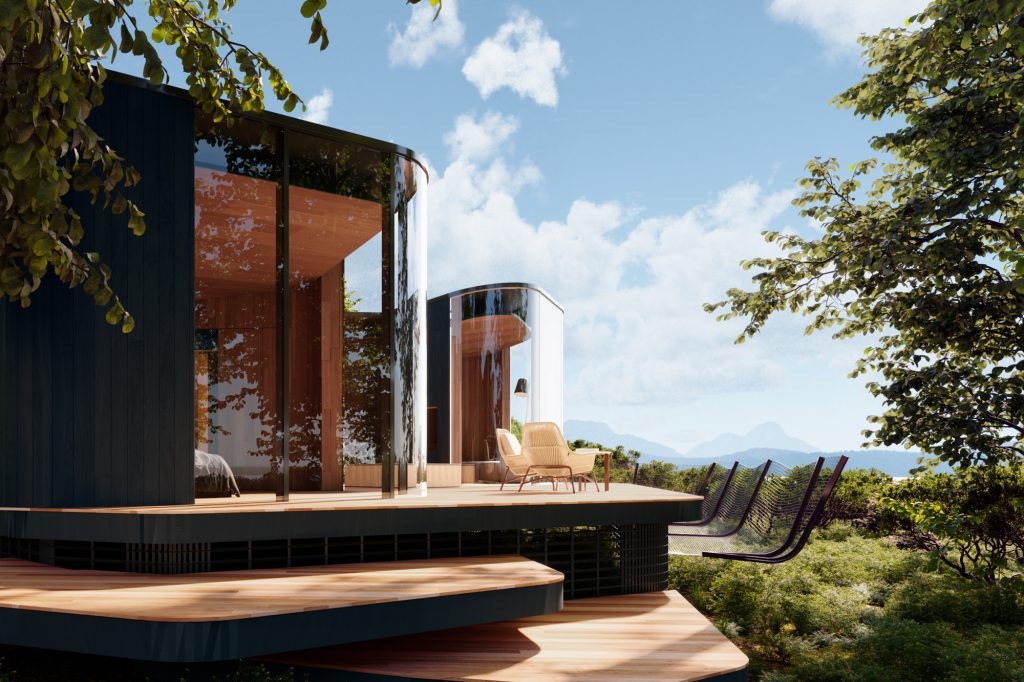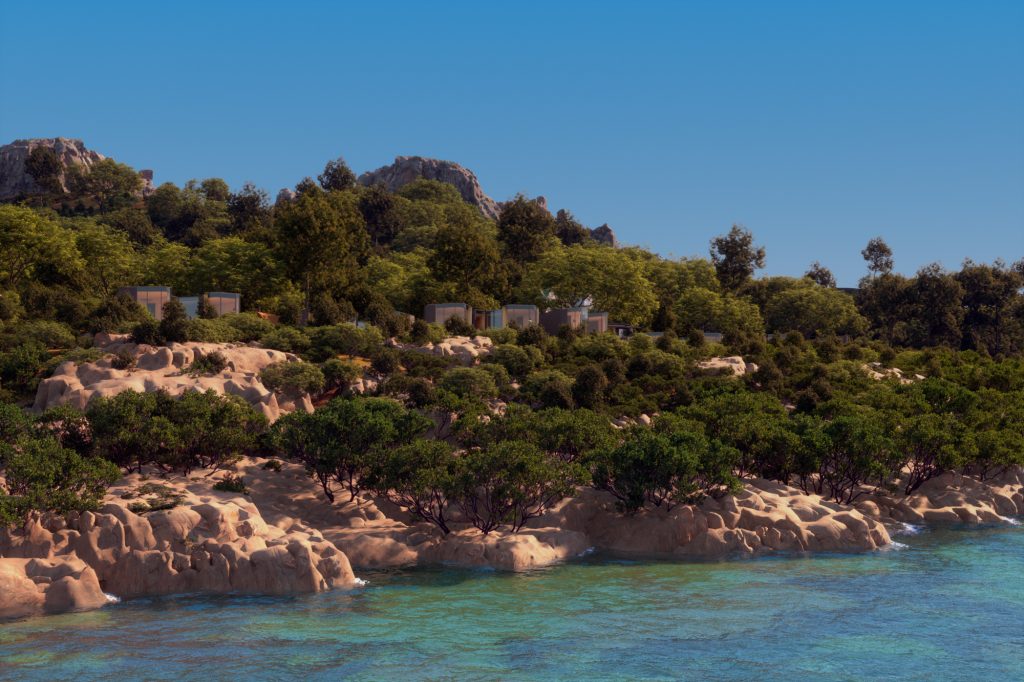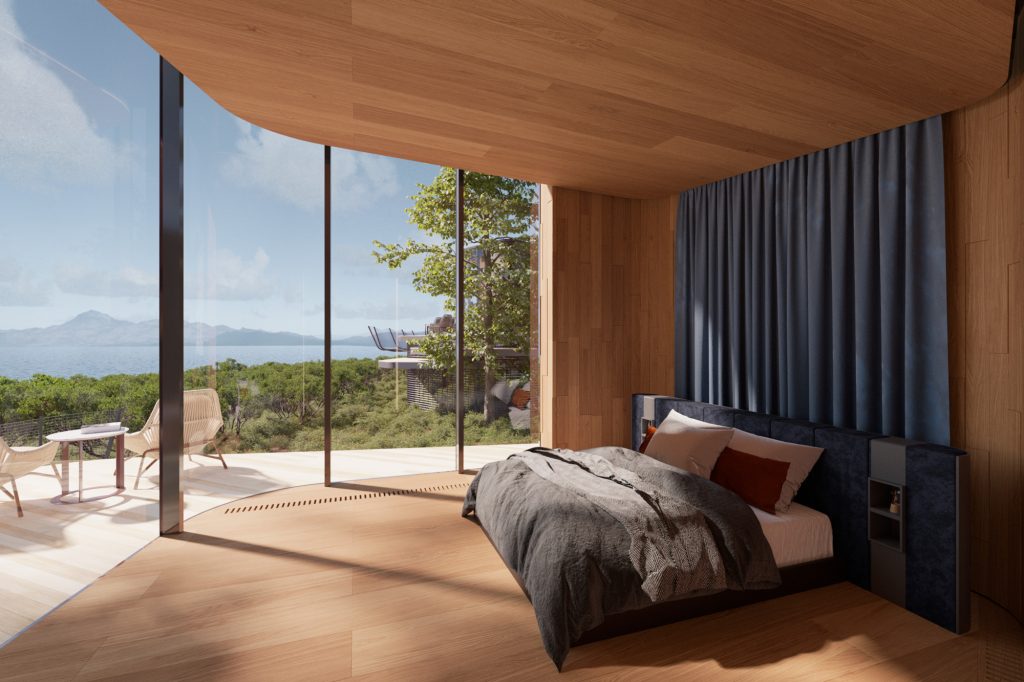
I wanted to recreate this project for several reasons. One of them is, despite the simplicity the environment and the building transmit, due to the complexity of the organic shapes that the modeling of buildings has since this could raise many questions at the modeling level that I could investigate in the course and thus learn to solve this type of problems in any possible future project. Another reason was that the environment also seemed quite complex to reproduce, as well as motivating, since with that landscape, I would be able later to take very special shots, which is what I wanted to get with this type of project. In addition, it was also providing an opportunity to learn how to control the Forest Pack plugin in depth, which made it even more interesting, if possible.
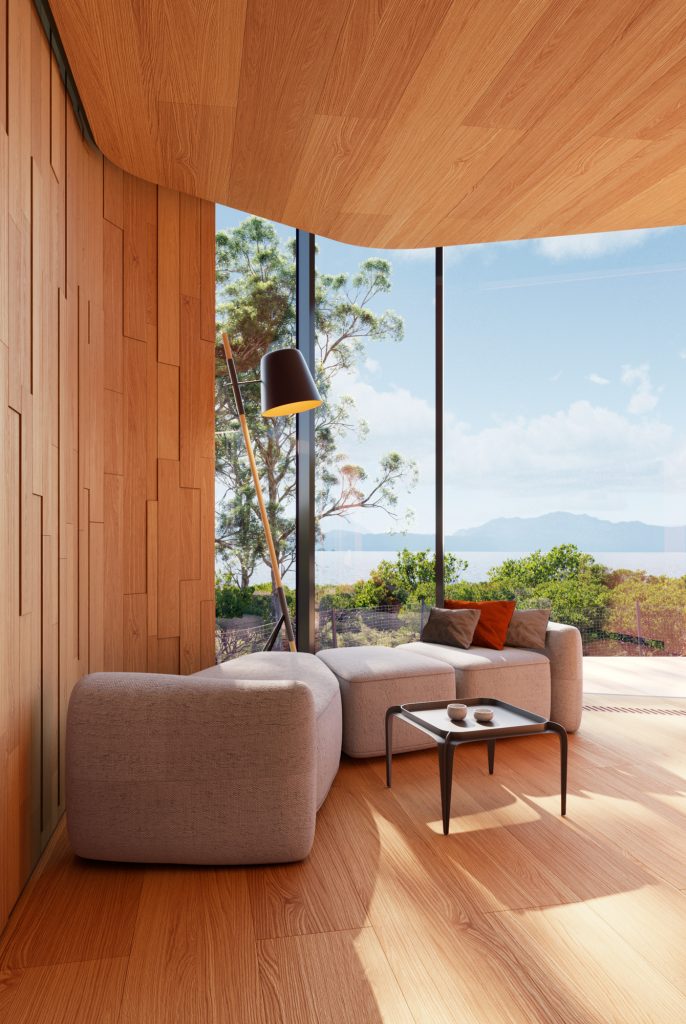
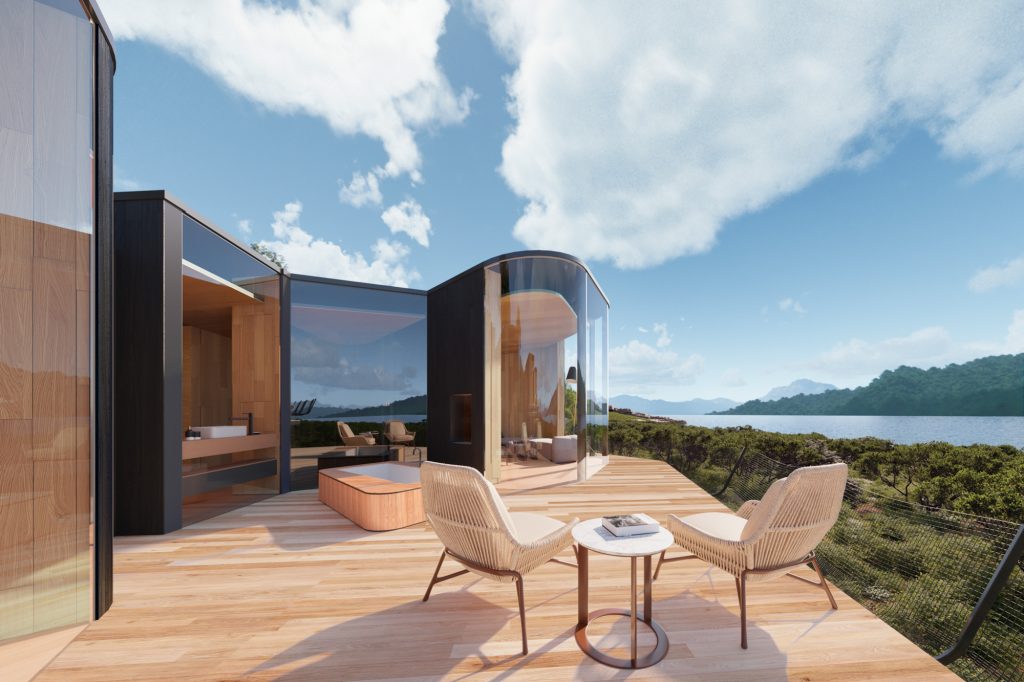
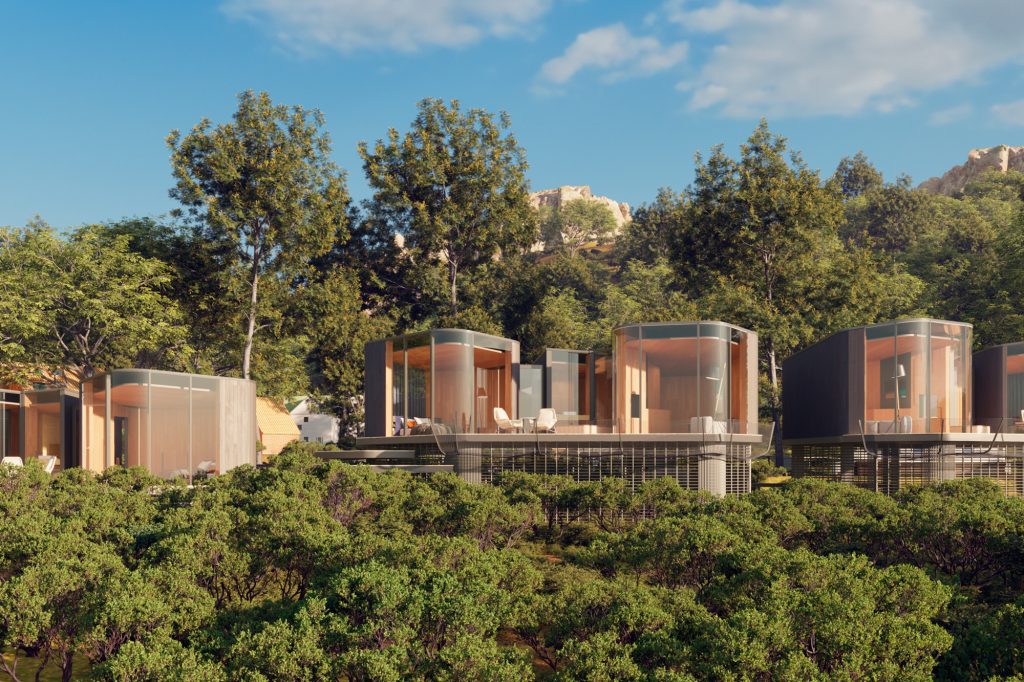
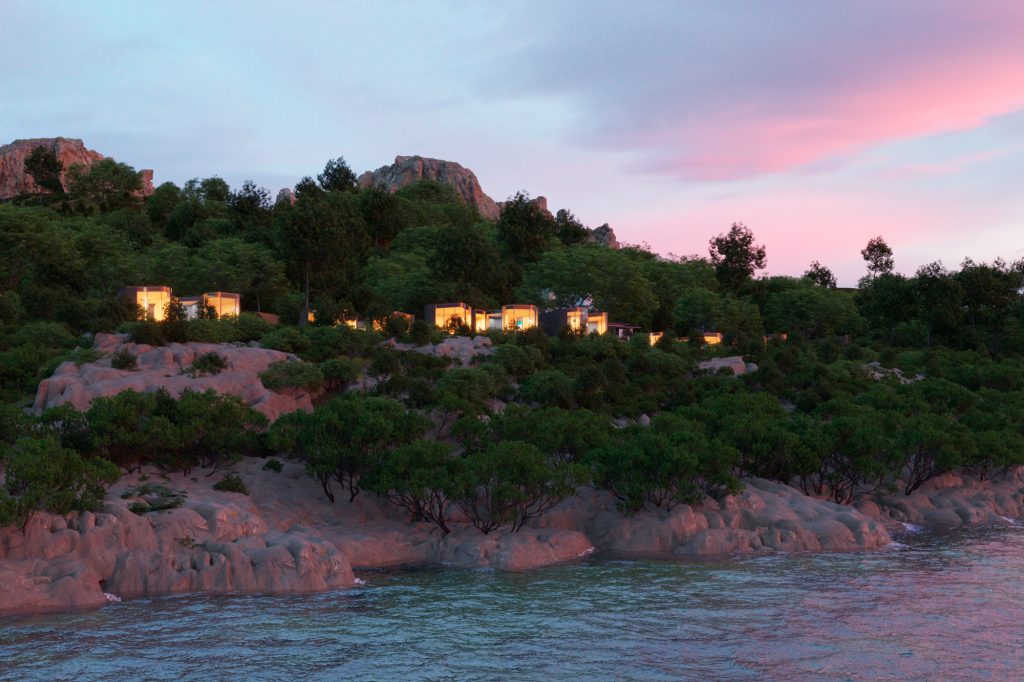
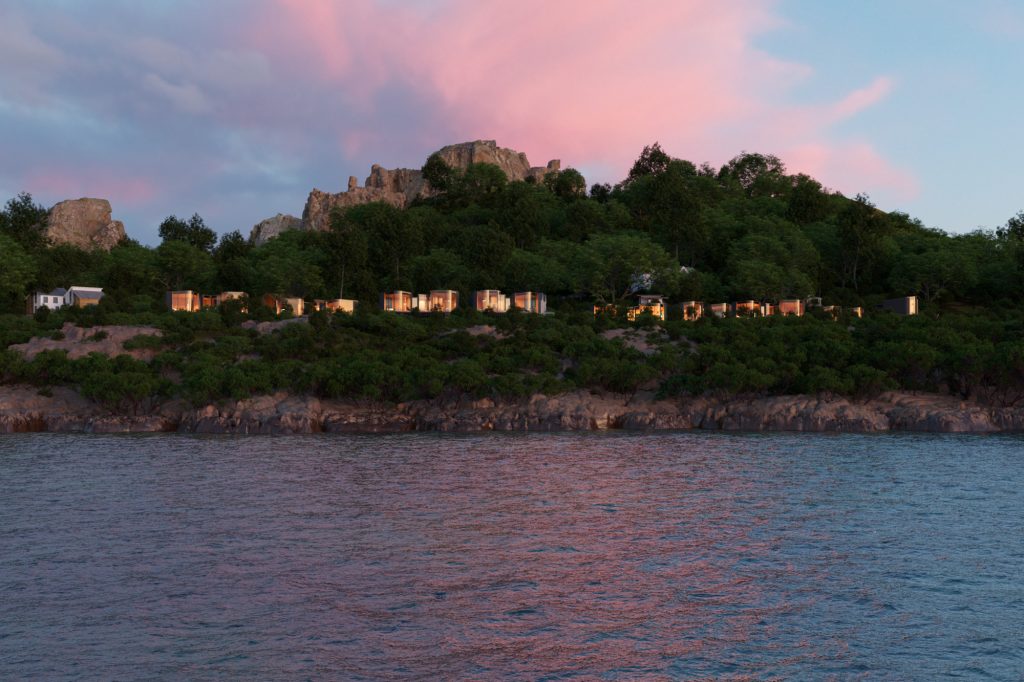
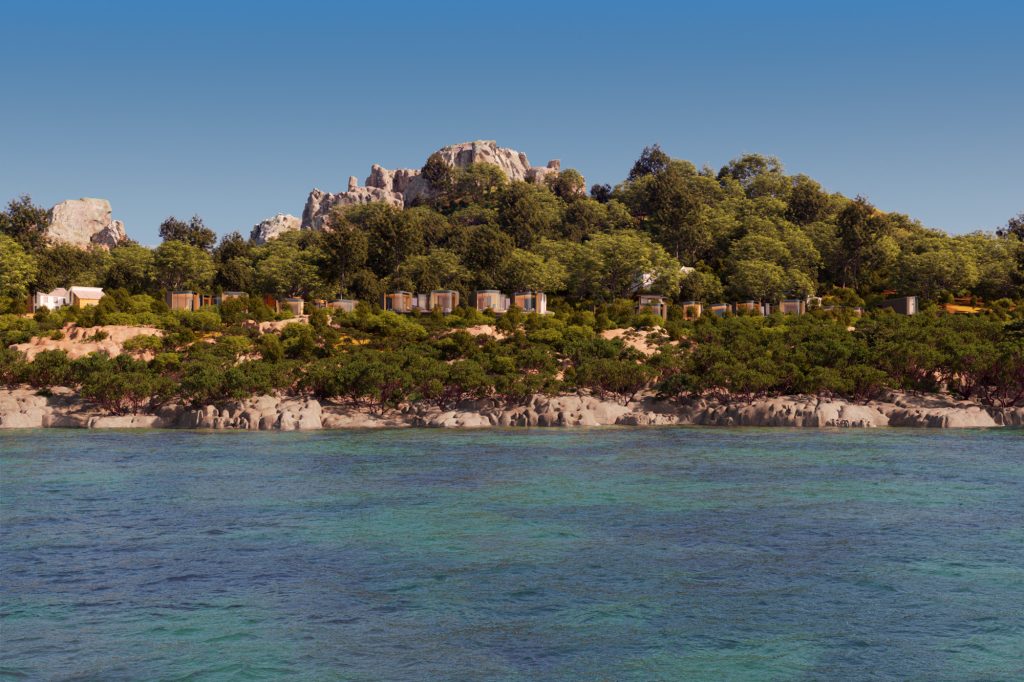
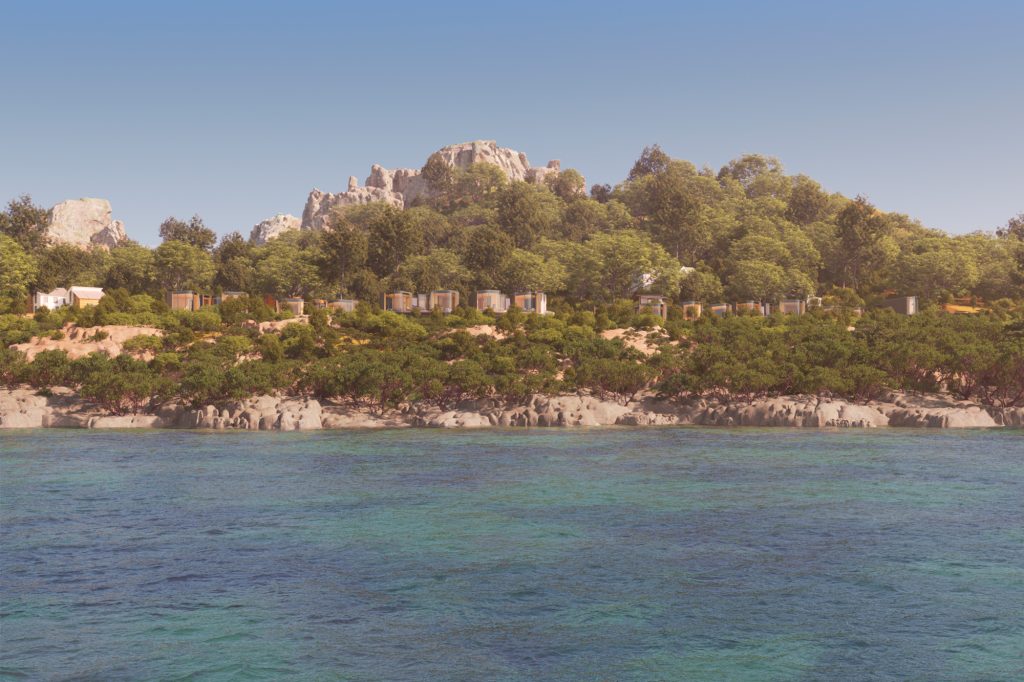
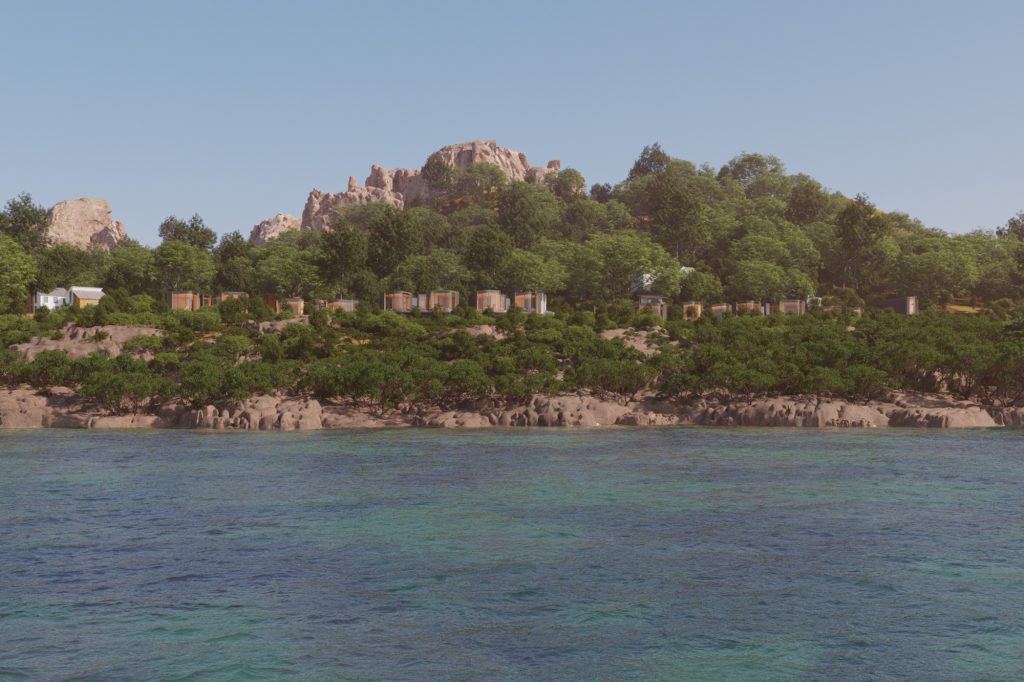
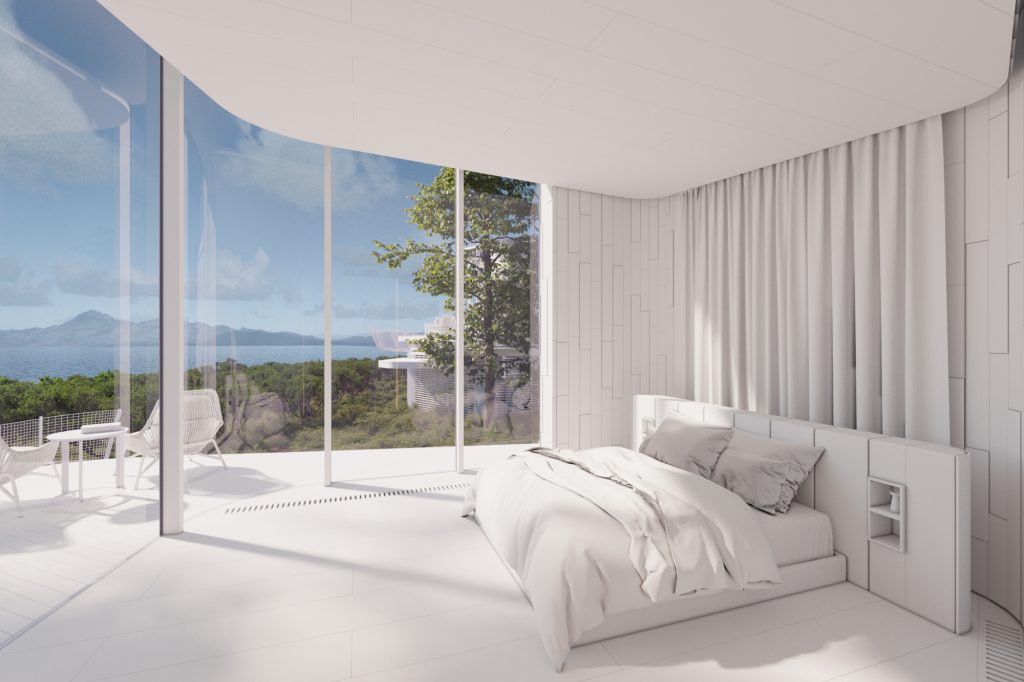
The project consists of 10 practically identical pavilions, located on the stunning east coast of Tasmania, Australia. These pavilions, with a quite organic design, as I have already mentioned, are mostly dressed in wood, which gives it that warm appearance, and a lot of glass, which gives it a lot of visibility to be able to fall in love with the fabulous views of the sea. Their design makes them blend in with the natural atmosphere that surrounds them.
Pavilions are located at a considerable distance between them, not too great, but enough so that said distance, together with the amount of vegetation that surrounds each of them, give each pavilion that privacy that a client wants when they go to a place as dreamy as this, to be able to enjoy your stay on the generous terrace that they have too.
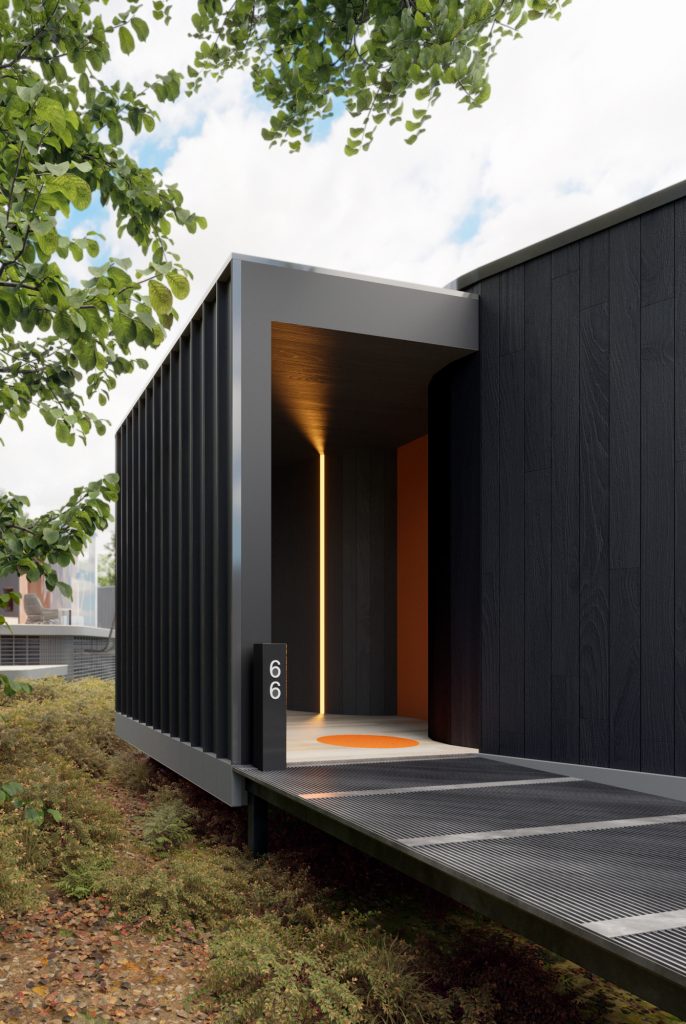
The access to each pavilion is made up of a network of walkways, which I modeled in RailClone, a decision that comes from the need to also practice with this plugin, which made me learn the basic operation of the tool and helped me gain some ease in its use.
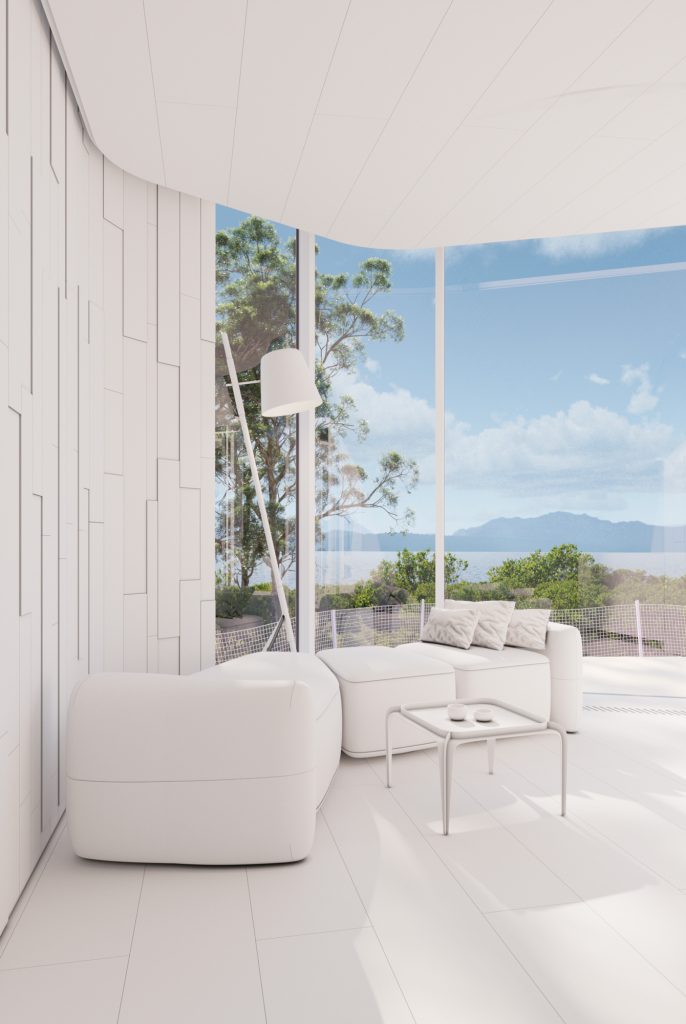
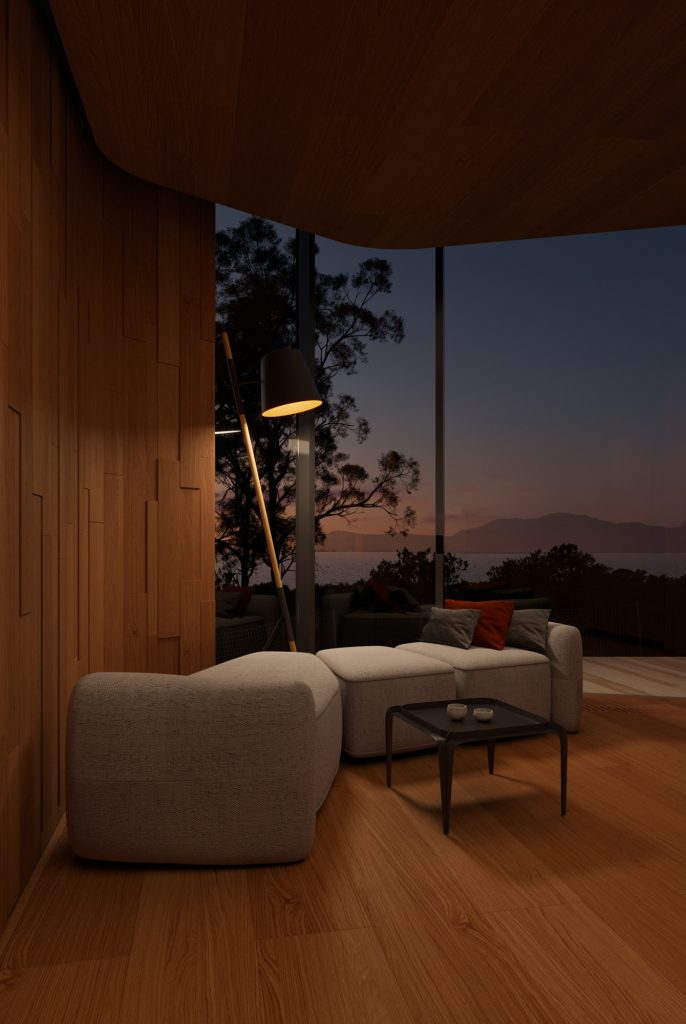
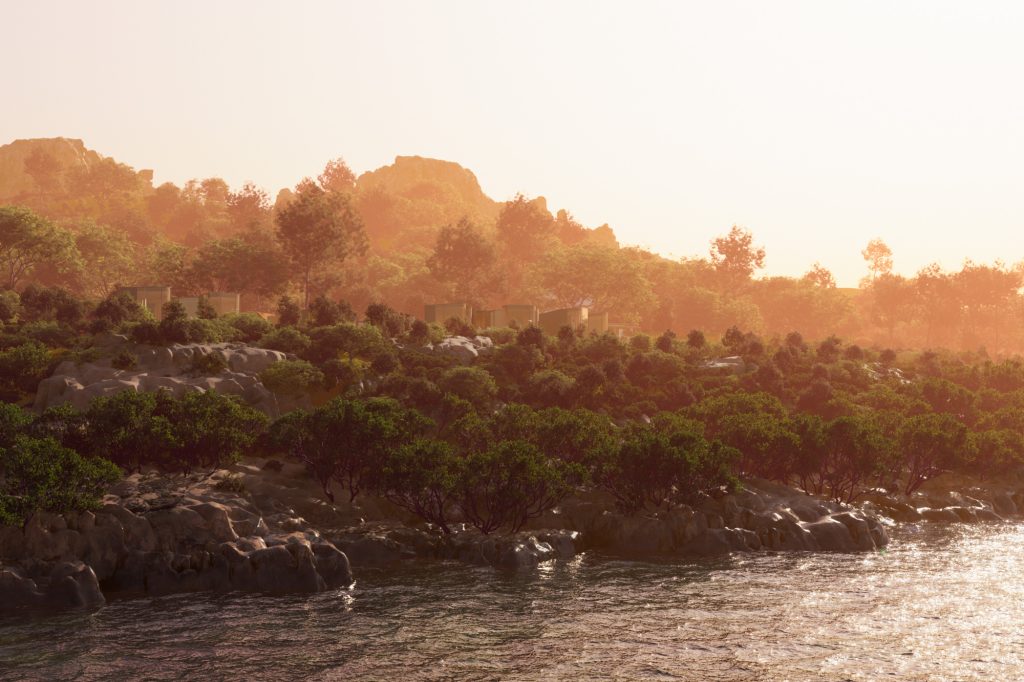
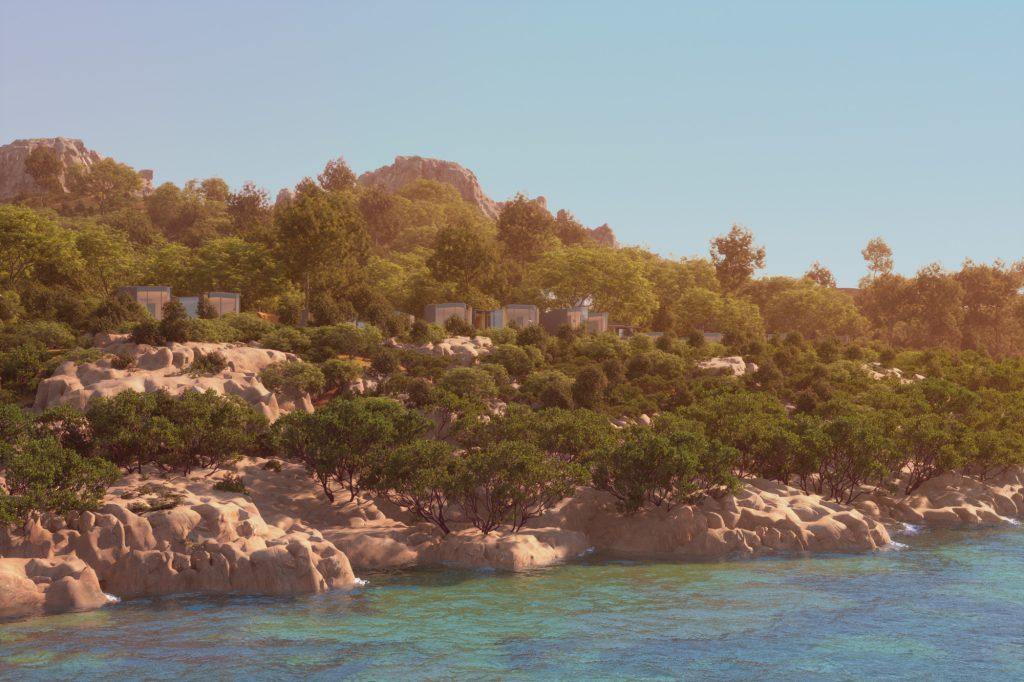
For the lighting of the project, I have diversified the resources, combining images in which I have used some HDRi, to achieve more complex shadows, with others in which I have illuminated with VraySun and VraySky, to be able to exactly adjust the direction and position of the sun, in addition to achieving various effects in the environment such as the Aerial Perspective, which I think is an essential resource for this type of image, since it gives it a plus of atmosphere and dramatism. With the use of this tool, I have managed to learn to control a lot of parameters so that I can achieve the desired effect at all times.
Additionally, I created different moods for some of the images, so different feelings can be felt during its observation.
In the post-production of these images I have learned to take the most of the multimatte and render elements, and I have learned to configure them correctly in the software. As in all learning, the trial-error factor is essential. When I finished and began to edit, I began to realize things that I had not included, and I have created my own procedure to take into account in future projects, to avoid leaving important things behind, at the same time I have streamlined my way of solving this type of casuistry when I wanted to select something and see that it did not have the matte created. Also with the ZDepth elements, as I have found it is a very important thing to include because it gives you so many possibilities a posteriori.
I realized that with this whole process, I have improved my skills in the post-production process, my effectiveness and resolution, and my handle of Photoshop, so I’m very happy and proud about this as well.
As it is a fairly heavy scene, I have subdivided the project into various XRefs, also learning to manage this kind of situation. By doing so, I have realized the mistakes made, and how I can improve my procedure in future projects, to achieve a more effective workflow.
