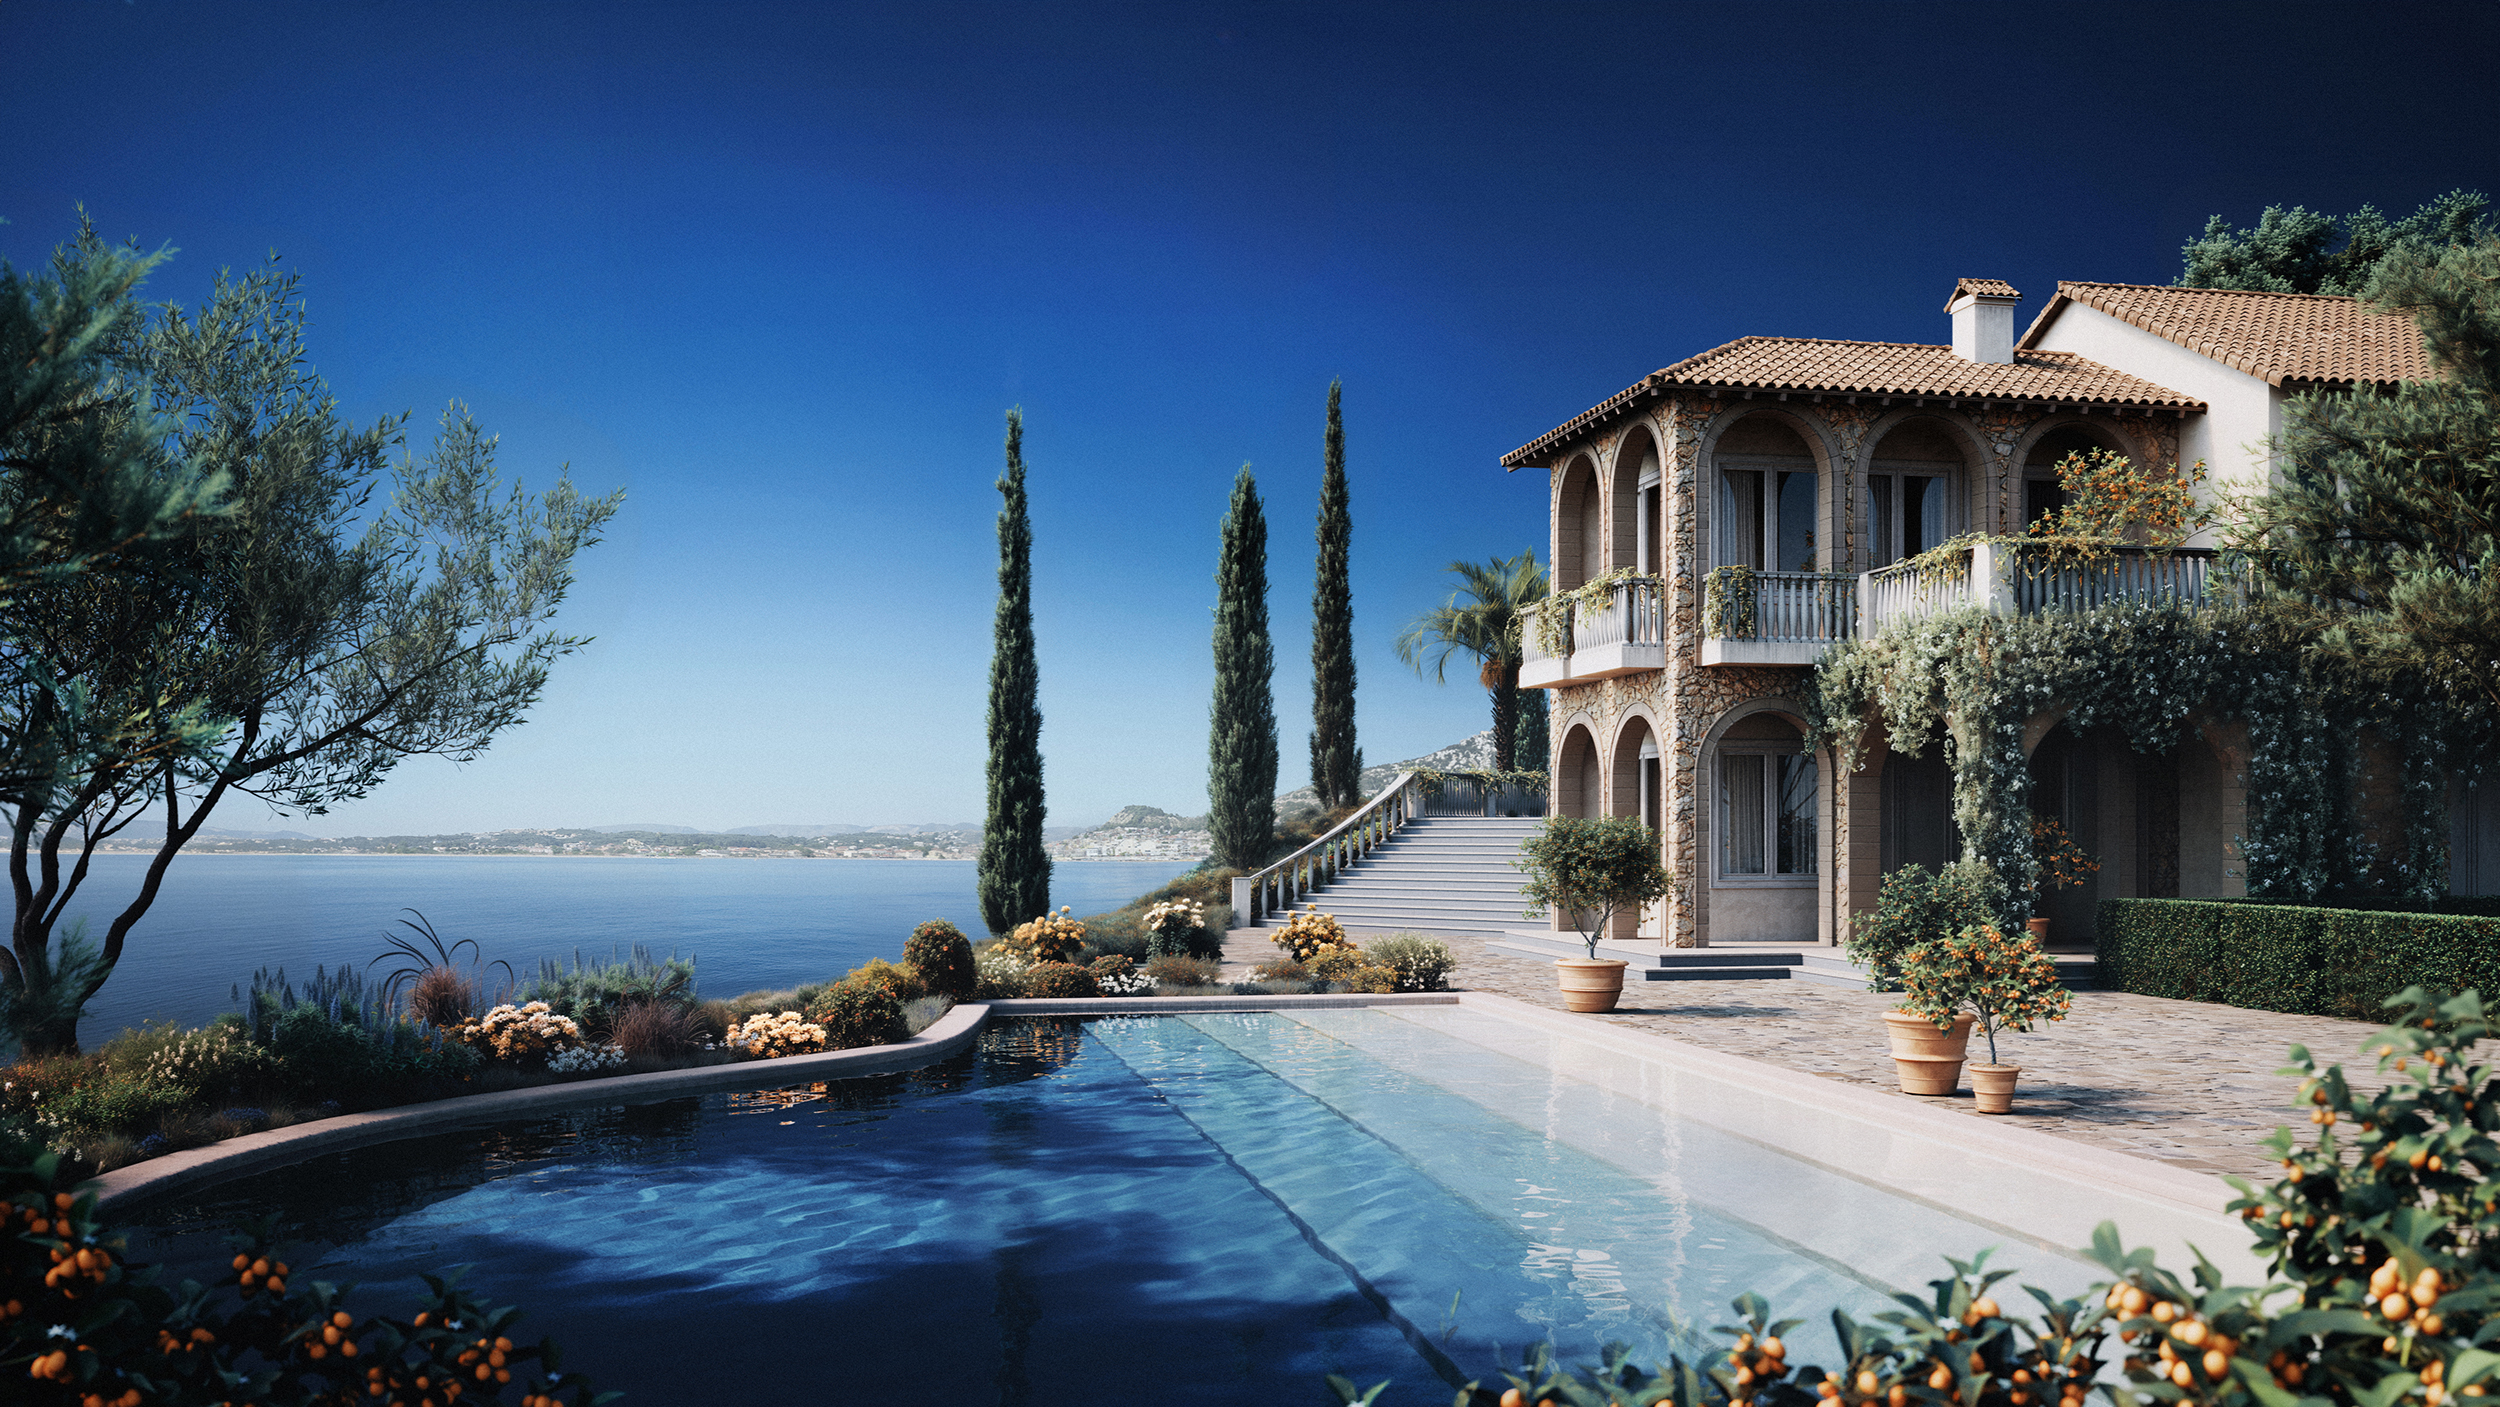
As a visual artist, post-production is a crucial part of my workflow. Recently, I’ve incorporated AI tools into my process to streamline the work and achieve better results in less time. In this blog post, I’ll walk you through my updated post-production process using AI, from the initial image to the final product based on the visualization from our Visualization Training.
Step 1. Post-production in Frame Buffer
I always start my post-production process in the Frame buffer. I want my visualization to look good before I start working in Adobe Photoshop. Mainly, I do some general adjustments like reducing overly bright areas, adding contrast, and balancing colors. As I find the default settings too saturated, I always desaturate the image slightly. In the end, I add a LUT that matches nicely the idea I have in my head.
Step 2. Replacing the Background
Sometimes, I prefer to replace the background in my visualizations. To do so, I will use the Alpha channel in Adobe Photoshop. Also, I found the ‘Generative Fill’ and ‘Remove’ Tools helpful when I want to extend some areas of the image or eliminate unwanted elements.
Step 3. Creating various versions of the render
Sometimes, I create various versions of the same render in 3ds Max and I mask the areas I want to include. This method is helpful, f.ex. when I have too much contrast in some parts of the image or I need more exposure to make the background image matches the render better.
Step 4. Adjusting the visualization in PS
As I have my base image done, then I start to add adjustments in Adobe Photoshop. I always start with general adjustments like adding contrast, a vignetting effect to help the viewer to focus attention on the center of the image and adjust the general brightness and color balance of the image. Then, if needed I tweak the colors, brightness, or contrast of the particular objects in the image. Sometimes, I like to add an extra LUT in Photoshop to balance the colors.
Meet my new laptop
On top of this, I have been able to further improve my post-production process, all thanks to my new exceptional laptop – ASUS ProArt Studiobook 16 OLED.
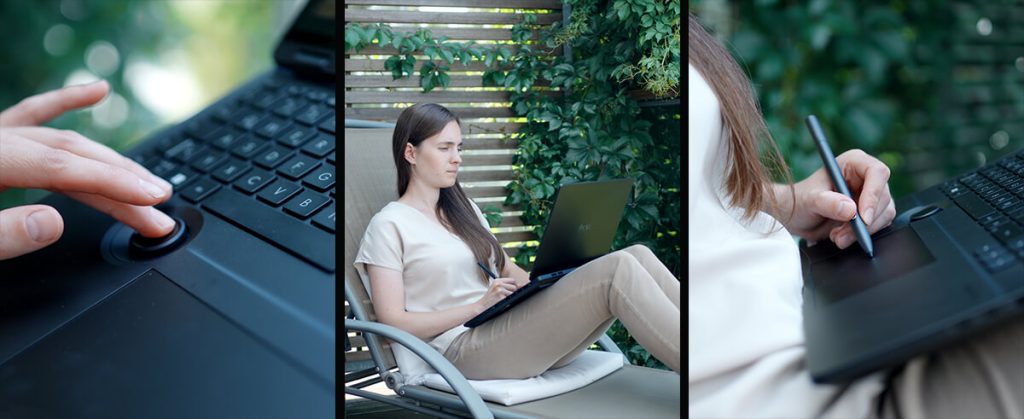
With this laptop by my side, I now have a compact solution to create demanding work smoothly. Thanks to its extraordinary performance, the ASUS Dial, and the haptic touchpad with stylus support, I can not only make my workflow more efficient and precise but it also gives me the possibility to work from every place in the world.
Here is the laptop’s main specification:
- Intel® Core ™i9 13980HX Processor
- NVIDIA® GeForce RTX™4070 Graphic Card
- 64 GB RAM Memory
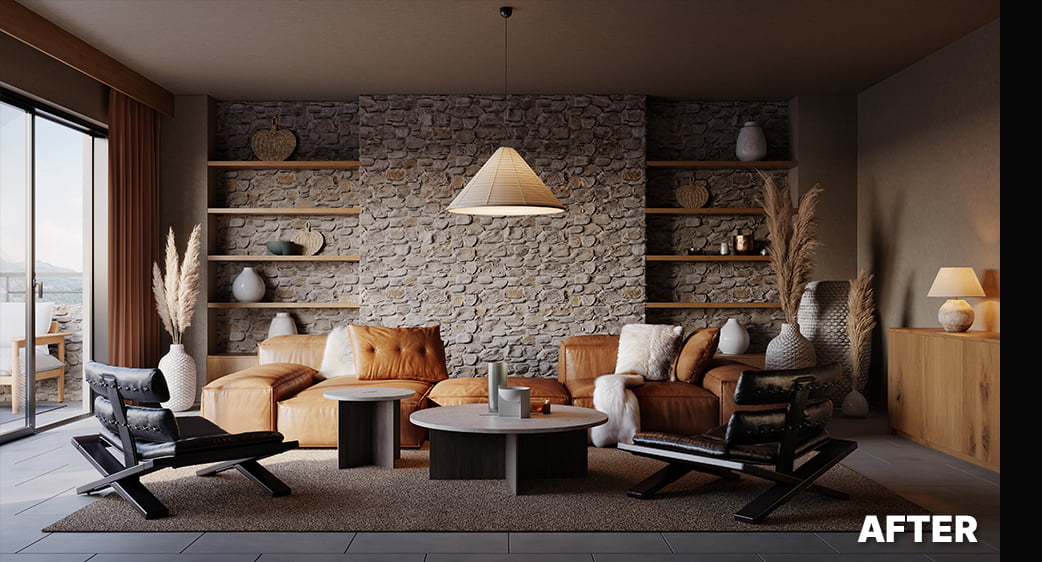
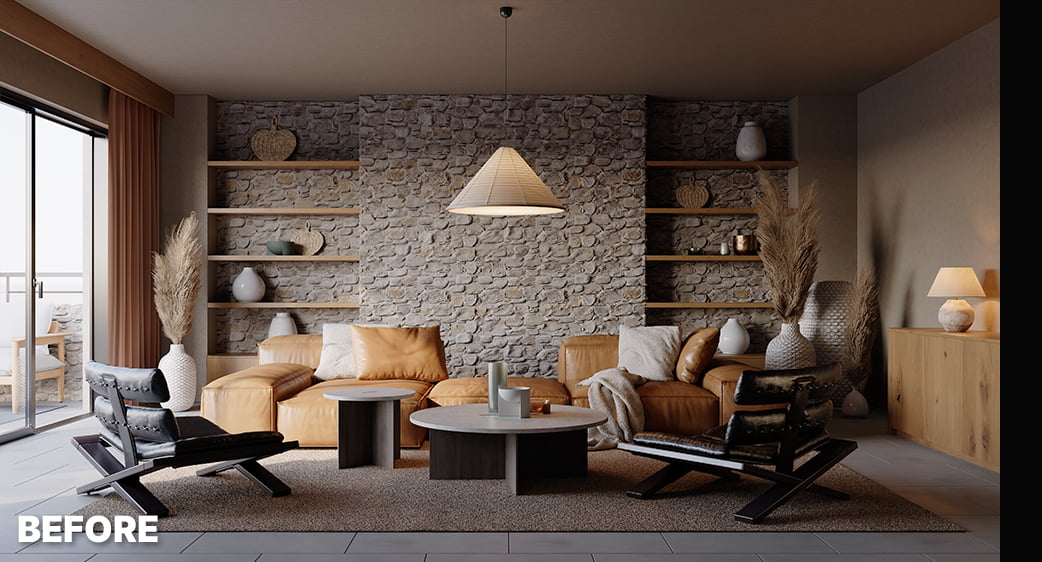
Step 5. Using AI to improve the 3D render
In the end, I use AI tools in PS to enhance my visualizations quickly. First of all, I use the ‘Remove’ tool if I want to clean up some parts of the image, like repetitions on the texture. In general, I always try to do the best possible outcome in 3D but sometimes, if I cannot find a perfect map this method works well.
The true beauty of the ‘Generative Fill’ tool. It works well if we have some elements in the image that looks a bit fake to the human eye in visualizations but at the same time, they don’t have to be specific, f.ex. plants, or furry textiles.
Full Step-by-Step Tutorial
1. Download the Working Files
Also, you can subscribe to our email list to get the working files for this tutorial, so you can follow along. After you sign up, working files (Render, Render Elements + Background Image) will be delivered to your inbox.
2. Watch The Video Tutorial
If you want to see how my post-production process looks step by step based on the specific example, watch the full video tutorial.
Incorporating AI tools into my post-production process has made my work faster, easier, and more efficient than ever before. Plus, with the power of the ASUS ProArt Studiobook 16 OLED, I can achieve professional-grade results using a compact solution such as a laptop from any location.