Full Step by Step Tutorial
1. Download the Working Files
You can subscribe to our email list to get the working files for this tutorial, so you can follow along. After you sign up, working files (base scene + list of models & textures used in the visualization) will be delivered to your inbox.
2. Watch The Video Tutorial
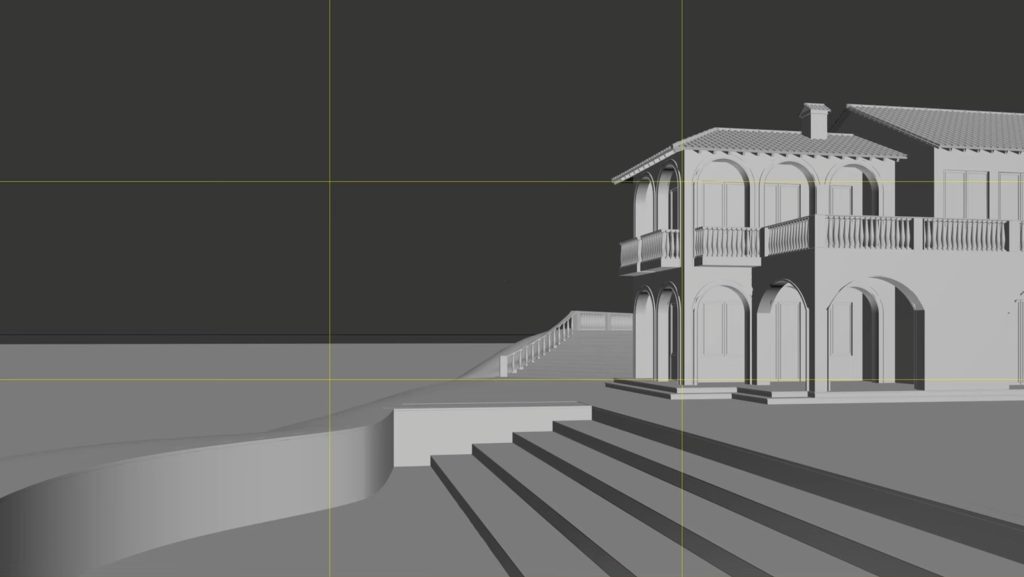
If you want to find out the whole process of creating this Tuscan-style image, watch my video tutorial.
Composition & Camera Settings
To start, it’s important to set up the camera properly. To capture the full context of the surroundings and accurately represent the space, a horizontal ratio using the rule of thirds is recommended in this case. A 30mm lens should suffice to capture enough of the surrounding area without making the shot too wide. Be sure to adjust the target slightly above the camera position and enable the ‘automatic vertical tilt’ option in the camera settings to maintain straight vertical lines. Lastly, adding a Depth of Field with an F-stop of 4 will enhance the depth of the resulting image.
Lighting
For this image, I’ll choose the HDRI lighting. HDRI stands for High Dynamic Range Image. It’s a spherical panorama image, which we can load into the environment slot and use as a lighting source.
To load an HDRI map into 3ds Max, simply add the Corona Bitmap from the Material Editor as an Environment Map. Unlike the light object, we cannot change the direction of the sun, but we can rotate the entire map on the Z-axis to find the optimal position. Since the sun is overexposed, we can use the CoronaColorCorrect map to reduce the map’s brightness and make the sun softer by increasing the gamma value. Finally, to achieve a darker sky in the image while maintaining the way HDRI illuminates the scene, we can override direct visibility in the Render Setup and override reflections with the darker sky, resulting in a more realistic look.

Materials
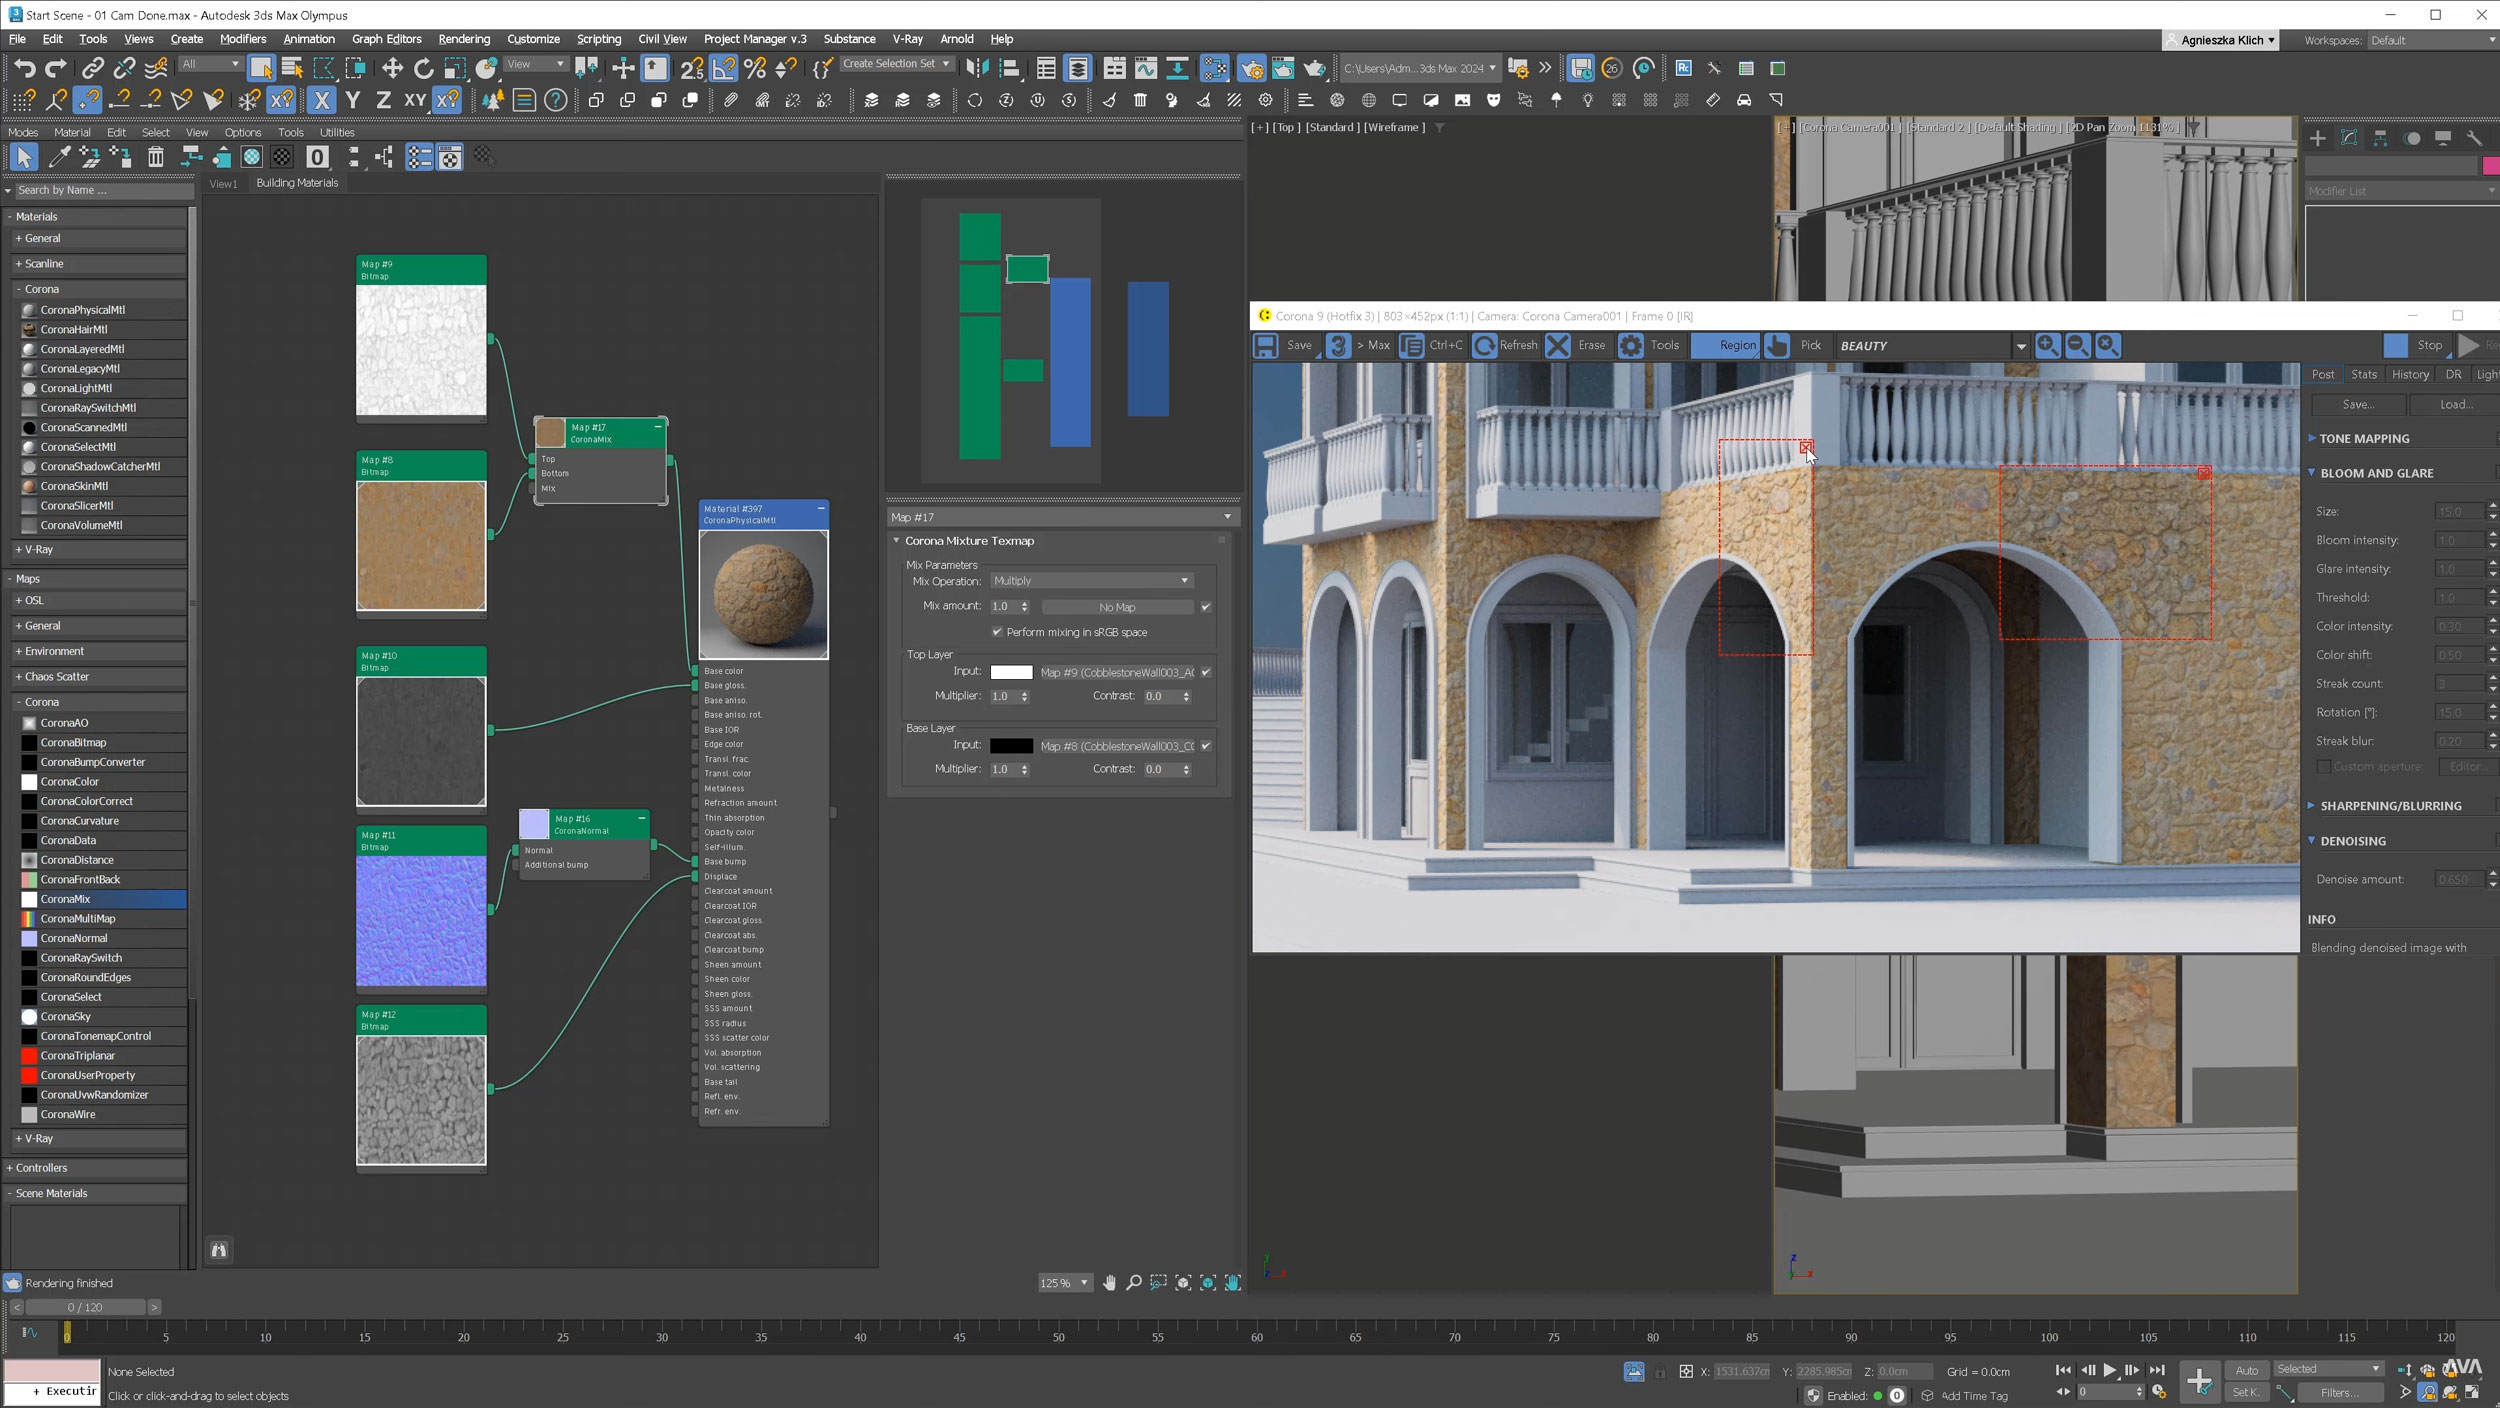
When dealing with simple materials, such as clear glass, we can use ready-to-use presets. However, for more complex materials, a combination of maps must be used to achieve a realistic effect.
For instance, when creating a cobblestone wall material, it is necessary to incorporate five textures: color, AO, glossiness or roughness, normal, and displacement. These maps should be properly plugged into the appropriate slots, and the displacement values must be set accordingly to achieve the desired outcome. As the normal map cannot be directly plugged into the slot, adding a CoronaNormal map in between is the solution. By using the CoronaMix map and selecting the multiply mode, the color and AO maps can be mixed together, resulting in a better and three-dimensional material. In addition, the CoronaColorCorrect map can be used to adjust the hue and saturation of the maps. This process can be applied to all types of materials.
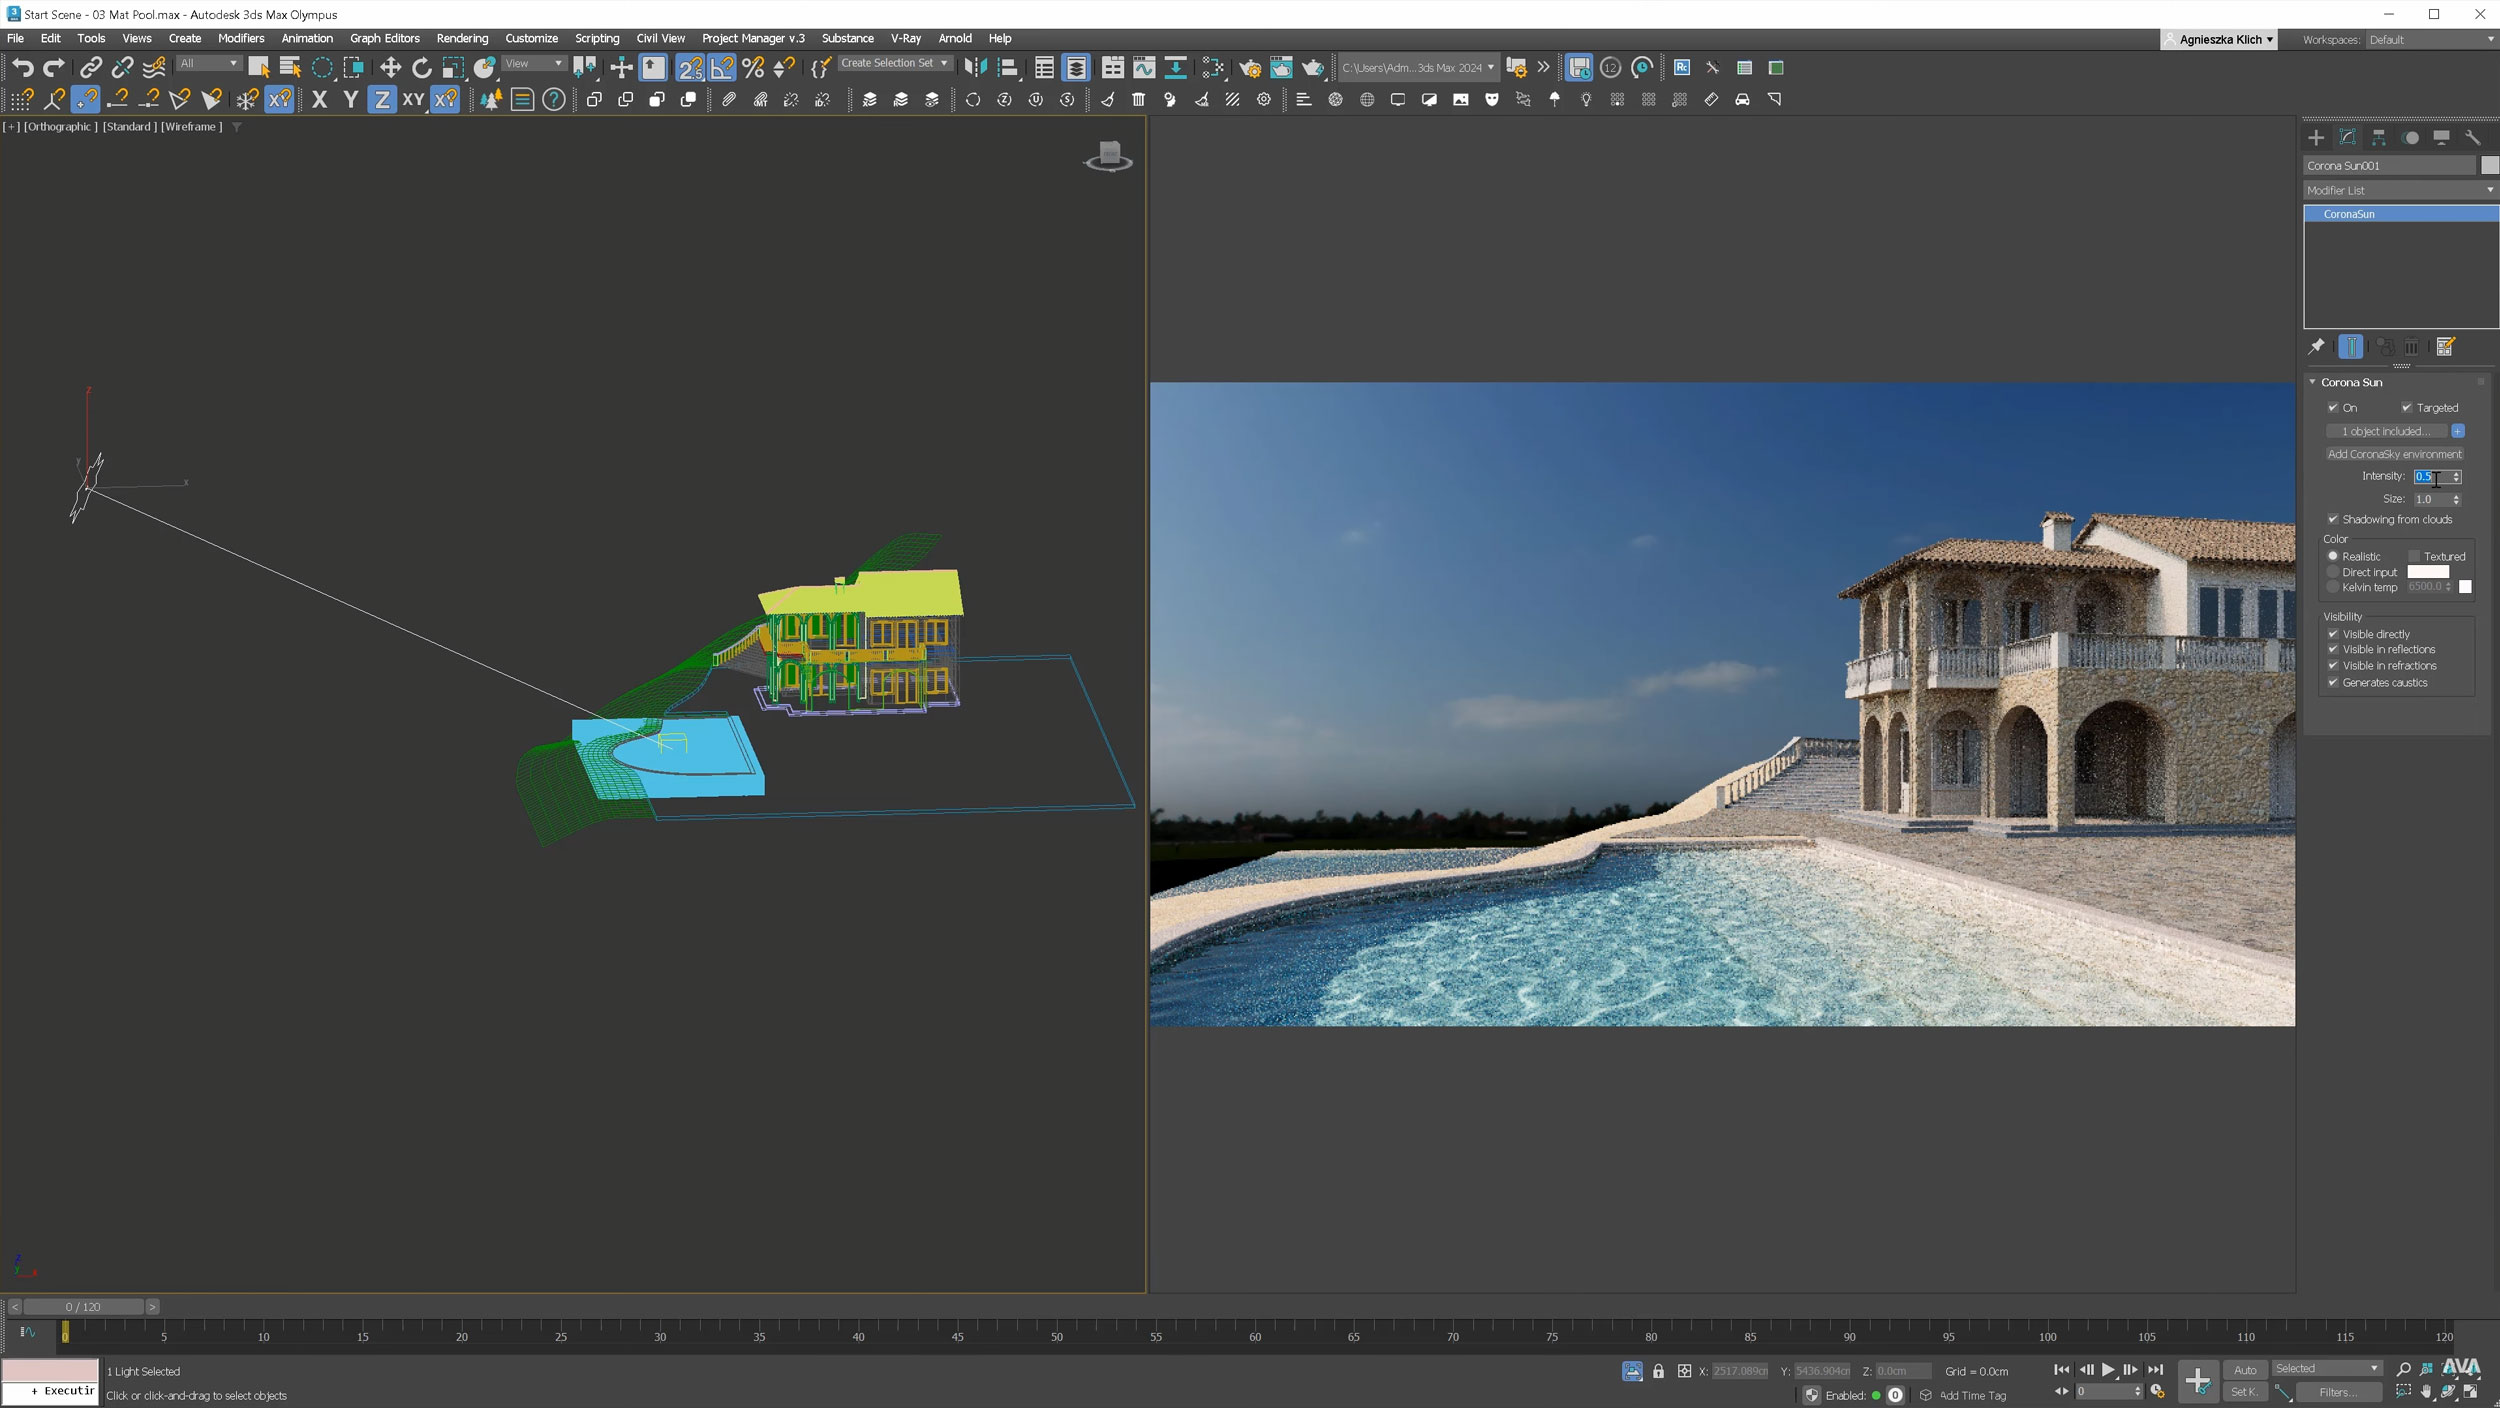
Swimming Pool & Caustics
To begin creating the water material, first, we must create a water object, perhaps by creating a box with several segments. Next, we can add subtle waves to the water using the Noise modifier.
It may be helpful to use a pre-made preset to save time, but the material can be enhanced by adjusting values such as the absorption color. For a more realistic look, a caustic effect can be added, which can be enabled in the material settings and in the Performance Tab of the Render Setup. If we are using the HDRI setup, we should also select the ‘Caustics from environment’ option. However, we don’t have to do this, because to further improve the realism of the caustic effect, we can use Corona Sky instead, which will only affect the water object. Also, to avoid noise in the image, we should enable the Caustics solver option and only include the pool objects.
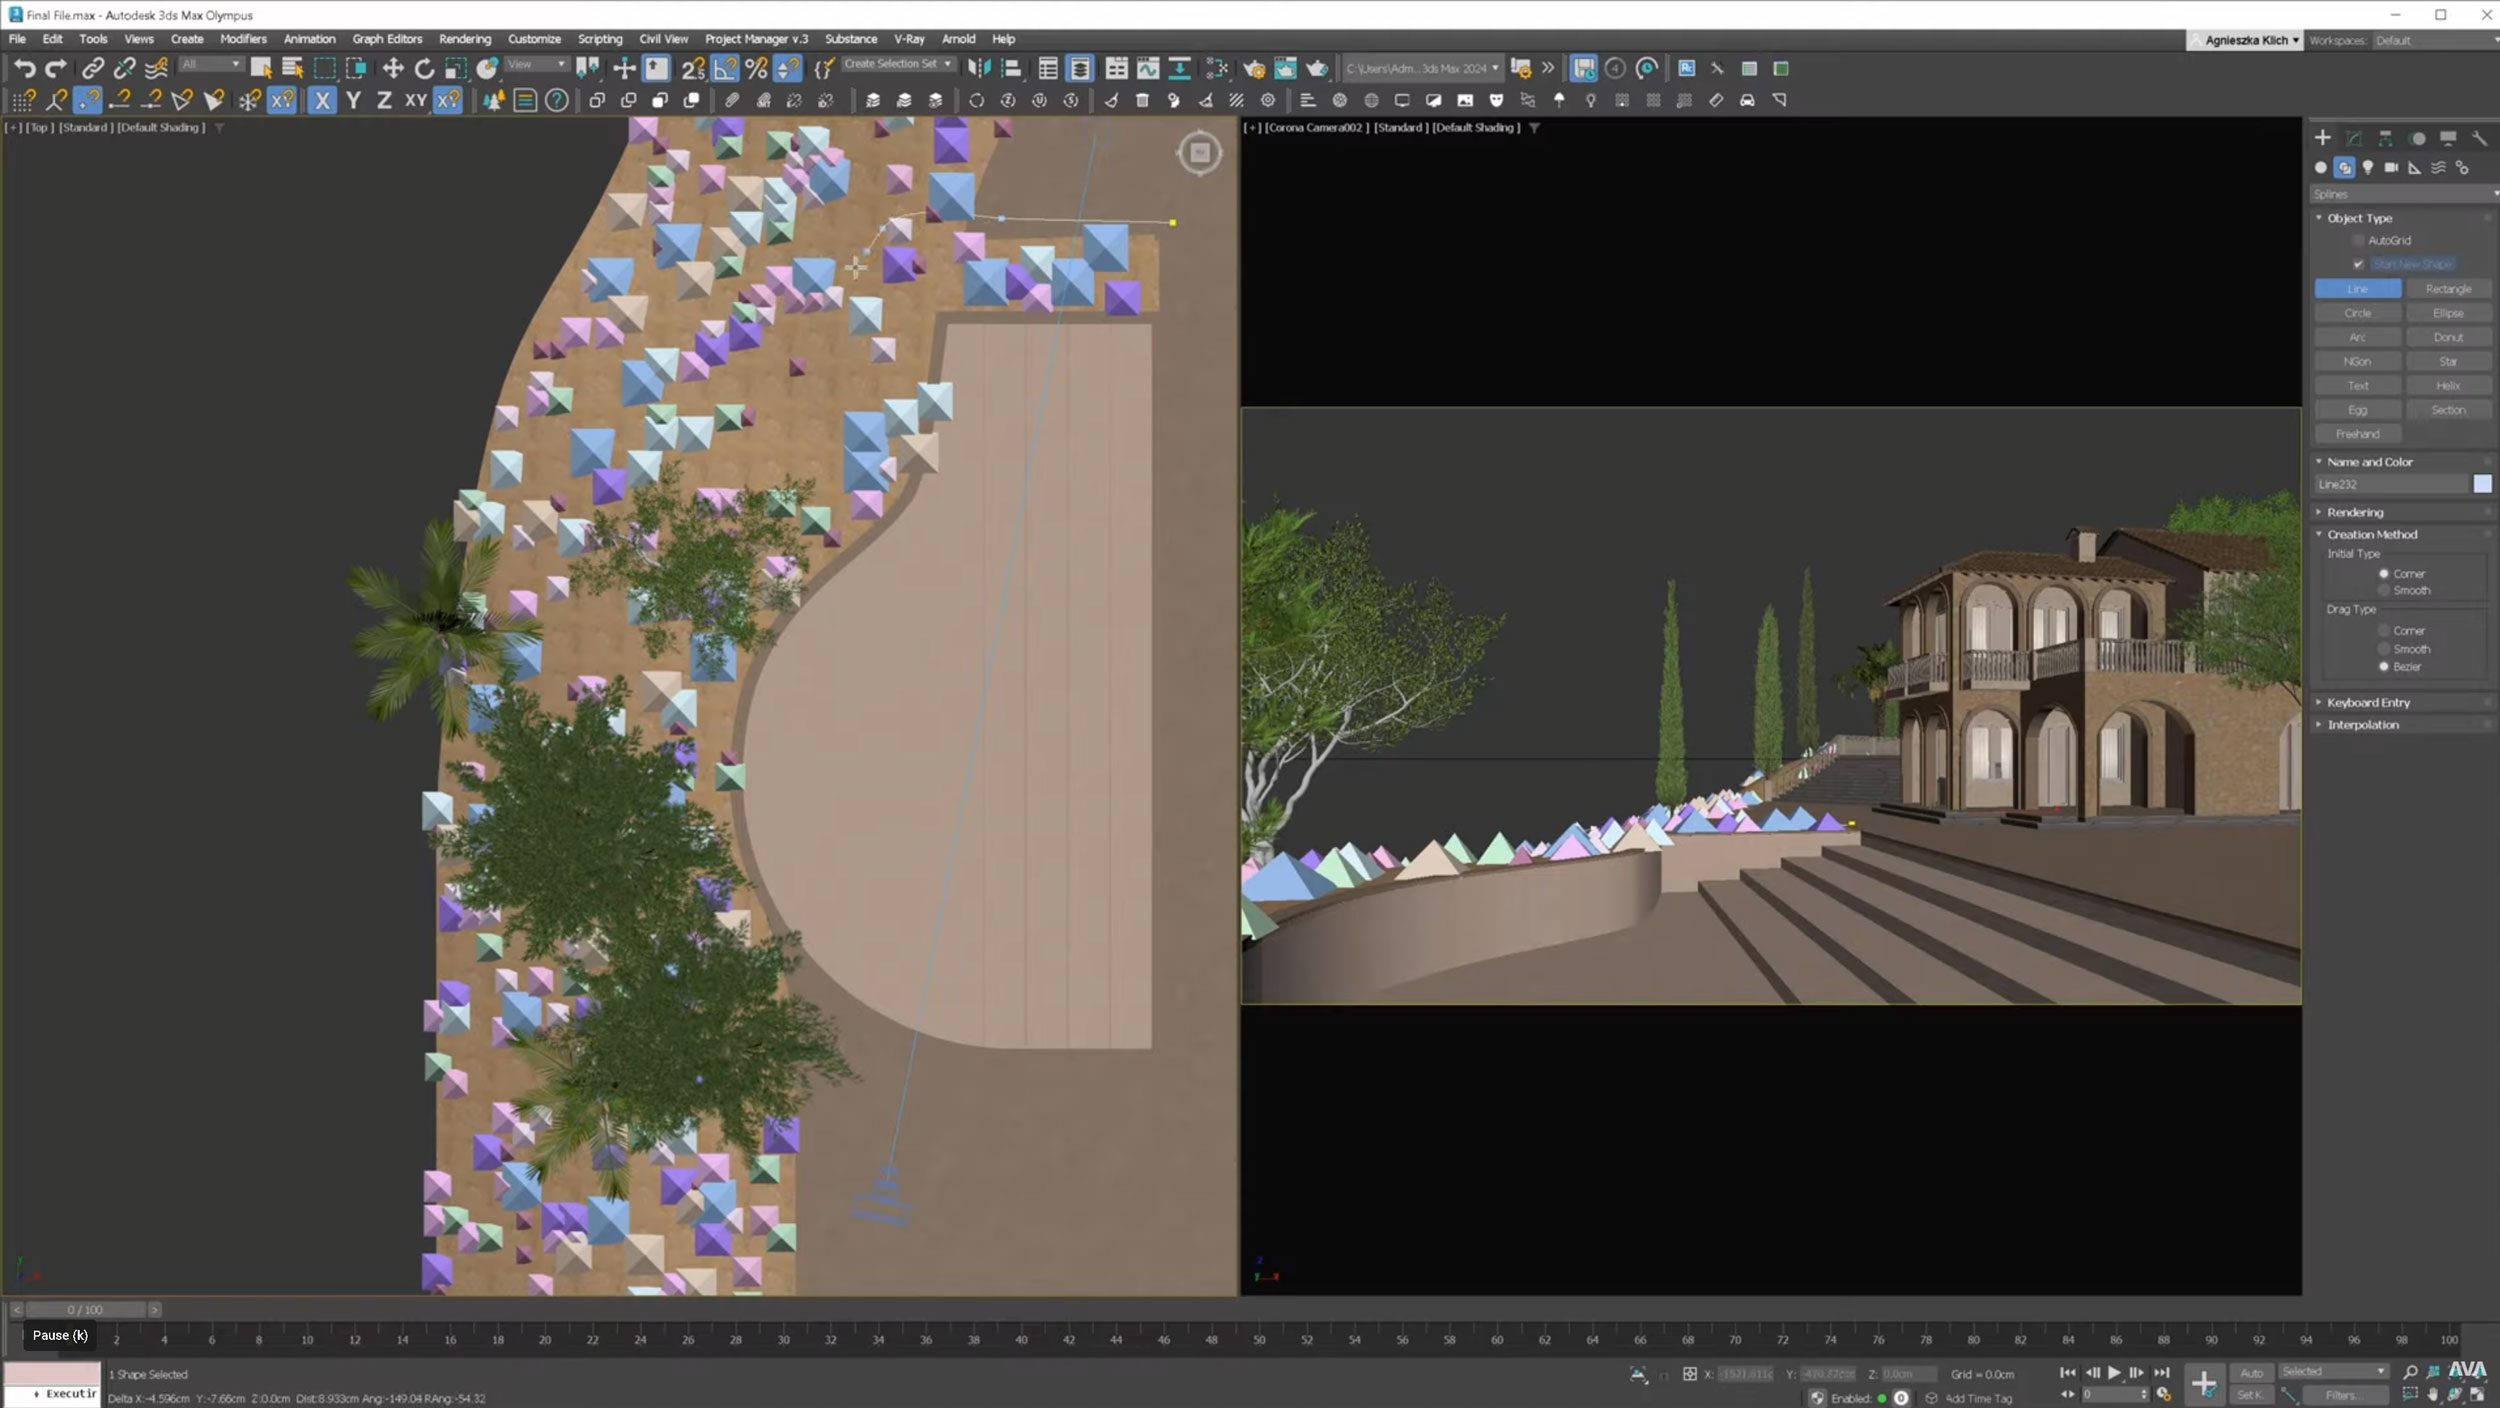
Trees & Plants
In order to achieve realistic outcomes, it’s necessary to establish multiple layers of vegetation. In the case of the Tuscan-style image, this involves incorporating a mix of trees, big shrubs, small plants, and flowers, as well as ivy on the building, a hedge, and some potted plants. Depending on the effect we want to get, we can either manually place the plants or use the scatter tool to expedite the process. Additionally, we will need to make some color adjustments to ensure that our visualization is well-balanced in terms of hues.
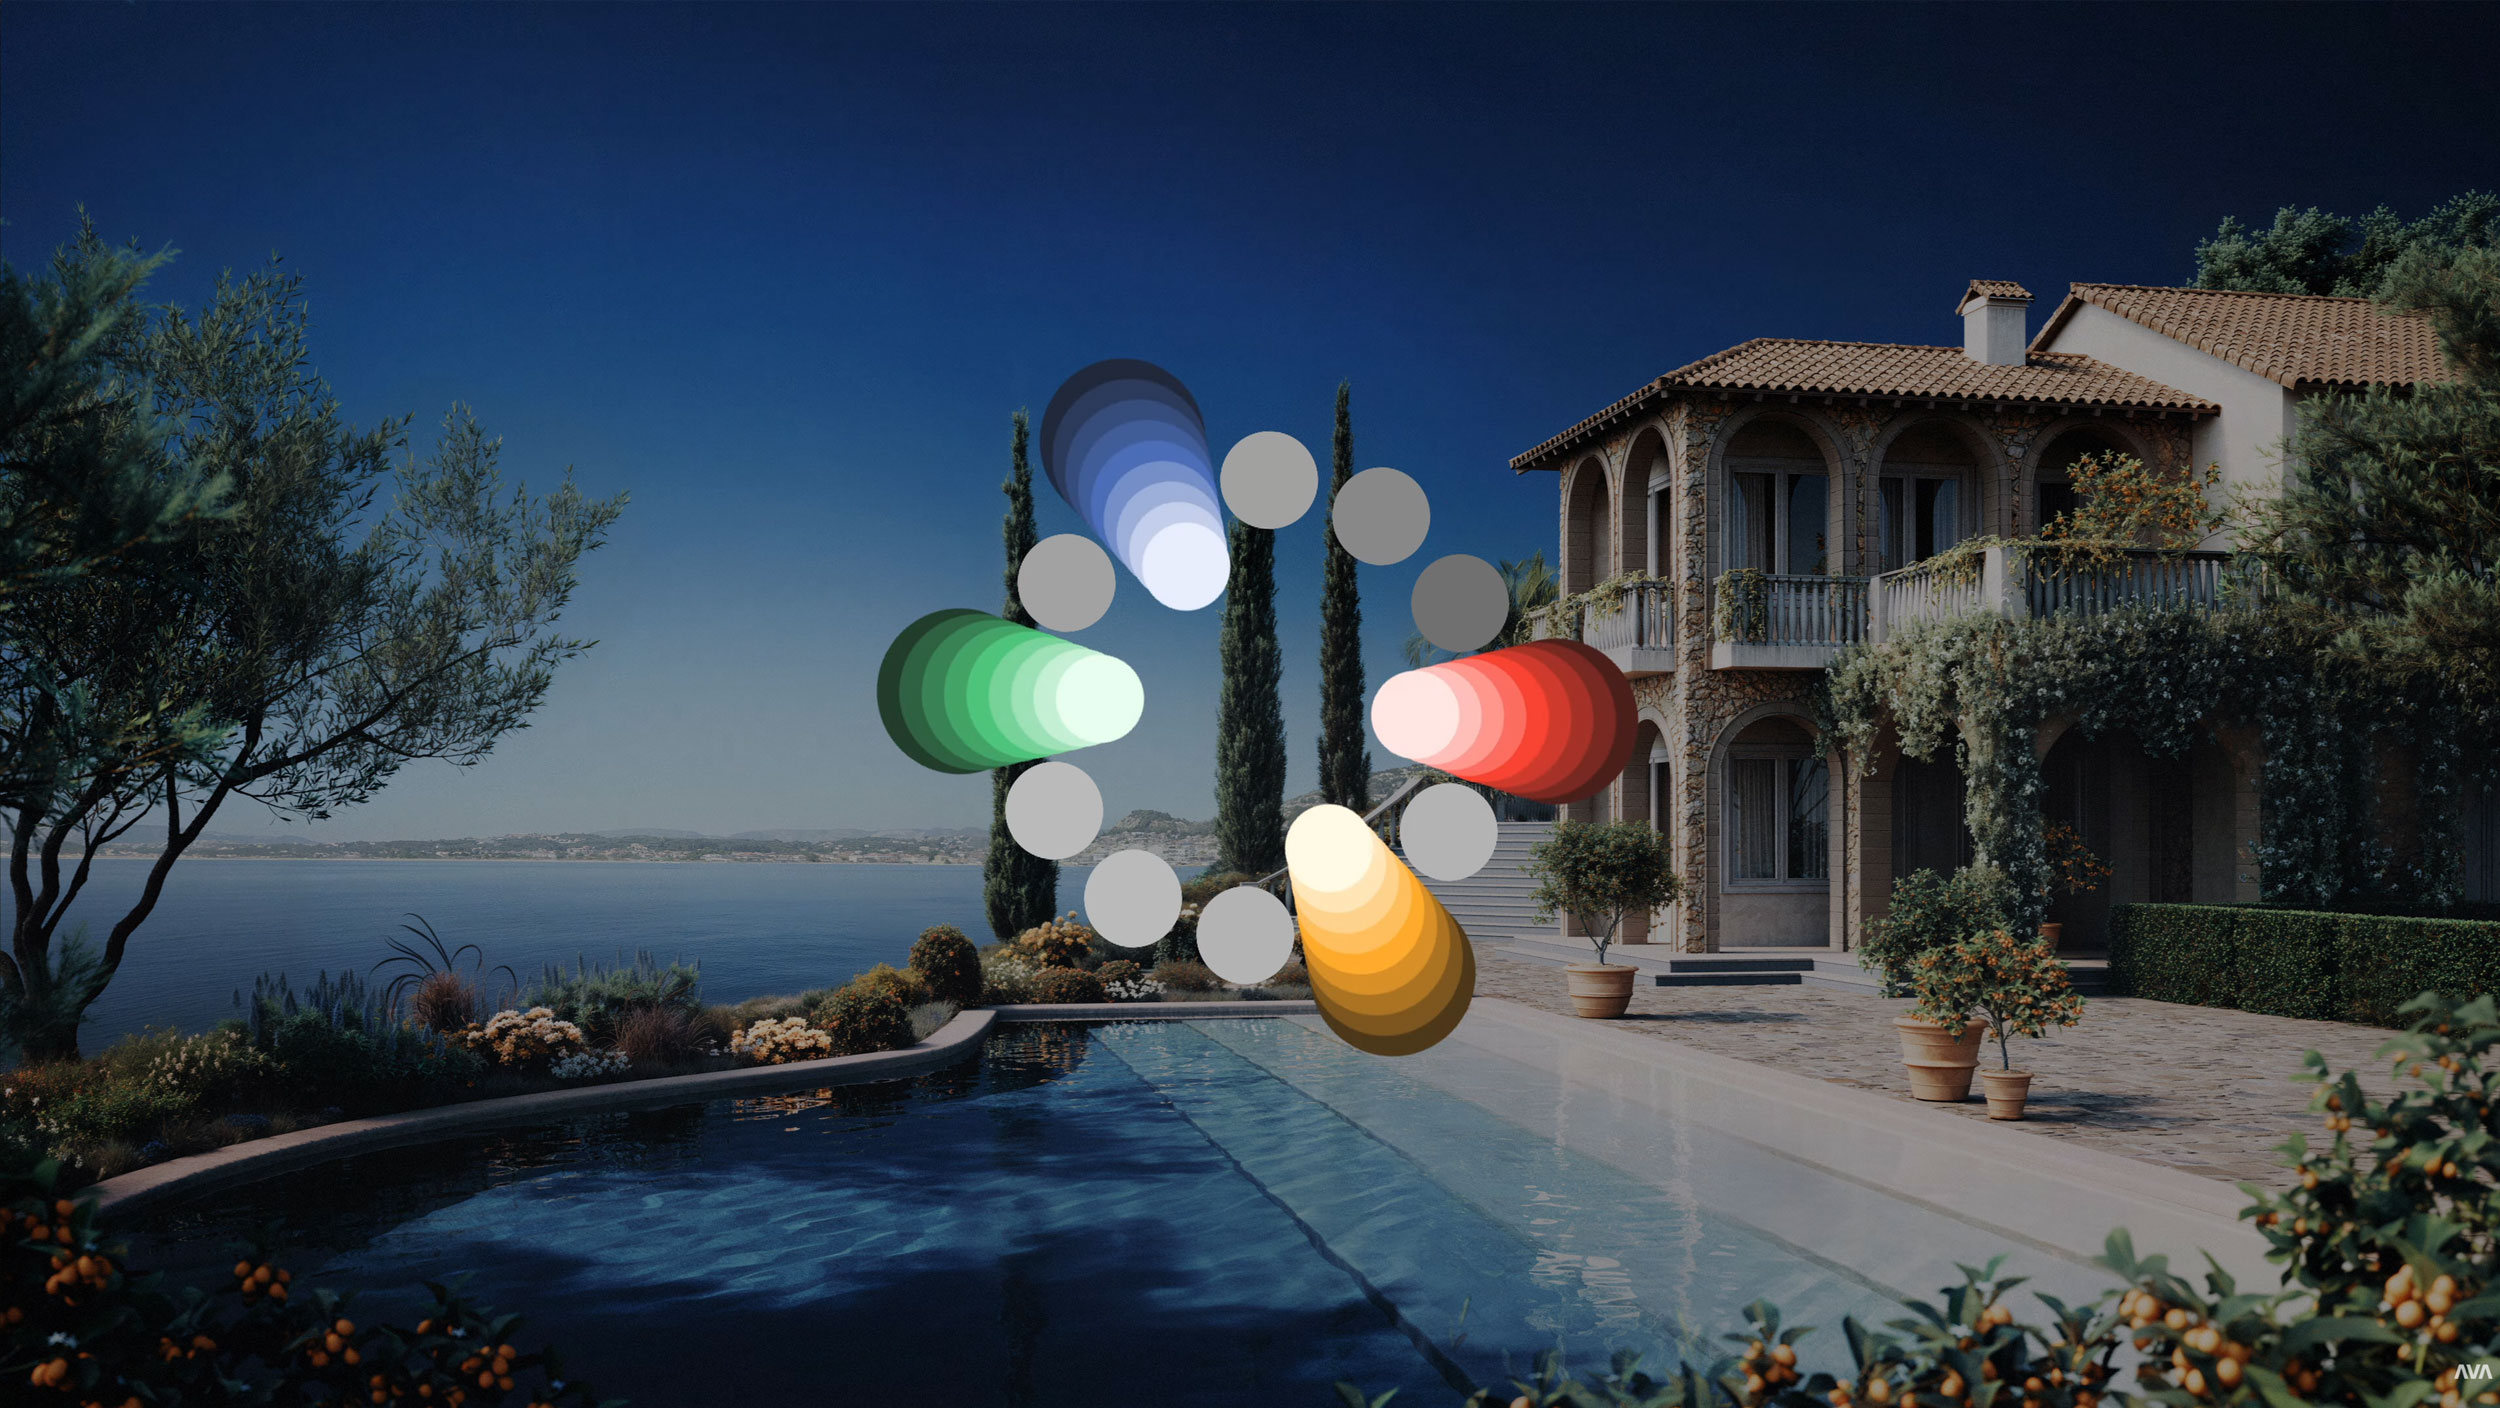
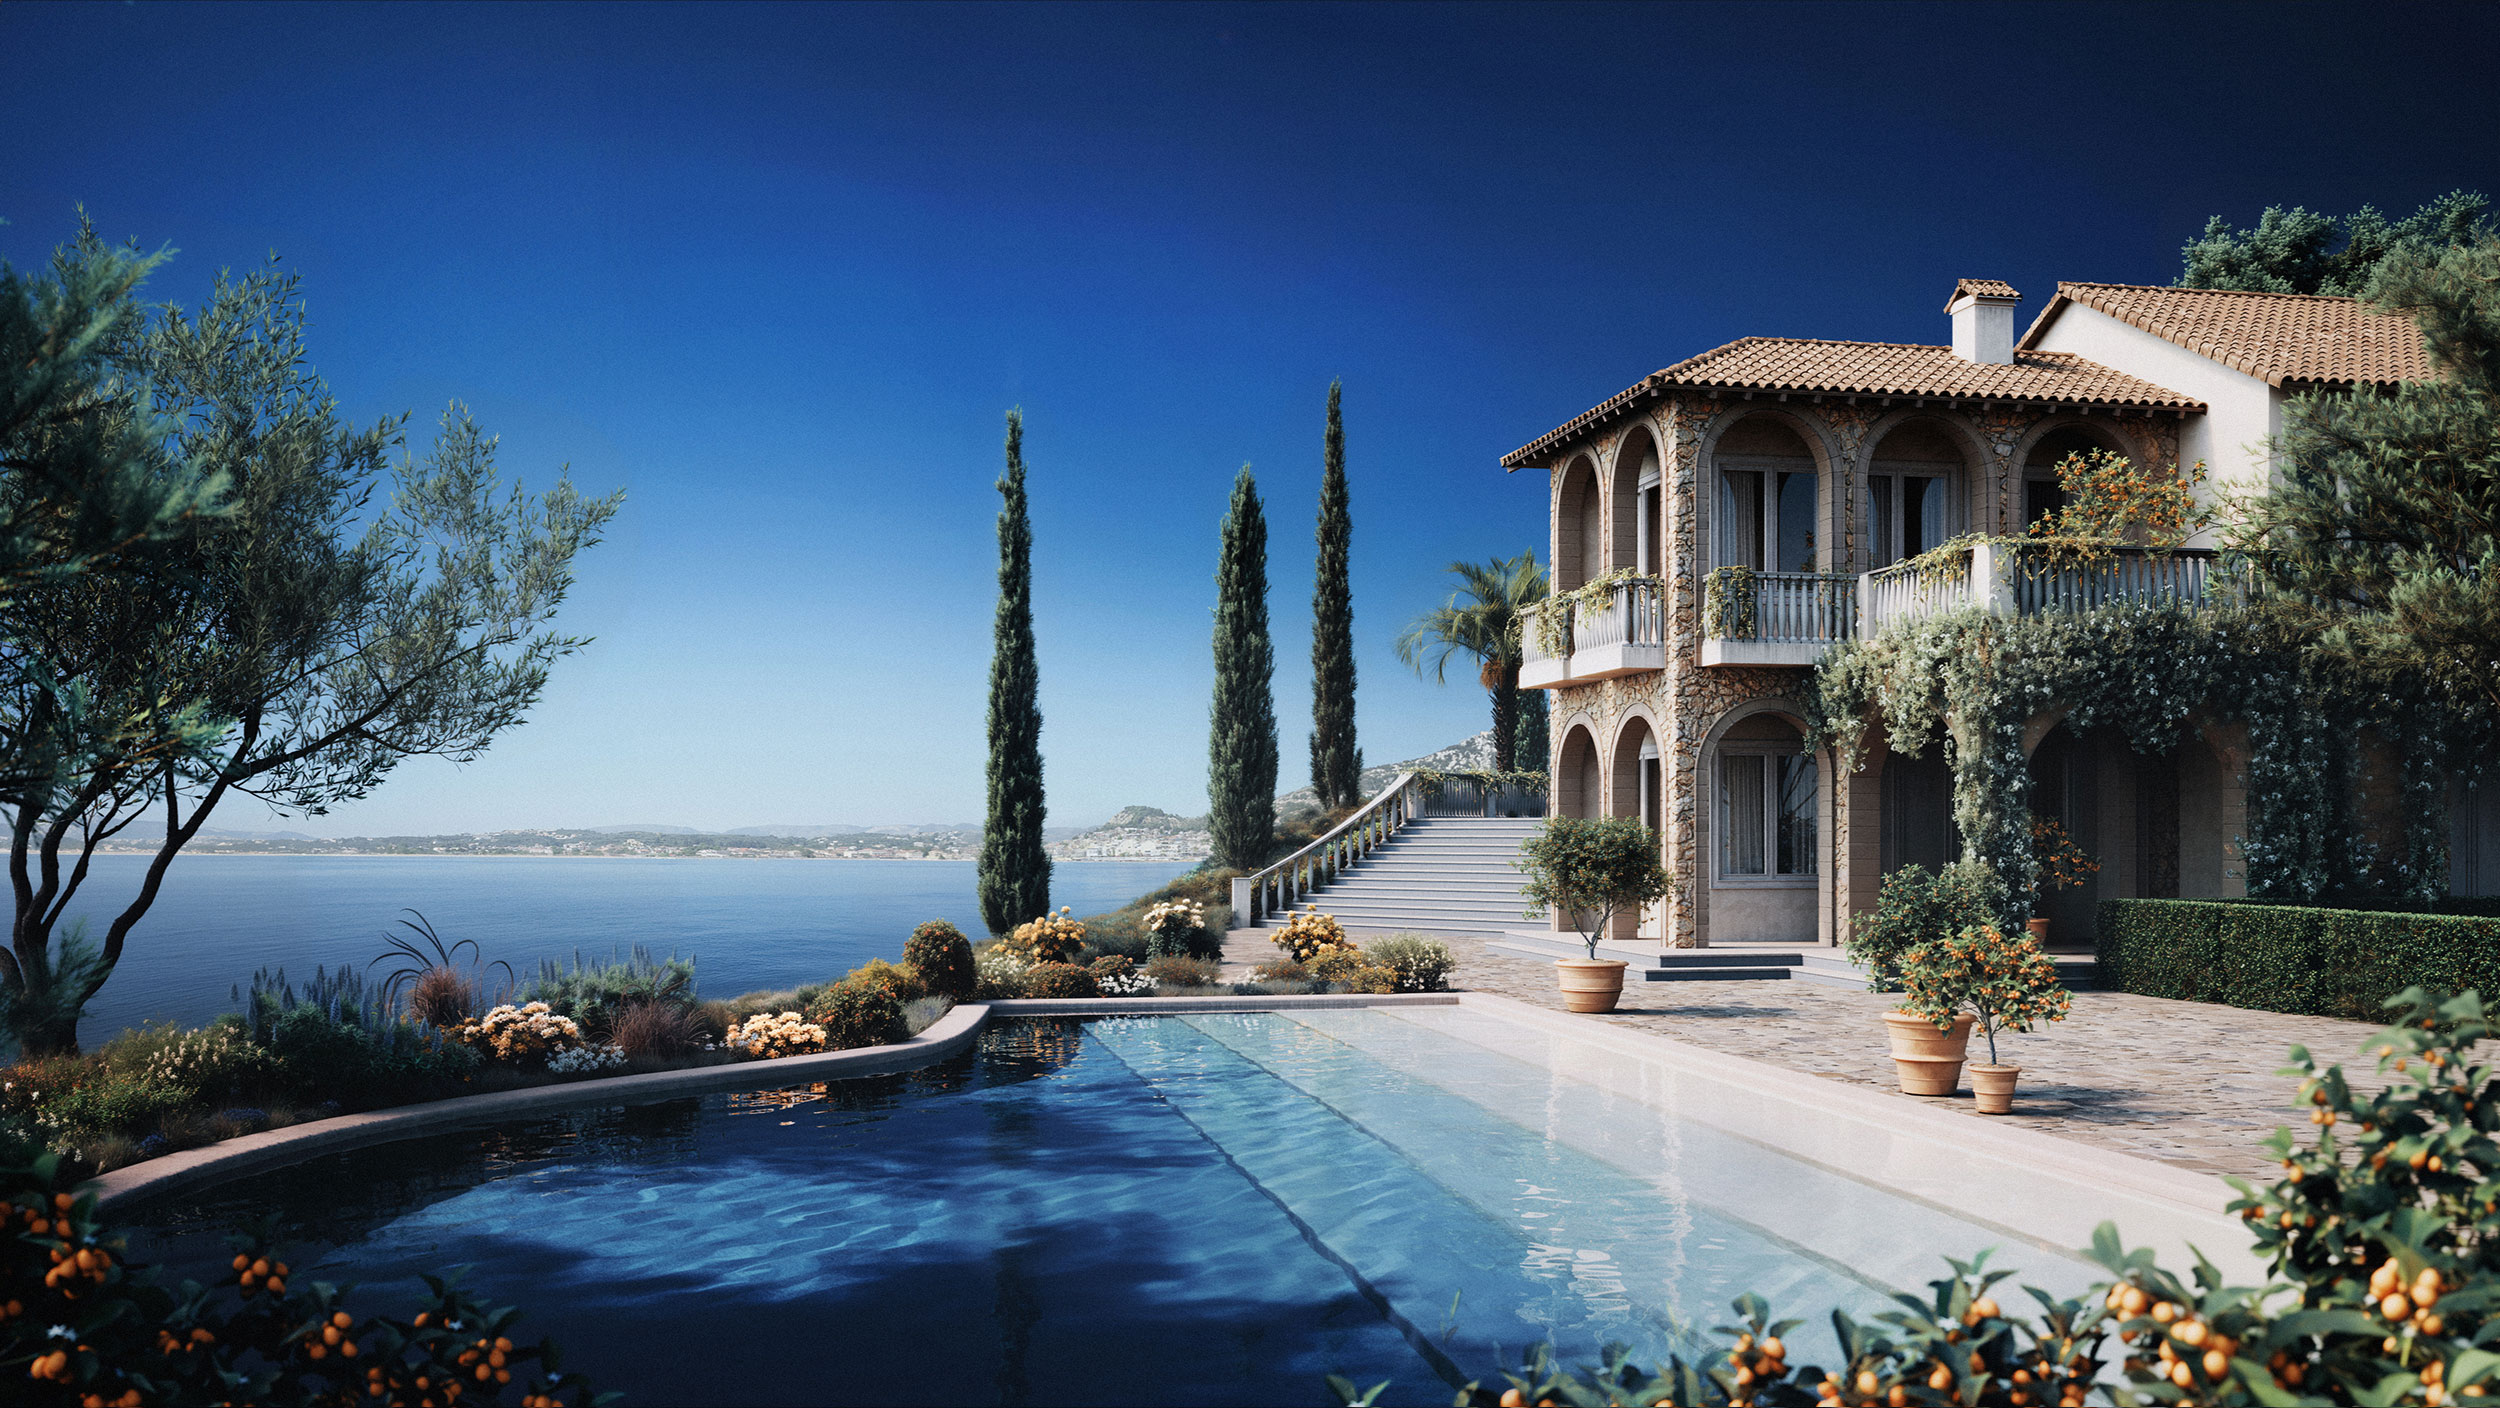
Color Balance
Achieving a balanced color scheme is a crucial step in the process of creating visualizations. For instance, in this particular image, the double complementary color harmony has been employed. The aim is to feature solely these four colors in the image, along with their tints, shades, or tones. The image comprises a blue sky and water, green trees, a red roof, and orange planting. Consequently, all the materials within the image must be adjusted to conform to the chosen color palette. It is a straightforward but time-consuming process that necessitates selecting the material to be modified and adjusting its hue using the color correction map.
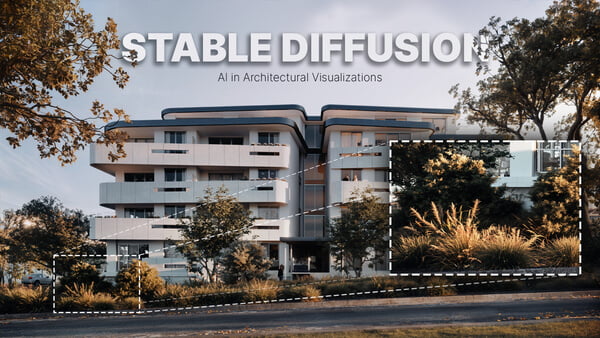
Postproduction + AI Stable Diffusion
During post-production, we will replace the sky in Photoshop. Then, we will color-correct it to ensure that it matches the rest of the image. Next, we will apply standard techniques to adjust the contrast and colors of the entire image. To make the photo match the render even more, we will add the aerial perspective effect using Z-Depth passes. Additionally, we can use Stable Diffusion to create even more realistic results. In order to create a more realistic effect, it’s a good idea to incorporate a slight motion blur, as even in real-life conditions, there is usually some degree of camera movement caused by wind or vibrations. Finally, we will add noise to blend the render with the background and give it a final touch.

Irrespective of the type of visualization you are working on, the fundamental aspect remains constant- you need to pay close attention to all the steps involved. Your main objective should be to focus on the minutest details, adhere to the given art directions, and strive to recreate the reality as accurately as possible.