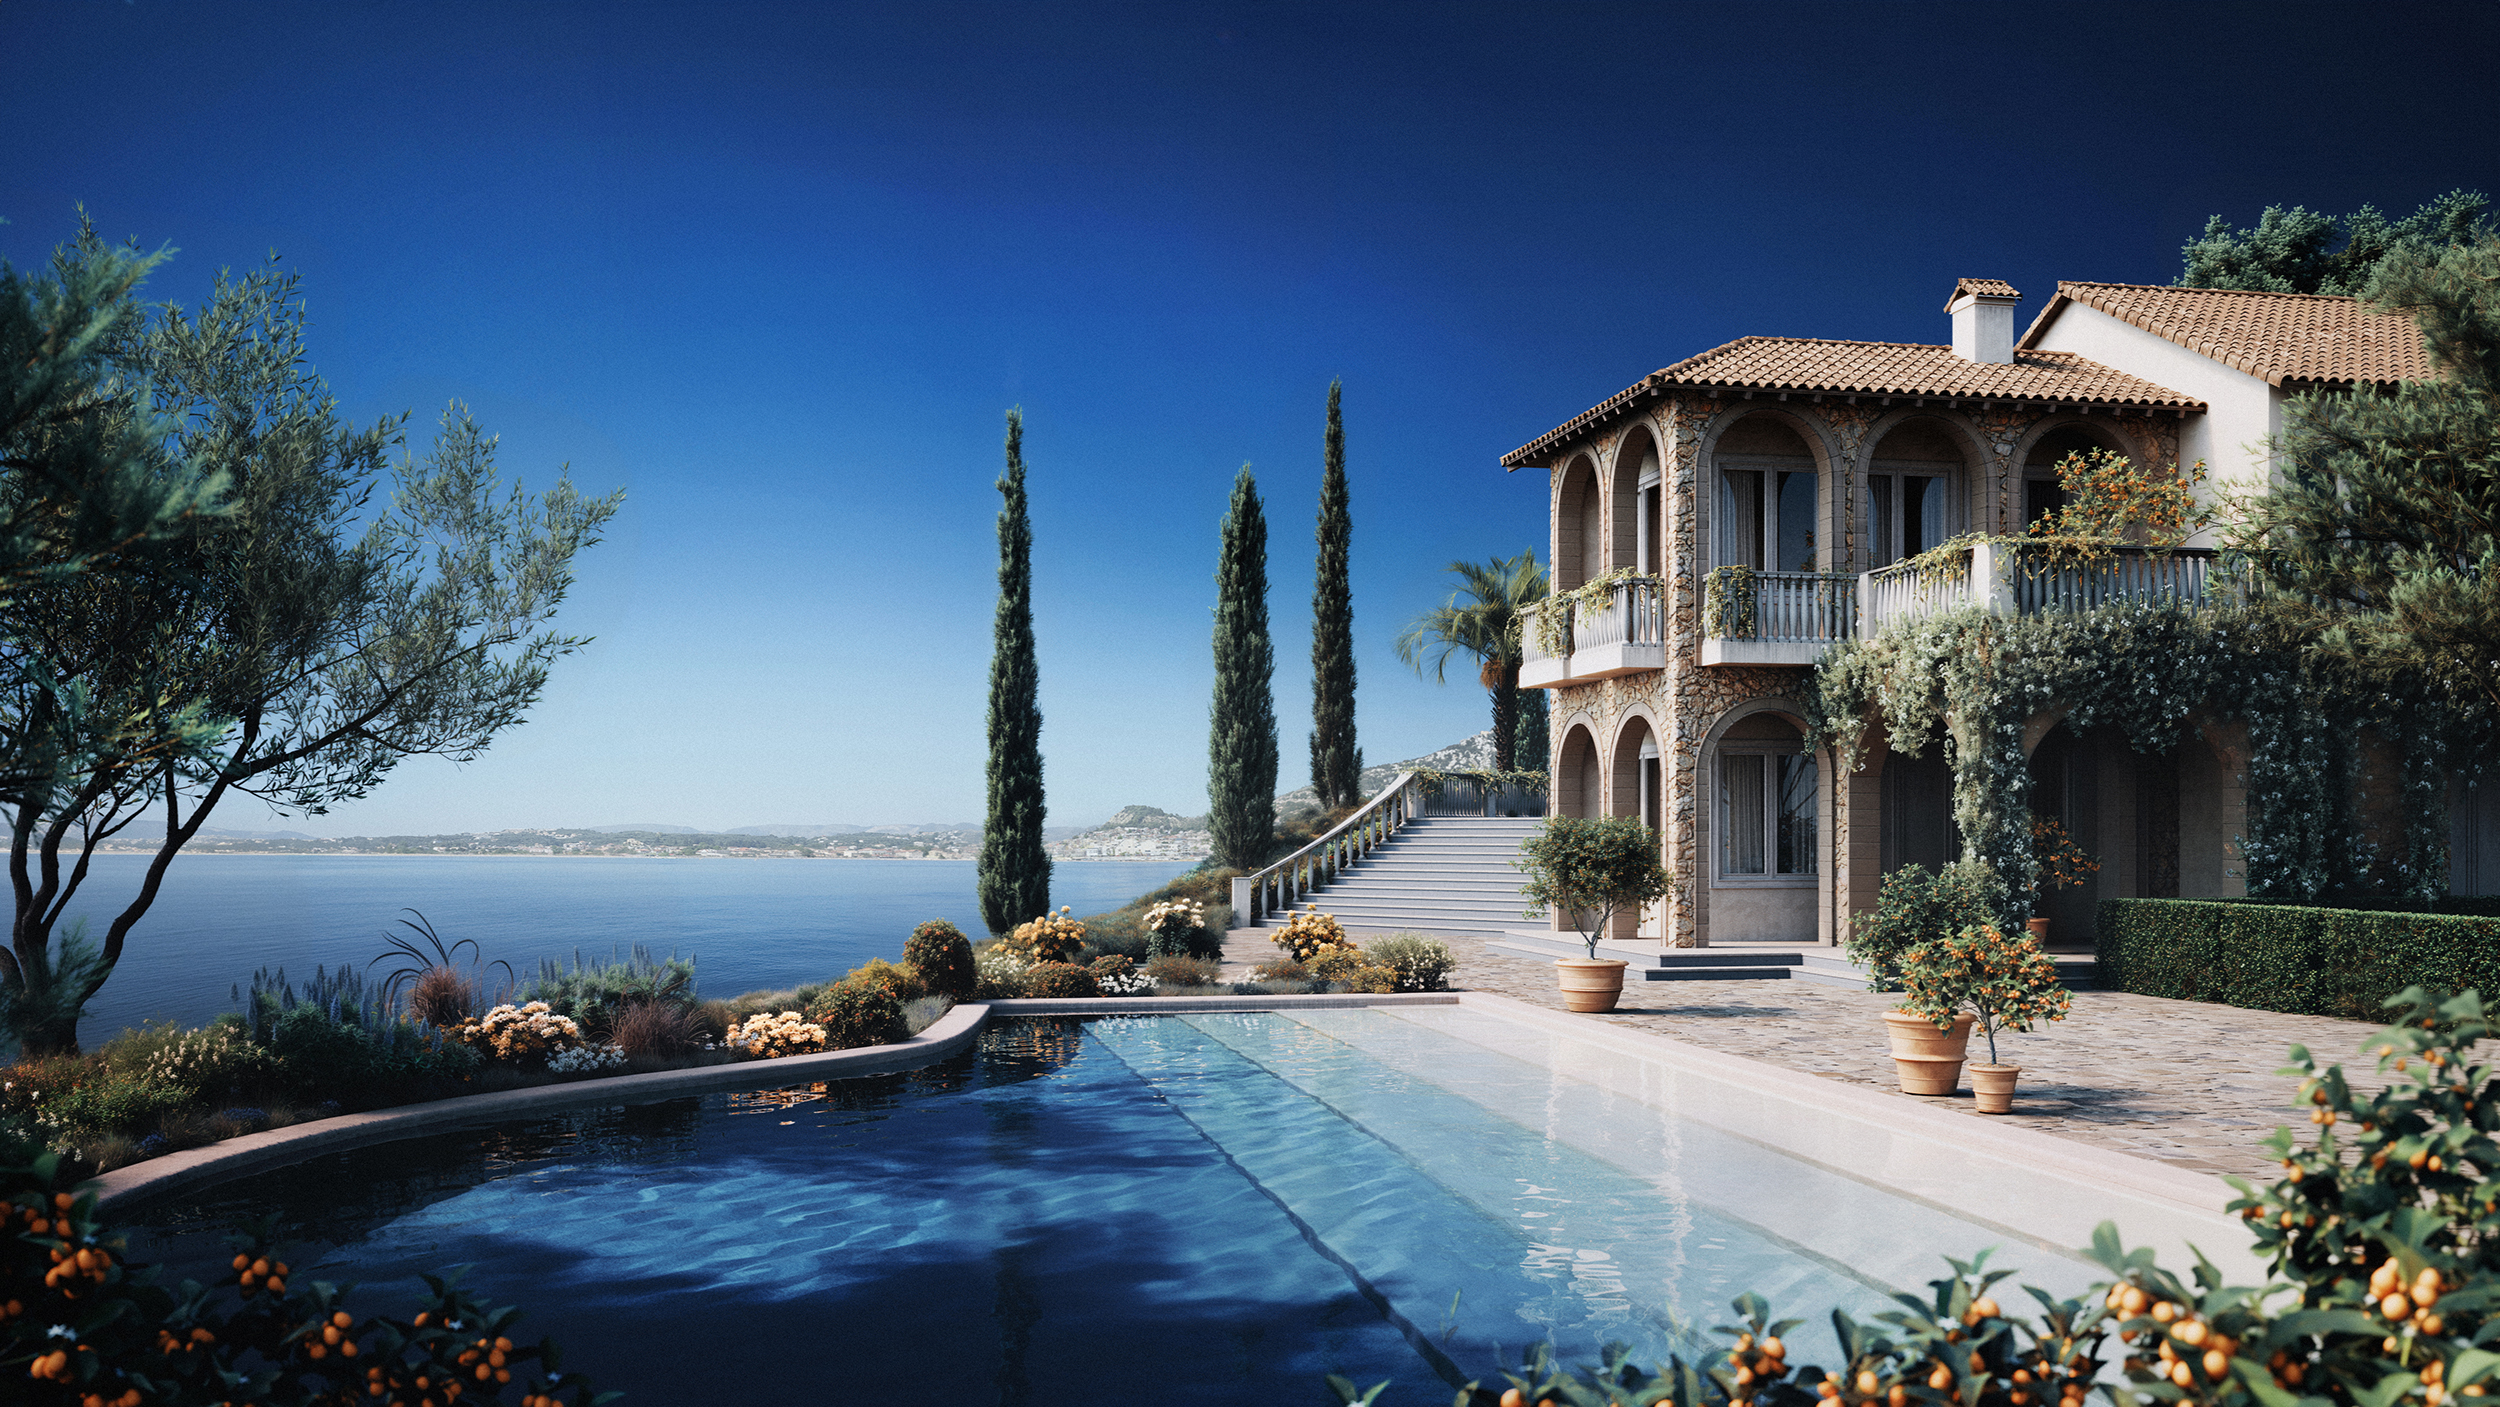
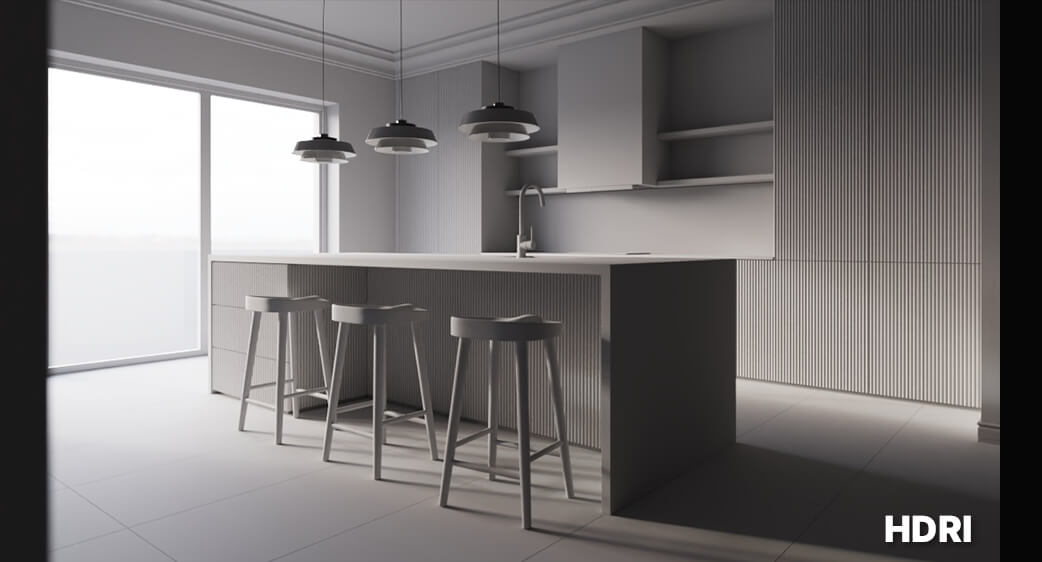
What is the HDRI?
HDRI stands for High Dynamic Range Image, which is a spherical panorama image that can be loaded into the environment slot in 3ds Max. We can use it instead of the Sun & Sky as it provides more information than a .jpg format. HDRI has a significant difference between the dark and bright points compared to .jpg.

Preparation
Before starting to work on the lighting, it’s good practice to override materials so everything will be the default grey material. However, if you have large surfaces of transparent materials like glass from windows, it should be excluded. Otherwise, no light would come to the interior.
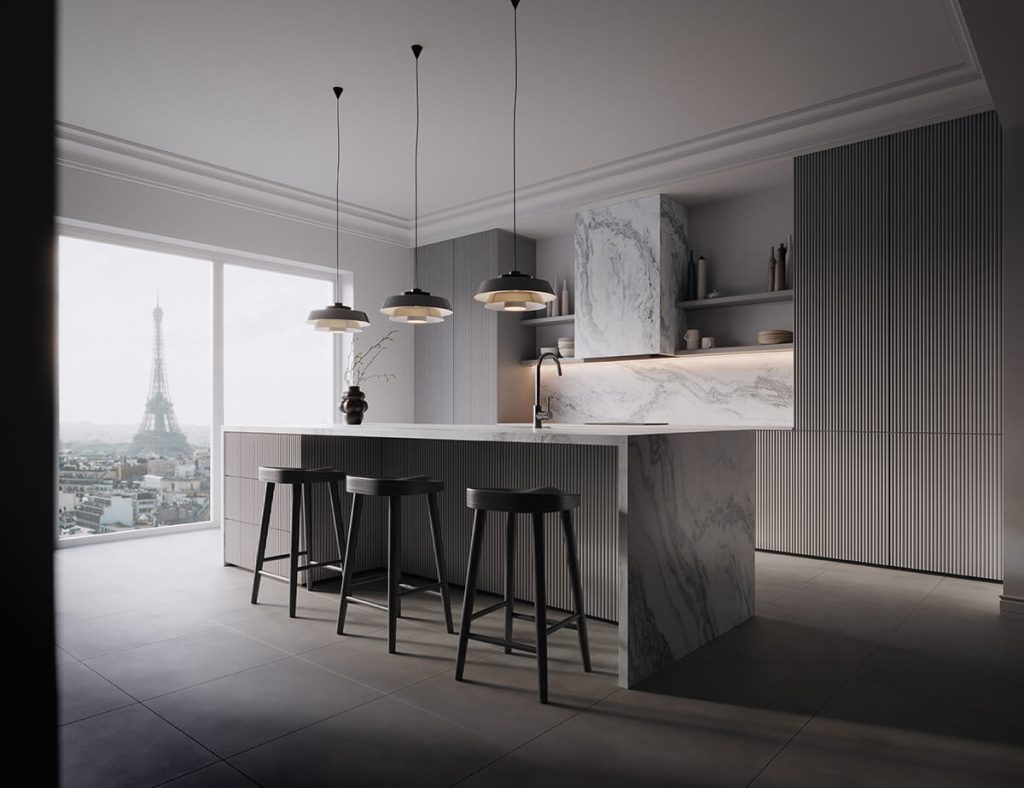
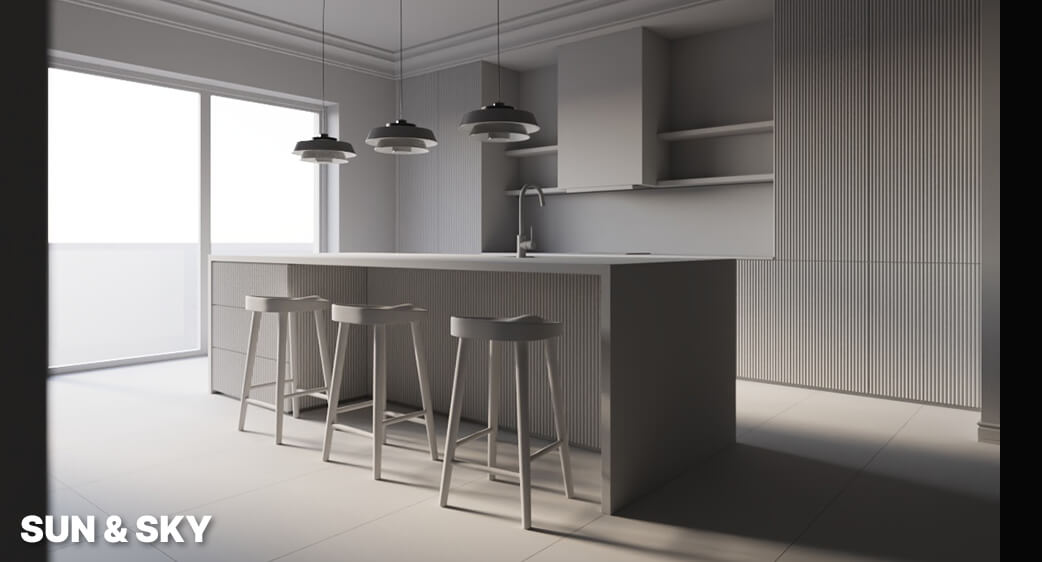
Sun & Sky Lighting
The good technique is to start working on lighting with a simple Corona Sun & Sky setup to get an idea of what the default lighting will look like. This way, we’ll know how to match the HDRI brightness to the default Corona outcome.
HDRI Lighting
I will then move on to HDRI lighting, which involves using an HDRI map to light the scene. We have to swap the CoronaSky for the HDRI map in the Environment & Effects window (8 key on your keyboard). Then, we can adjust the position of the map by rotating it horizontally. Finally, to adjust the exposure, use the Corona color-correct map.
Gamma Settings
We can adjust the lighting to be more or less soft. For HDRI maps, we can control this effect by changing the gamma settings. If we decrease the gamma value the lighting will be sharper, if we increase it, it will become more soft. In interior visualizations, I like to increase the gamma value to achieve softer lighting.
Global Illumination
We can control lighting using Global Illumination (GI) which is a system that models how light is bounced off of surfaces onto other surfaces (indirect light). Applying the technique from real-life photography, we can make the image more or less contrasty. To imitate the effect in 3D, we will be using shades of gray. The lighter the color, the brighter the shadows will be.
Full Step by Step Tutorial
1. Download the Working Files
Also, you can subscribe to our email list to get the working files for this tutorial, so you can follow along. After you sign up, working files (base scene + link to a free HDRI map version) will be delivered to your inbox.
2. Watch The Video Tutorial
If you want to find out my whole process of setting up the lighting in the interior image using HDRI, watch my video tutorial.
Overall, choosing the right lighting scenarios is essential when creating interior visualizations. While the default Corona Sun & Sky setup provides a good starting point, using an HDRI map can provide more information and a greater range of lighting options. By adjusting the gamma settings and using Global Illumination, we can create softer lighting and control the contrast of the image. Taking the time to properly prepare and experiment with different lighting options can make a significant difference in the final result!